Basic Flask Application
Introduction
In this post we will create a very basic Flask application. I know there’s probably tons of similar posts out there on the internet but I always want to explore things myself in order to better understand it. Been working with Flask for quite some time already, although I did not create anything spectacular yet. But I wanted to document some examples here for future reference. Future reference? Well yeah, we will use some Flask applications in upcoming blog posts as well. Thinking about writing some posts on how to deploy Flask apps to Heroku, deploy the apps to Kubernetes, deploy them through CICD tools …
So don’t expect a fancy Flask app as the focus is here to experiment with deploying Flask apps to various systems/providers/tools/platforms. So we’ll be looking at a very small (but handy) basic application in order to explore these other systems/providers/tools/platforms as well.
Setting up a virtual environment
Let’s start from scratch. I always use Python virtual environments to keep a clean environment. Let’s create a virtual environment first.
~Flask/Flask-Basic ❯ python3 -m venv venv
~Flask/Flask-Basic ❯ source venv/bin/activate
Install Flask
Now that we are in the virtual environment, we can install Flask.
~/Flask-Basic master❯ pip3 install Flask
Collecting Flask
 <TRUNCATED>
Installing collected packages: MarkupSafe, Jinja2, Werkzeug, itsdangerous, click, Flask
Successfully installed Flask-1.1.2 Jinja2-2.11.2 MarkupSafe-1.1.1 Werkzeug-1.0.1 click-7.1.2 itsdangerous-1.1.0
You will see Flask installs some other dependencies as well.
Next, let’s document these requirements into a requirements.txt file. A requirements file is documenting what Python packages are required to run the project. It will later on be used by Docker for instance to install these dependencies and ensure our application will run smoothly upon deployement. We don’t want to create this requirements file by hand, although we could. But a better approach is to use Python freeze tool.
~/Flask-Basic master❯ pip3 freeze > requirements.txtYou will notice there is now a requirements.txt file in the root directory of your applications which contains an overview of all the packages we installed previously. Note: if we would not have used a virtual environment, you would likely have a much larger requirements file as all the packages available on your development PC would have been mentioned.
For now, our requirements file looks as follows:
click==7.1.2
Flask==1.1.2
itsdangerous==1.1.0
Jinja2==2.11.2
MarkupSafe==1.1.1
Werkzeug==1.0.1
Application code
Next, let’s write a simple Flask application. First, create a subfolder app under the root of your project. This is not strictly necessary but I like it as I can seperate my backend and frontend that way. Later on, if we would use Docker to run our application, we could have a seperate Dockerfile in each folder. So it makes it easy.
Next, create a Python file and give it any name. I will use app.py. In the below code, we instantiate a Flask application and we define a route as well. The @application.route('/') is what is called a Python decorator. The route is / which means that when we will browse to the root of our application (e.g. http://localhost:5000/) we will execute the code we defined in the function linked to the route /. That function will just render an HTML template index.html.
Here is the code for the app.py file:
from flask import Flask, render_template

app = Flask(__name__)

@app.route('/')
def index():
    return (render_template('index.html'))

if __name__ == '__main__':
    app.run(host='0.0.0.0')
As we reference a template, we also need to define a folder called templates under the root directory. That templates folder would hold all the html template files we create. For this example, we just have a simple index.html template that looks as follows:
<!DOCTYPE html>
<html lang="en">
  <head>
    <meta charset="UTF-8" />
    <meta name="viewport" content="width=device-width, initial-scale=1.0" />
    <link
        href="https://unpkg.com/tailwindcss@^1.0/dist/tailwind.min.css"
        rel="stylesheet"
    />
    <title>Flask App with Tailwind</title>
  </head>
  <body>
    <div class="relative pt-6 pb-16 sm:pb-24">
      <main class="mt-16 mx-auto max-w-7xl px-4 sm:mt-24">
        <div class="text-center">
          <h1 class="text-4xl tracking-tight font-extrabold text-gray-900 sm:text-5xl md:text-6xl">
            <span class="block xl:inline">This is an easy</span>
            <span class="block text-indigo-600 xl:inline">Flask Application</span>
          </h1>
          <p class="mt-3 max-w-md mx-auto text-base text-gray-500 sm:text-lg md:mt-5 md:text-xl md:max-w-3xl">
            Simple Flask application using Tailwind
          </p>
        </div>
      </main>
    </div>
  </div>
  </body>
</html>
Although it is not strictly required, I have used Tailwind. It’s by far my favorite CSS framework to give some styling to the application.
Run the application
We run the application as follows.
~/Flask/Flask-Basic master❯ cd app
~/Flask/Flask-Basic/app master❯ python3 app.py
* Serving Flask app "app" (lazy loading)
* Environment: production
WARNING: This is a development server. Do not use it in a production deployment.
Use a production WSGI server instead.
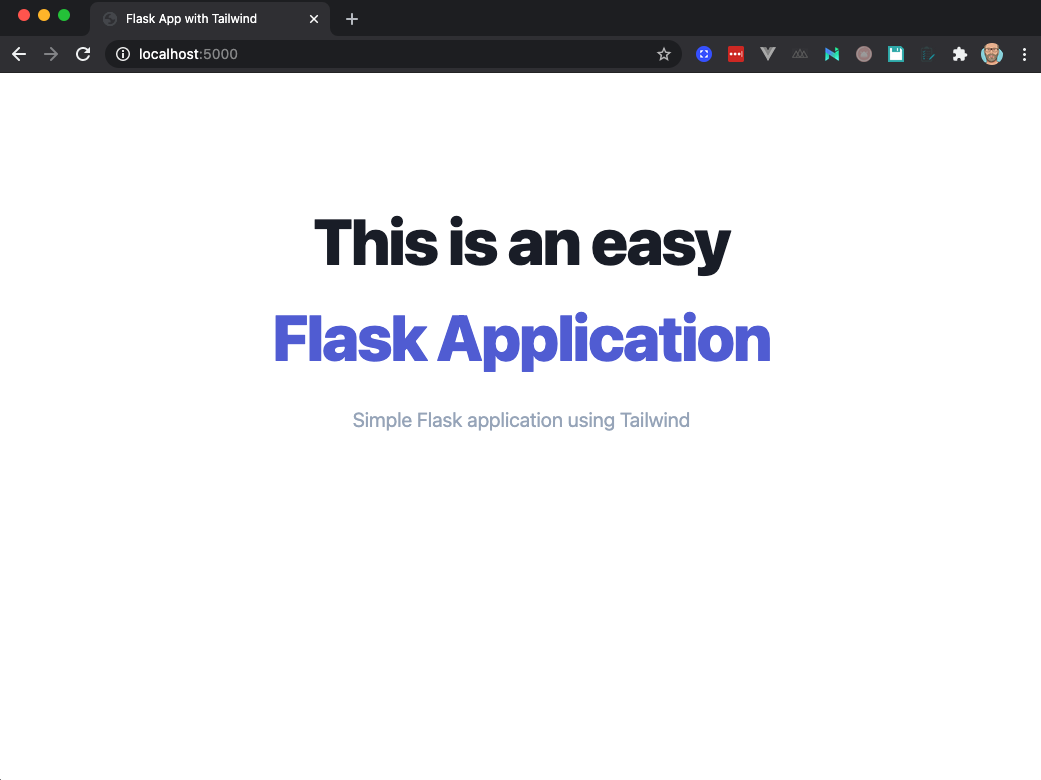
* Debug mode: offNext, open your browser and go to http://your_server_ip:5000 or http://localhost:5000 if you are running the application locally. You should see the following:
Note: if you want to use a different port than 5000 (e.g. maybe something is running already on port 5000), you could change the line app.run(host='0.0.0.0') to app.run(host='0.0.0.0', port='5001'). This will launch the app on a different port (5001 in my case).
Hitting CTRL-C in your terminal will stop the Flask application.
Use WSGI and Gunicorn
This all works nicely but you probably agree with me that this is not an ideal way to run our application in production. In fact, in the previous output, we could see the following message Use a production WSGI server instead. Let’s do that indeed.
Web servers don’t understand how to run Python applications. If we want to have a webserver run Python code, we need to have an interface between our webserver and our Python web application. Such an interface is WSGI and stands for Web Server Gateway Interface. It intercepts requests from our browser and forwards them to the webapplication which then returns the completed request back to the webserver which forwards it onto the browser.
As a webserver we could use Apache or NGINX but for this basic example I will use Gunicorn. Gunicorn is frequently used as a webserver to serve Python applications and is compatible with WSGI.
So let’s change our code to use both WSGI and Gunicorn to serve our Python application.
First, create a file wsgi.py in the root folder of your project.
from app import app

if __name__ == "__main__":
    app.run()
This will is in fact the entrypoint for our application. It will be used by Gunircorn to serve our application. We can pass this entrypoint to Gunicorn. Run the following command:
~/Flask/Flask-Basic/app master❯ gunicorn --bind 0.0.0.0:5000 wsgi:app
[2021-01-31 11:06:07 +0100] [94187] [INFO] Starting gunicorn 20.0.4
[2021-01-31 11:06:07 +0100] [94187] [INFO] Listening at: http://0.0.0.0:5000 (94187)
[2021-01-31 11:06:07 +0100] [94187] [INFO] Using worker: sync
[2021-01-31 11:06:07 +0100] [94190] [INFO] Booting worker with pid: 94190
In this command, we are binding our webserver to 0.0.0.0:port and we pass it the name of the entrypoint minus the py extension (so in our case it would be simply wsgi) with the name of the callable object within the application, in our case it would be app.
Open your browser and go to http://your_server_ip:5000 or http://localhost:5000 and you should see exactly the same application as before now served through WSGI and Gunicorn.
That’s it folks for a very basic introduction to Flask. In the upcoming posts, we will explore how to run this little application on Docker or Heroku.
Code can be found in my Github repository here.