Deploy Flask App to DigitalOcean Apps
Introduction
In case you have been reading along with the latest set of blogposts, you surely know we experimented with deploying the same Flask app to various different platforms. In the last blogpost, we deployed our app as a container image onto a DigitalOcean droplet running Docker. While this works nice, there are better alternatives (read: alternatives that require less maintenance and management).
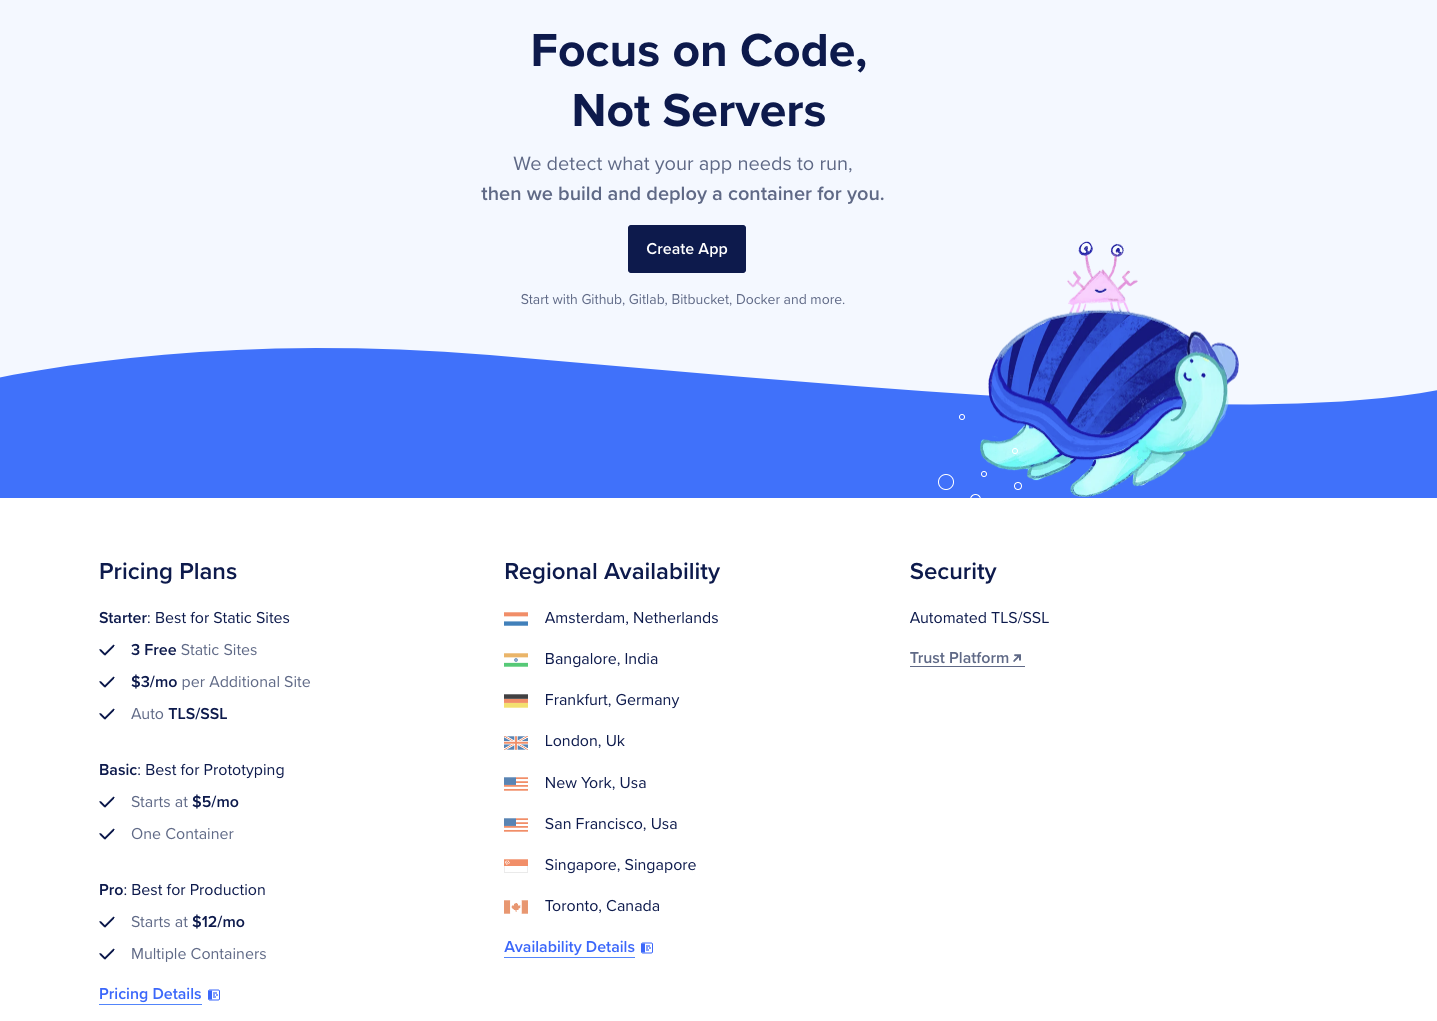
In this blog post, we will deploy our app to DigitalOcean’s app platform. In case you are not familiar with it, check out this website. In short, the app platform provides a fully managed platform to build, deploy and scale apps. Let’s get started!
Configure Github repository
First of all, let’s create a Github repository that will contain our application code:
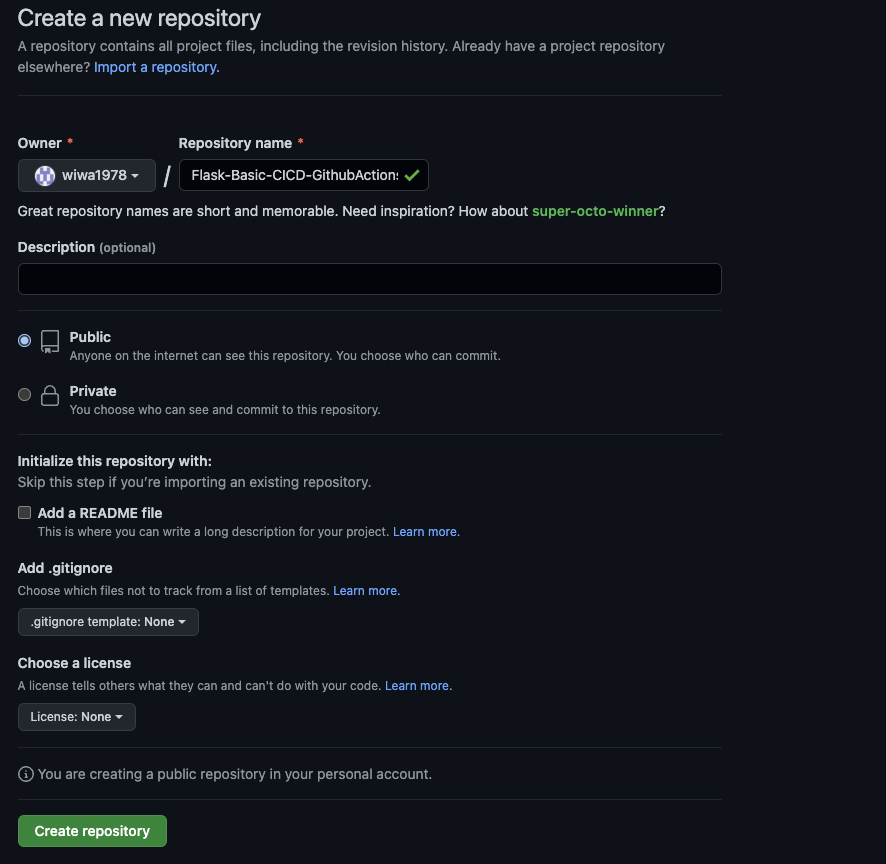
When successfull, some instructions will be shown how to push your application to your repository.
Commit our application
We will use the same Flask application we have been using before. We will be using the application from this post. The code for the app can be found here. Go ahead and download the code and push it to your repository.
~/Flask-Basic-CICD-GithubActions-DigitalOcean-Droplet ❯ git init
~/Flask-Basic-CICD-GithubActions-DigitalOcean-Droplet ❯ git add .
~/Flask-Basic-CICD-GithubActions-DigitalOcean-Droplet ❯ git commit -m "Initial commit"
~/Flask-Basic-CICD-GithubActions-DigitalOcean-Droplet ❯ git remote add origin https://github.com/wiwa1978/Flask-Basic-CICD-GithubActions-Docker-DO-Apps.gi
~/Flask-Basic-CICD-GithubActions-DigitalOcean-Droplet ❯ git push origin main
Right now, our application will be available on the remote Github repository.
Configure DigitalOcean
In the DigitalOcean console, go to the DigitalOceans’s App management consolde by clicking on the Apps button in the sidebar.
Click the Create App button. You will be presented with the following screen:
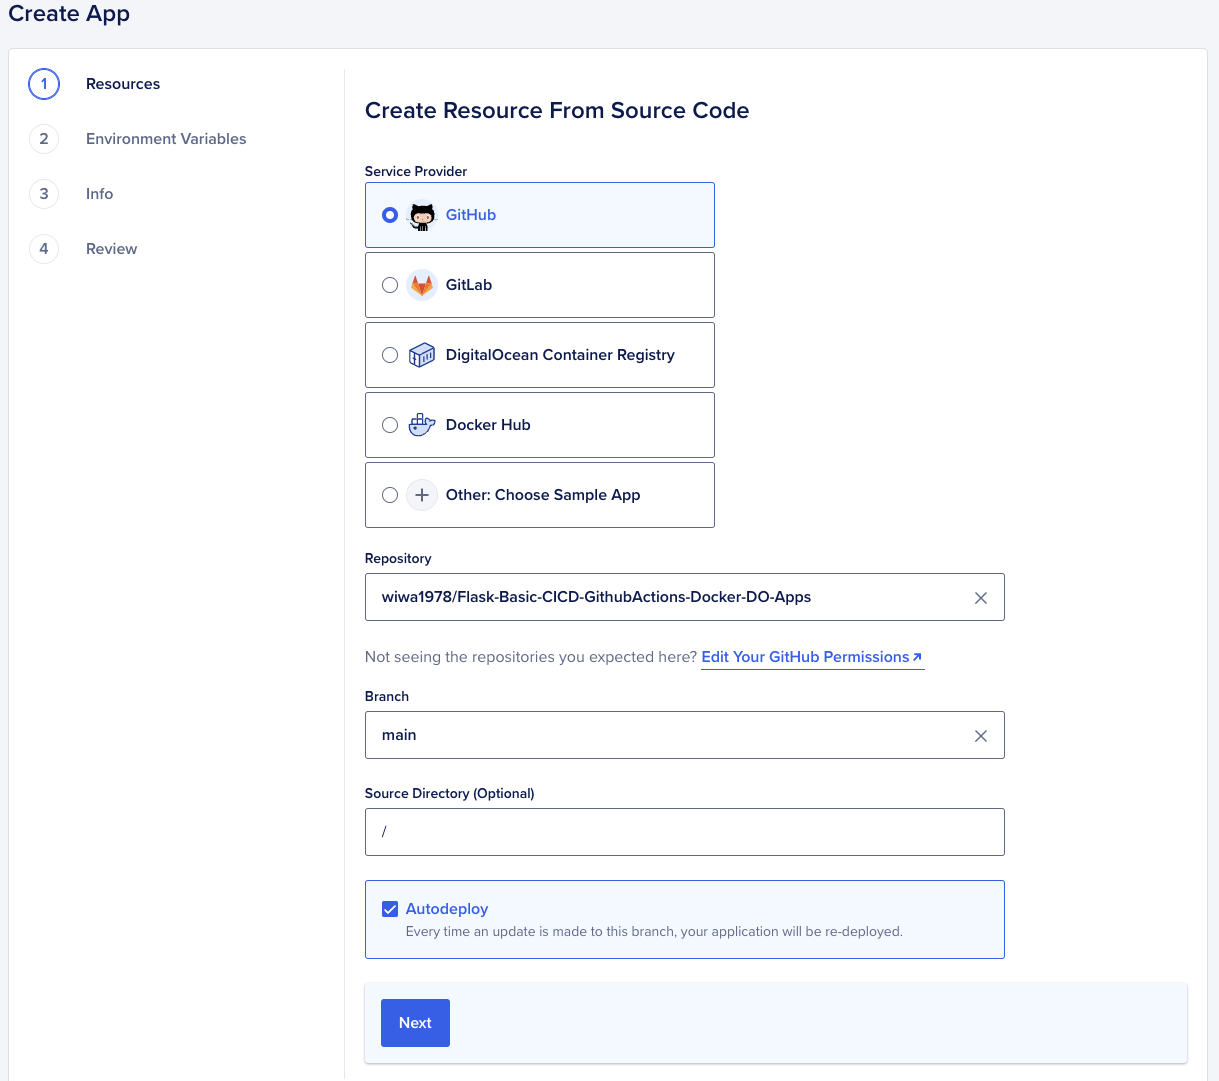
Choose Github and select your repository and click the next button. In case you don’t see your repositories you need to modify the repository permissions on Github.
You will get to the following screen.
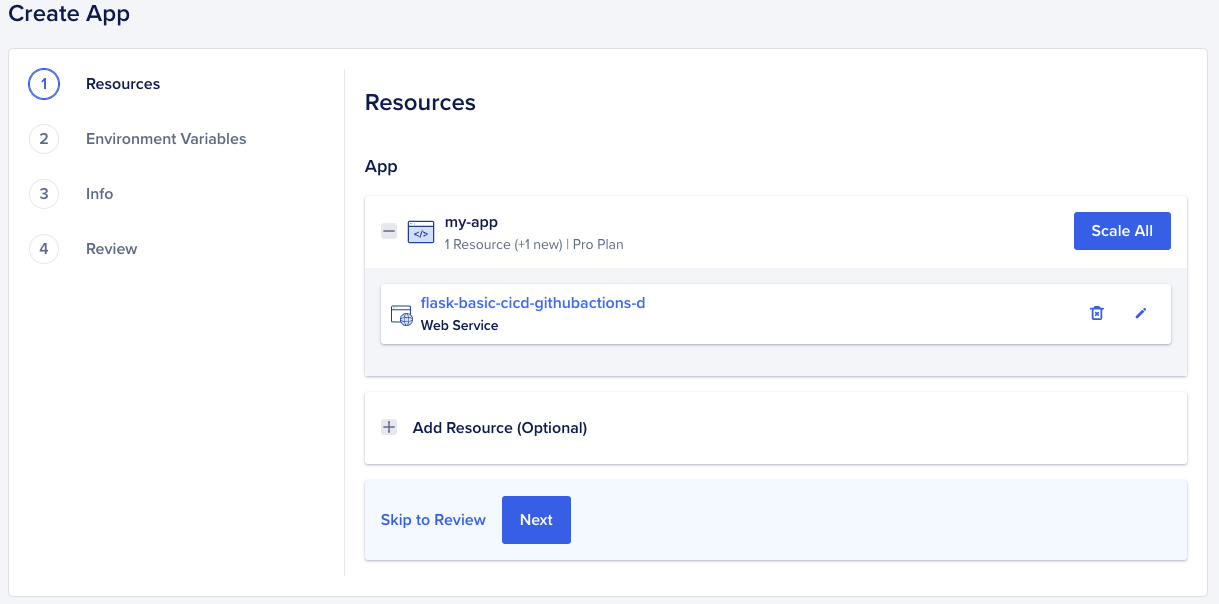
Click on the small pencil in the webservice section (under the Scale All button). That allows us to modify the webservice. You will see the following screen:
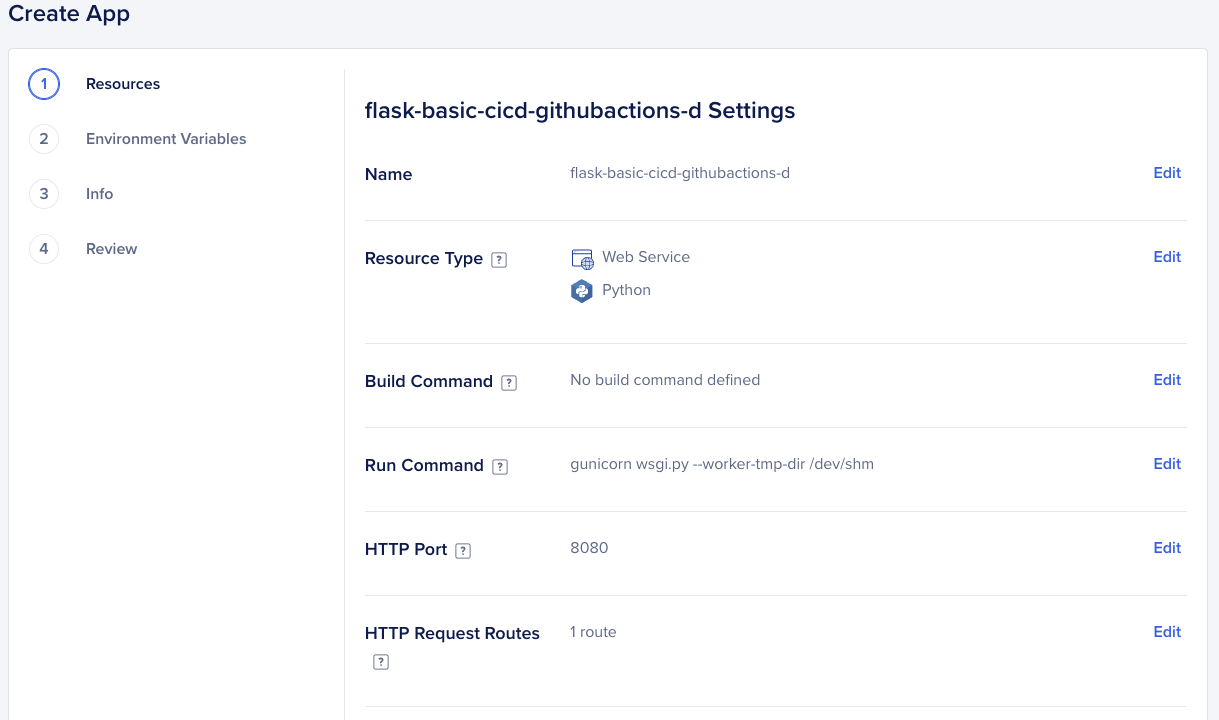
Change the Run Command
gunicorn --worker-tmp-dir /dev/shm app:appAnd change the port as well from 8080 to 5000. Why port 5000? Well, because we are running our small Flask app on port 5000, you can see that here. You should see something similar to below screenshot.

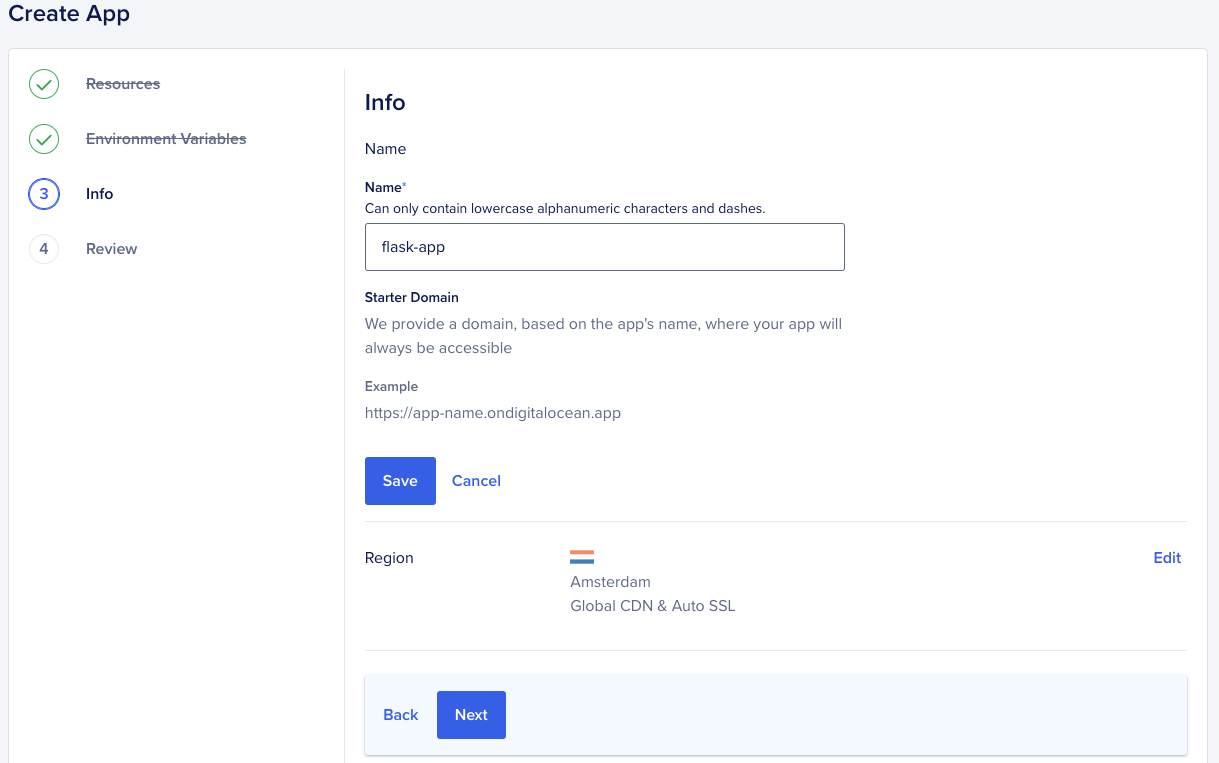
Skip the Environments section and go to the Info section. Give the app a name. You should see the following:
Next, review the settings. In my case, I have the following:
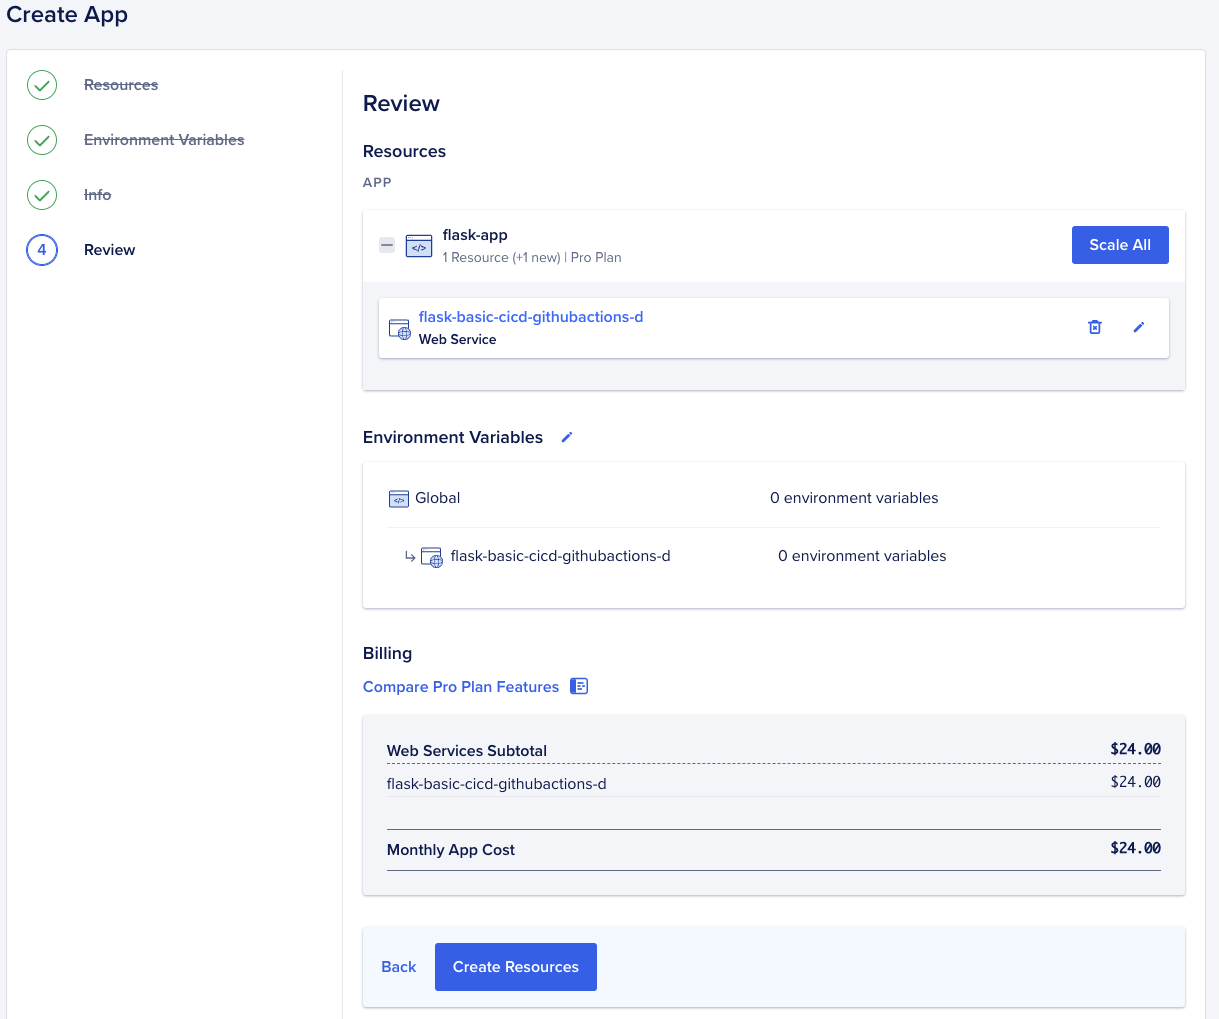
Click on Create Resources button.
Deploying the app
Next, you will see that DigitalOcean started deploying our application:
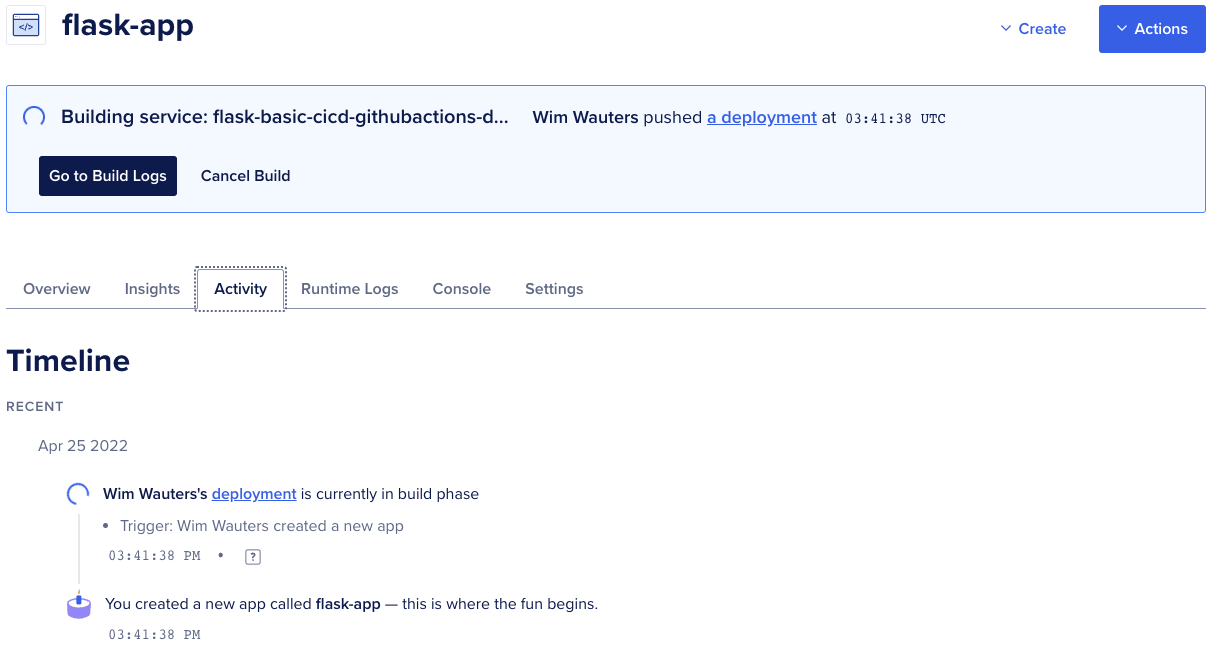
This might take some time but eventually you will see a success message, indicating the deployment was successfull.
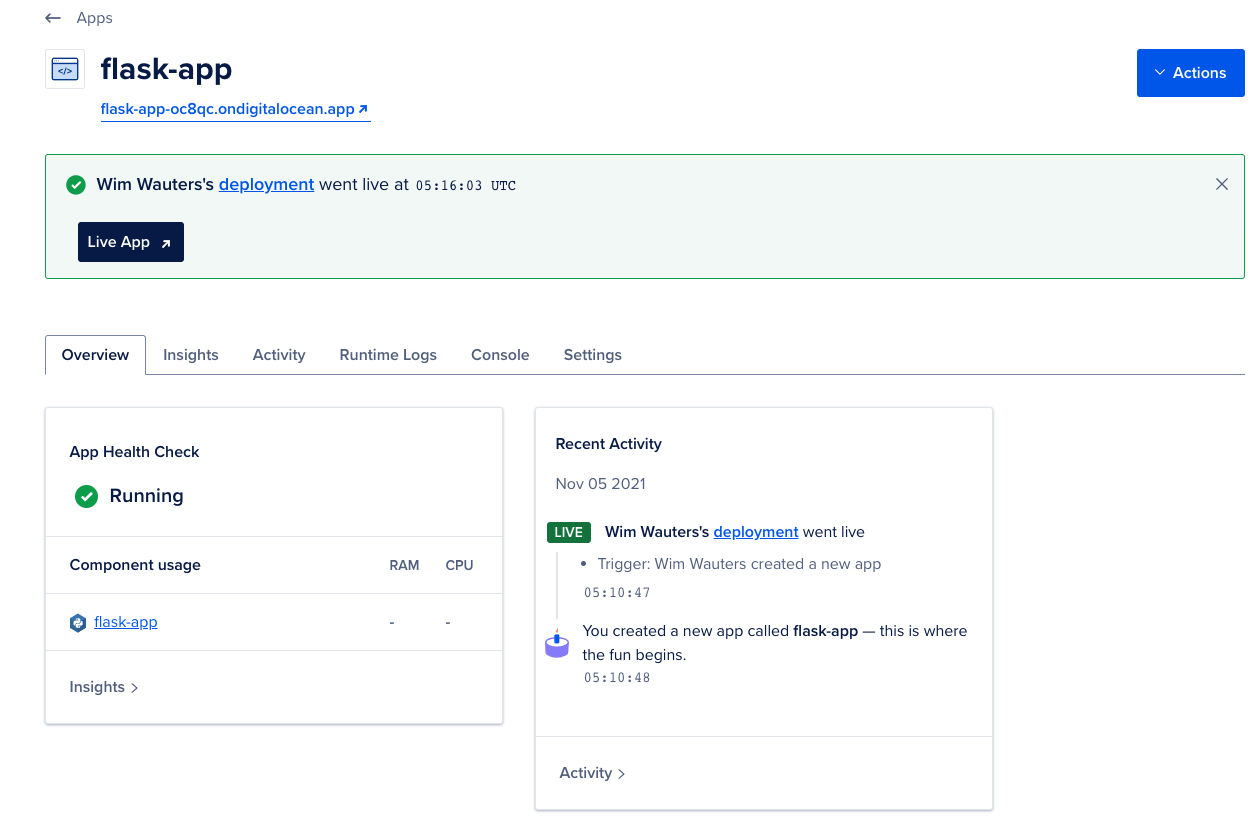
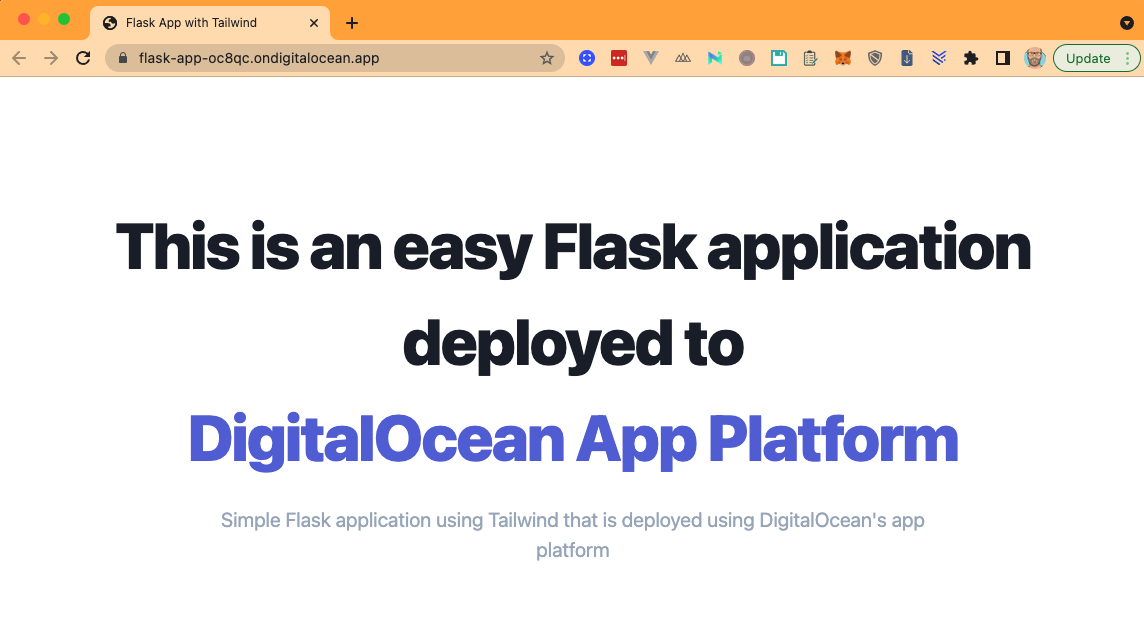
Click the Live App button and that will show the app in your default browser.
Updating the app
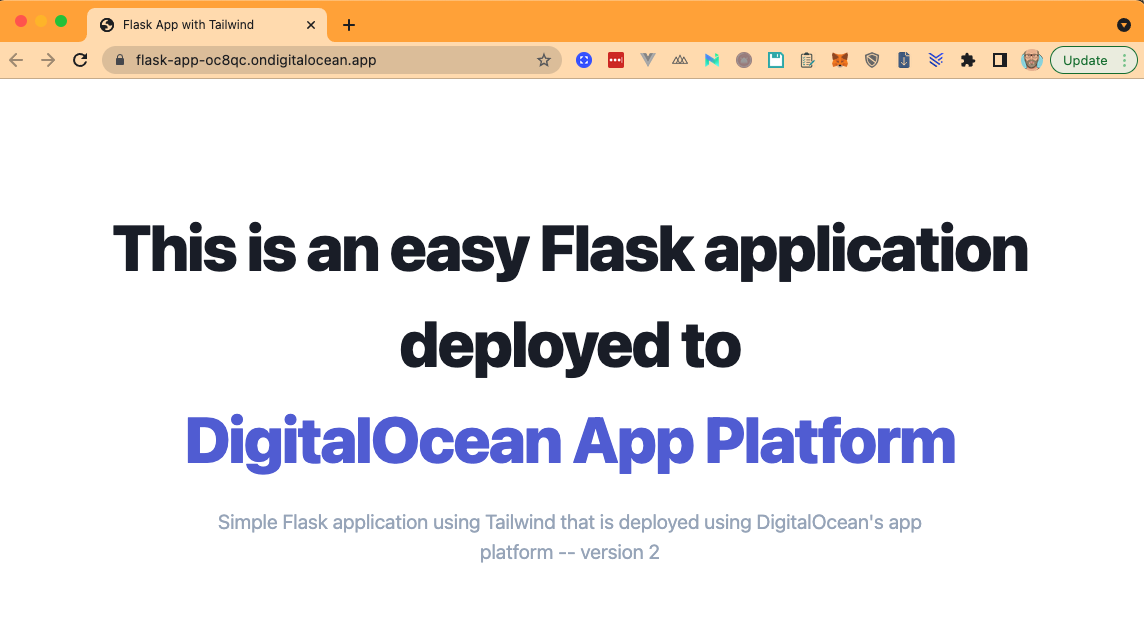
Next, let’s update our app. As usual we will make a very simple change because we just want to show the process here. Open the index.html file under the app/templates folder. In our case we added the words -- version 2 to the title tagline.
~/Flask-Basic-CICD-GithubActions-DigitalOcean-Apps ❯ git init
~/Flask-Basic-CICD-GithubActions-DigitalOcean-Apps ❯ git branch -m main
~/Flask-Basic-CICD-GithubActions-DigitalOcean-Apps ❯ git add .
~/Flask-Basic-CICD-GithubActions-DigitalOcean-Apps ❯ git commit -m "Initial Commit"
~/Flask-Basic-CICD-GithubActions-DigitalOcean-Apps ❯ git push -u origin main
This will automatically trigger a new deployment.
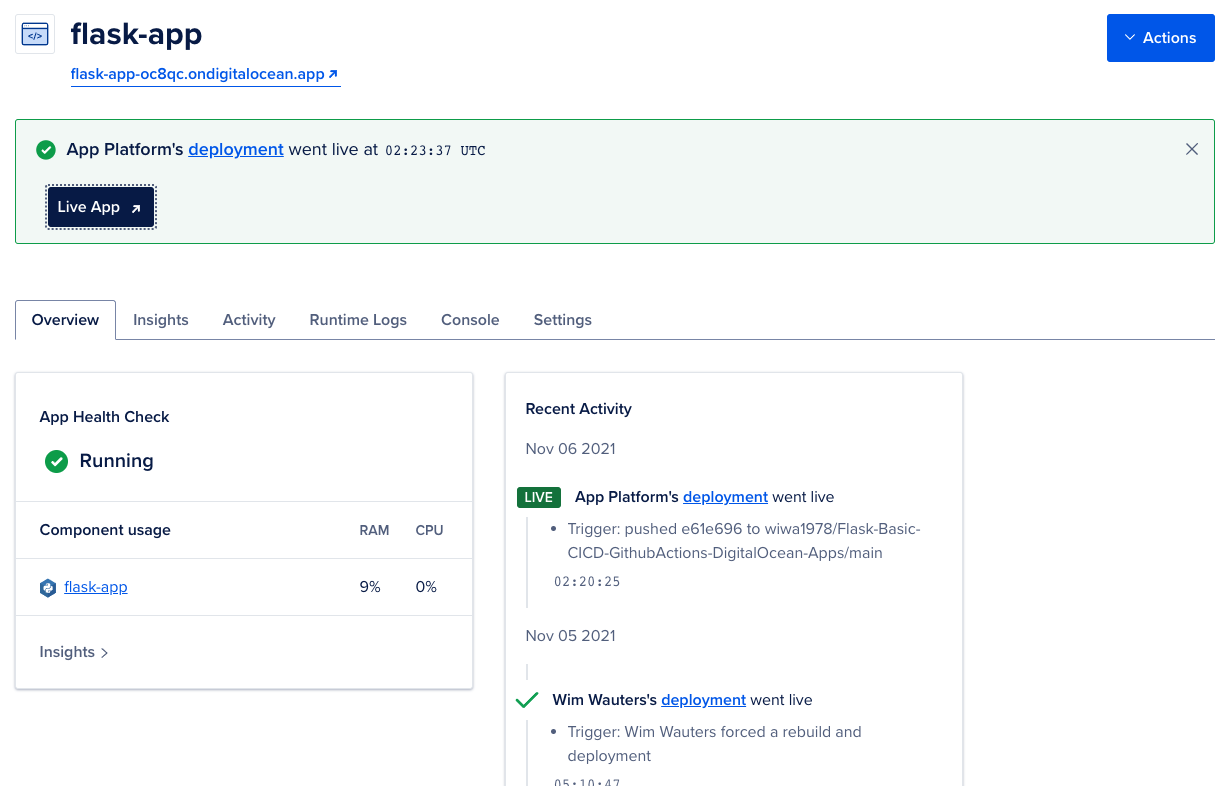
Refresh your browser and you will see our app got updated successfully.
Thanks for reading this post. Hope you learned something new. The code can be found here.