Deploy Flask App to Docker
Introduction
In this post we have created a very basic Flask application. Now we want to deploy it onto Docker. Let’s see how this can be accomplished. I’m going to assume that you have followed along the initial post or have done a git clone of my basic Flask application.
Also, if you want to follow along with this post, you should install Docker Desktop. You can download it here.
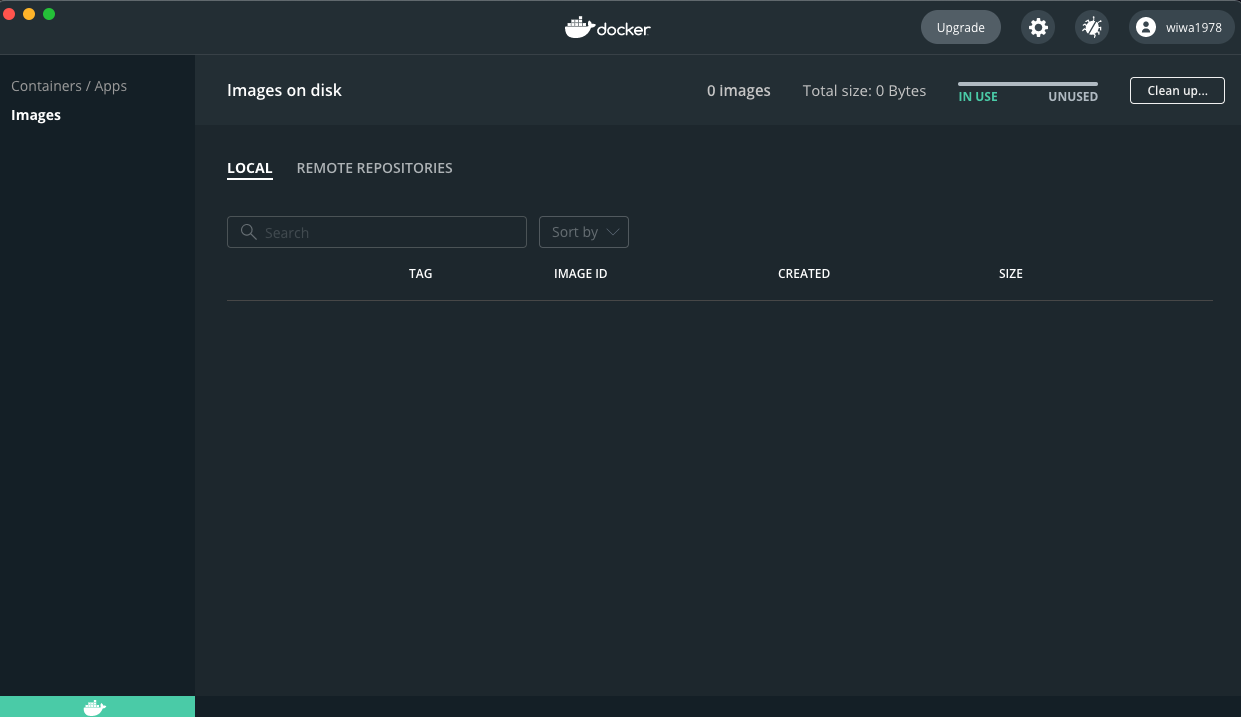
Here are some screenshots of Docker Desktop right after installation. You’ll notice in the screenshot below we don’t have local images.
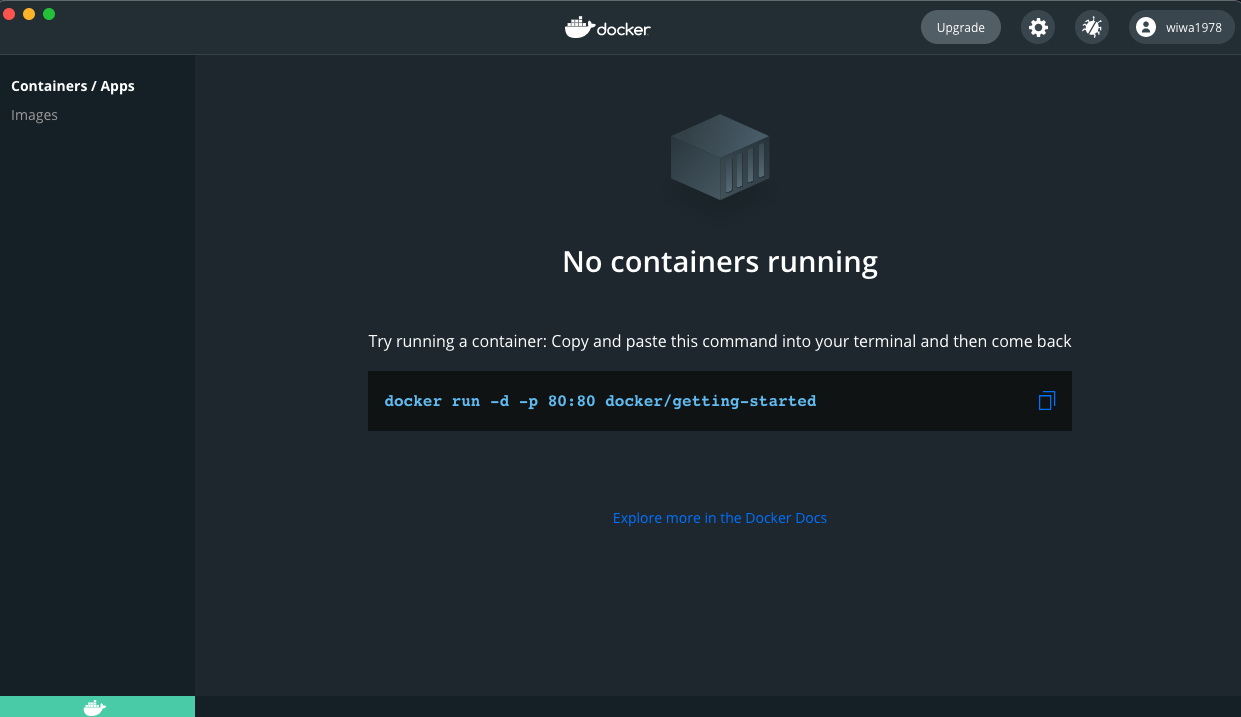
We also don’t have any running containers yet:
Dockerfile
We begin with creating a Dockerfile. This is just a text file that contains all the commands to be able to run the application on a Docker host.
FROM ubuntu:20.04

ENV LC_ALL=C.UTF-8
ENV LANG=C.UTF-8

RUN apt-get update -y && apt-get install -y python3-pip

# We copy just the requirements.txt first to leverage Docker cache
ADD requirements.txt /app/

WORKDIR /app

RUN /bin/bash -c "pip3 install --no-cache-dir -r requirements.txt"

ADD /app/ /app/

EXPOSE 5000

CMD ["gunicorn", "-b", "0.0.0.0:5000", "wsgi:app"]
Build the application using Dockerfile
Docker needs a Dockerfile in order to know how to build the application. Let’s do this now:
~Flask/Flask-Basic-Docker master ❯ docker build -t wiwa1978/docker-flask-basic:latest .
Sending build context to Docker daemon  27.57MB
Step 1/10 : FROM ubuntu:20.04
<TRUNCATED>
Successfully built 7cb28ebe370e
Successfully tagged wiwa1978/docker-flask-basic:latest
You will see now that we have a Docker image on our PC. You can check this using the docker images command. As expected, we have two images. One is the Ubuntu:20.04 base image, the other is our application image.
~Flask-Basic-Docker master ❯ docker images
REPOSITORY                    TAG       IMAGE ID       CREATED          SIZE
wiwa1978/docker-flask-basic   latest    7cb28ebe370e   56 seconds ago   440MB
ubuntu                        20.04     f63181f19b2f   10 days ago      72.9MB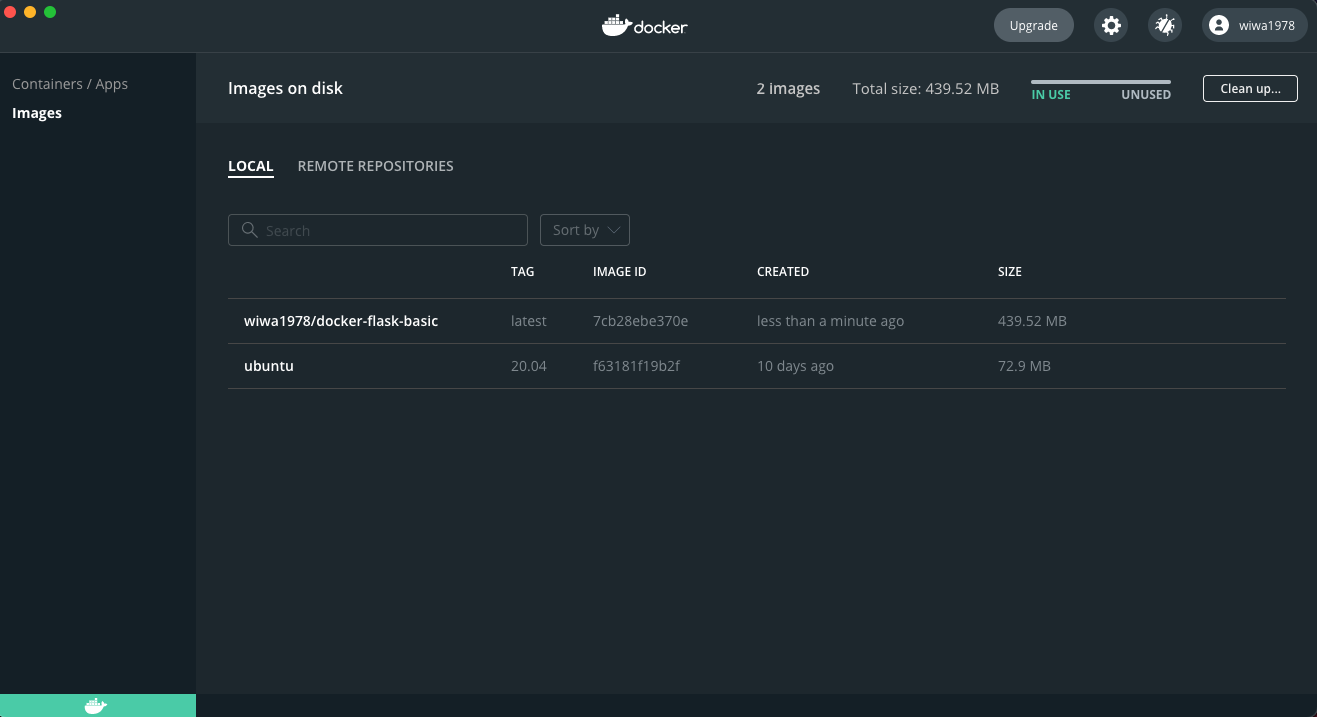
Run the application using Dockerfile
Next, we can run the Docker image as follows:
~Flask-Basic-Docker master !2 ❯ docker run -d -p 5000:5000 wiwa1978/docker-flask-basic:latest
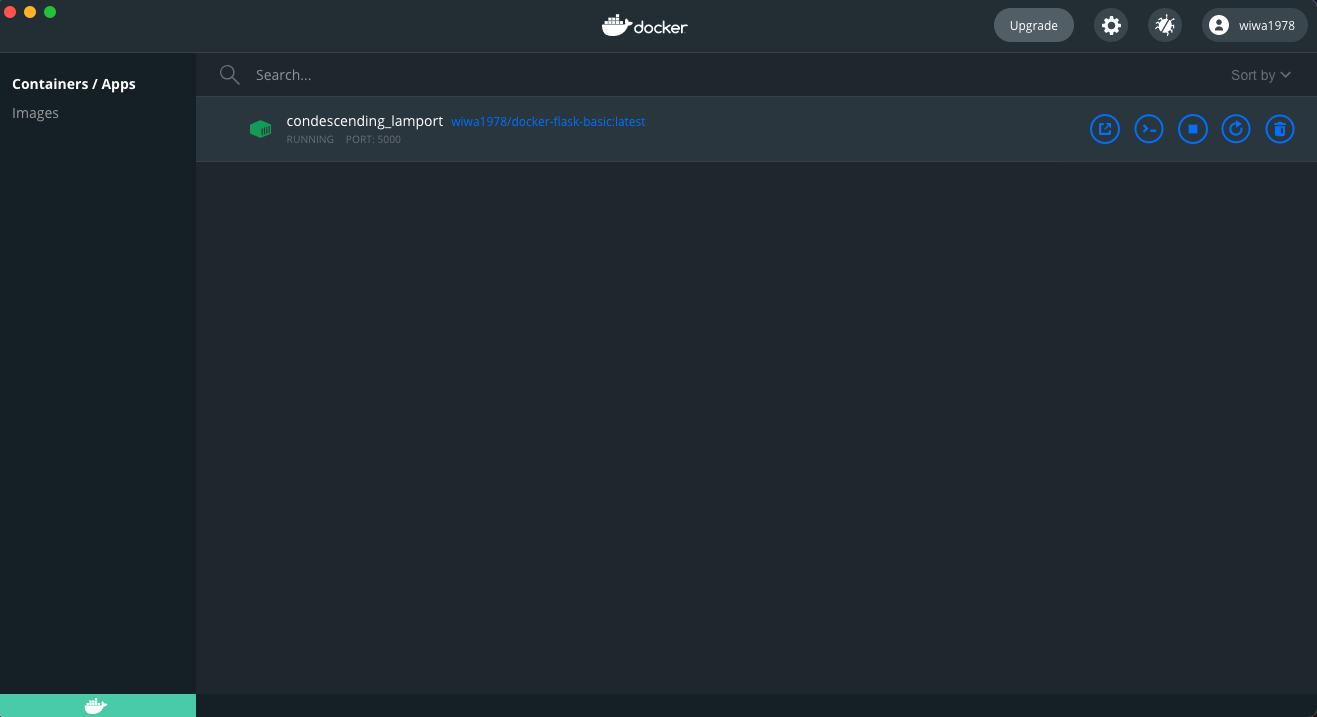
f5224364d5e414aff934a90554562d08c4202d86431326f01930a5105f984747Next, let’s see if our container is running using the docker ps command:
~Flask/Flask-Basic-Docker master ❯ docker ps
CONTAINER ID IMAGE COMMAND CREATED STATUS PORTS NAMES
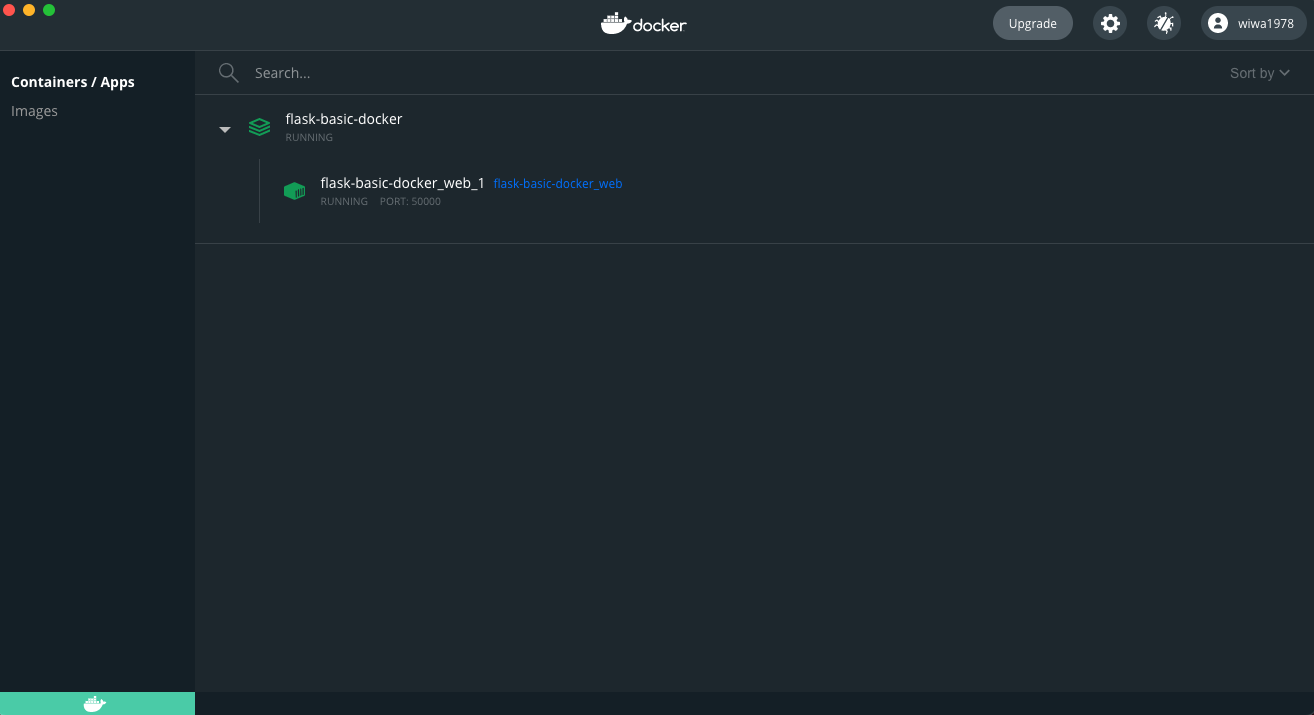
f5224364d5e4 wiwa1978/docker-flask-basic:latest "gunicorn -b 0.0.0.0…" 16 seconds ago Up 15 seconds 0.0.0.0:5000->5000/tcp condescending_lamportNote that we can also see this through Docker Desktop:
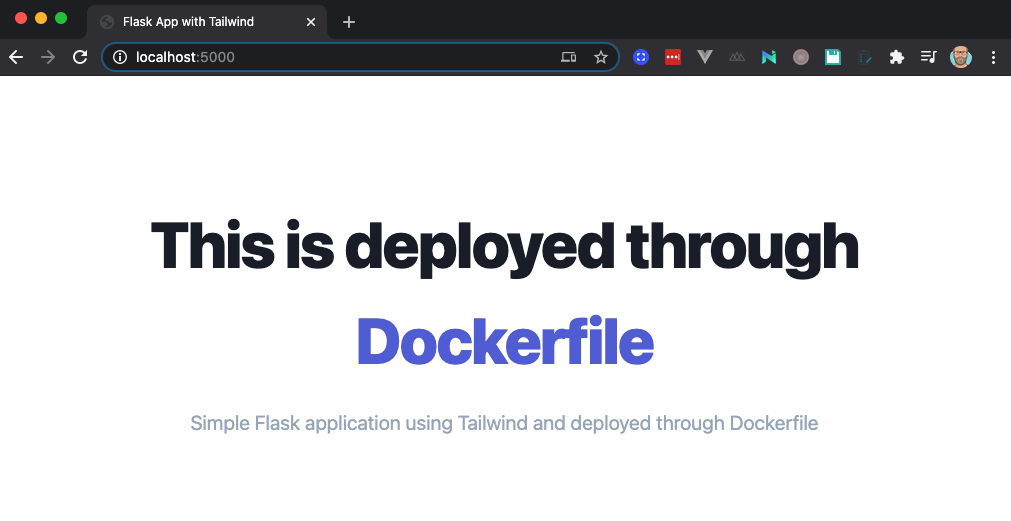
To see our application, use your browser to open http://127.0.0.1:5000
Stop the application
Let’s stop the application for now.
~Flask/Flask-Basic-Docker master ❯ docker stop condescending_lamport
condescending_lamport
~Flask/Flask-Basic-Docker master ❯ docker ps
CONTAINER ID   IMAGE     COMMAND   CREATED   STATUS    PORTS     NAMES
Docker-Compose
Compose is a tool for defining and running multi-container Docker applications. With Compose, you use a YAML file to configure your application’s services. Then, with a single command, you create and start all the services from your configuration.
Although docker-compose is intended to be used for multi-container applications (e.g. think an application with a database) it can also be used for single containers. I admit that there are few advantages to use docker-compose for single container applications but I wanted to add this section here for reference. We might need it anyway for future tutorials.
So, let’s have a look at the docker-compose.yml file. Create it under your root folder.
docker-compose.yml file
version: "3.6"

services:
  web:
    build: .
    networks:
      - default
    ports:
      - 50000:5000
    restart: always
Run the application using Docker-Compose
~Flask-Basic-Docker master ❯ docker-compose up
Creating network "flask-basic-docker_default" with the default driver
Building web
Step 1/10 : FROM ubuntu:20.04
<TRUNCATED>
Successfully built 2f06282b2adf
Successfully tagged flask-basic-docker_web:latest
WARNING: Image for service web was built because it did not already exist. To rebuild this image you must use `docker-compose build` or `docker-compose up --build`.
Creating flask-basic-docker_web_1 ... done
Attaching to flask-basic-docker_web_1
web_1 | [2021-01-31 11:15:33 +0000] [1] [INFO] Starting gunicorn 20.0.4
web_1 | [2021-01-31 11:15:33 +0000] [1] [INFO] Listening at: http://0.0.0.0:5000 (1)
web_1 | [2021-01-31 11:15:33 +0000] [1] [INFO] Using worker: sync
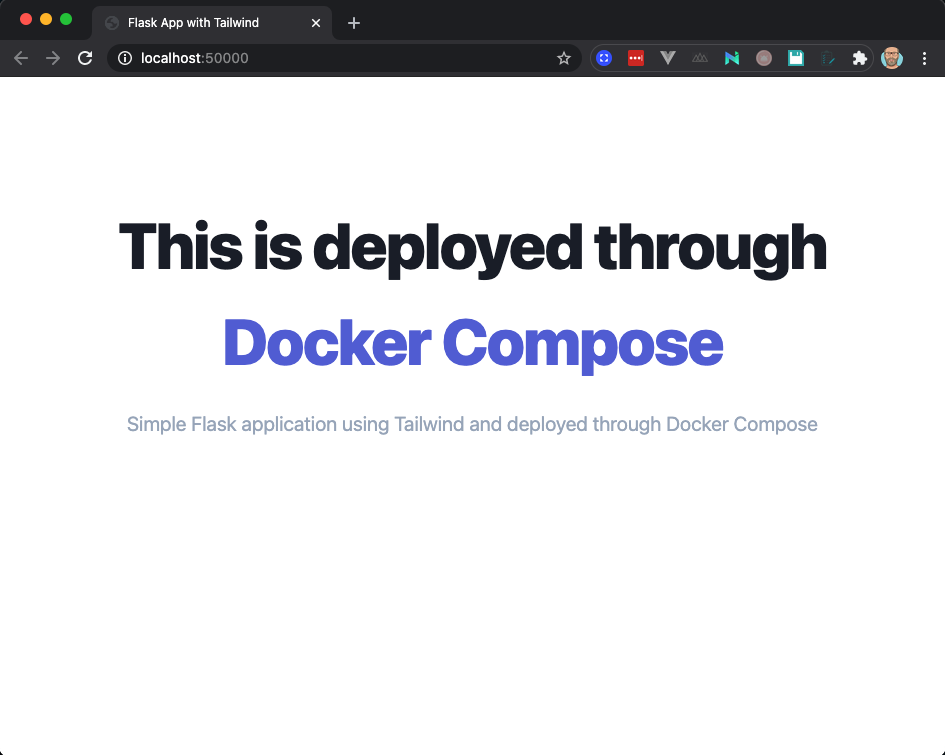
web_1 | [2021-01-31 11:15:33 +0000] [8] [INFO] Booting worker with pid: 8Check Docker Desktop and you will see our container is up and running
To see our application, use your browser to open http://127.0.0.1:50000 (note that we are using port 50000 here as mentioned in the docker-compose file):
Stop the application using Docker-Compose
Stopping the application using docker-compose is very straigthforward. Just issue the docker-compose down command and the containers will be removed.
~Flask-Basic-Docker master ❯ docker-compose down
Removing flask-basic-docker_web_1 ... done
Removing network flask-basic-docker_default
Change the application using Docker-Compose
If we wanted to change the application (e.g. just change some text in our index.html template) it’s pretty easy to relaunch the app using docker-compose. We’ll how in a second.
For reference, here’s the update we made to the index.html file in the templates folder:
<span class="block xl:inline">This is an updated version deployed through</span>
<span class="block text-indigo-600 xl:inline">Docker Compose</span>
In order to make the update appear, we can run docker-compose up again but provide it with the --build option. This will ensure our container is build again before running the container.
~Flask-Basic-Docker master ❯ docker-compose up -d --build
Building web
<TRUNCATED>
Successfully tagged flask-basic-docker_web:latest
Recreating flask-basic-docker_web_1 ... done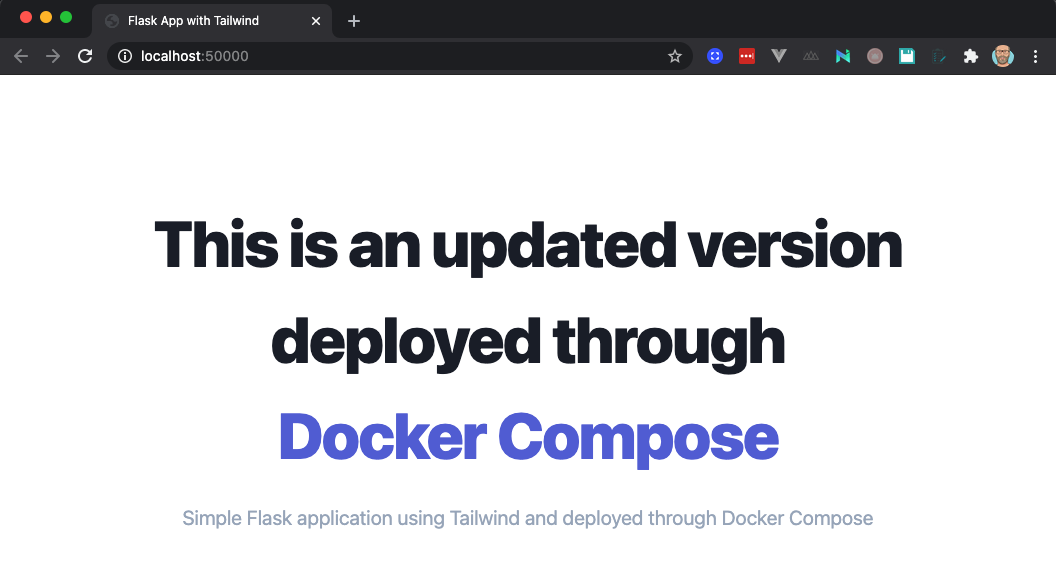
That’s it for now. Pretty easy but we’ll use the fundaments in later posts. Check out the full code in Github