Deploy Flask App to DigitalOcean using Docker
Introduction
In previous posts, we have created a basic Flask application (see here) which we have been deploying to a variety of platforms. In this post, we will deploy the same basic Flask application to DigitalOcean using Docker. Essentially we will deploy a Docker container on a droplet server running Docker
Configure Github repository
First we create a new Github repisotory.
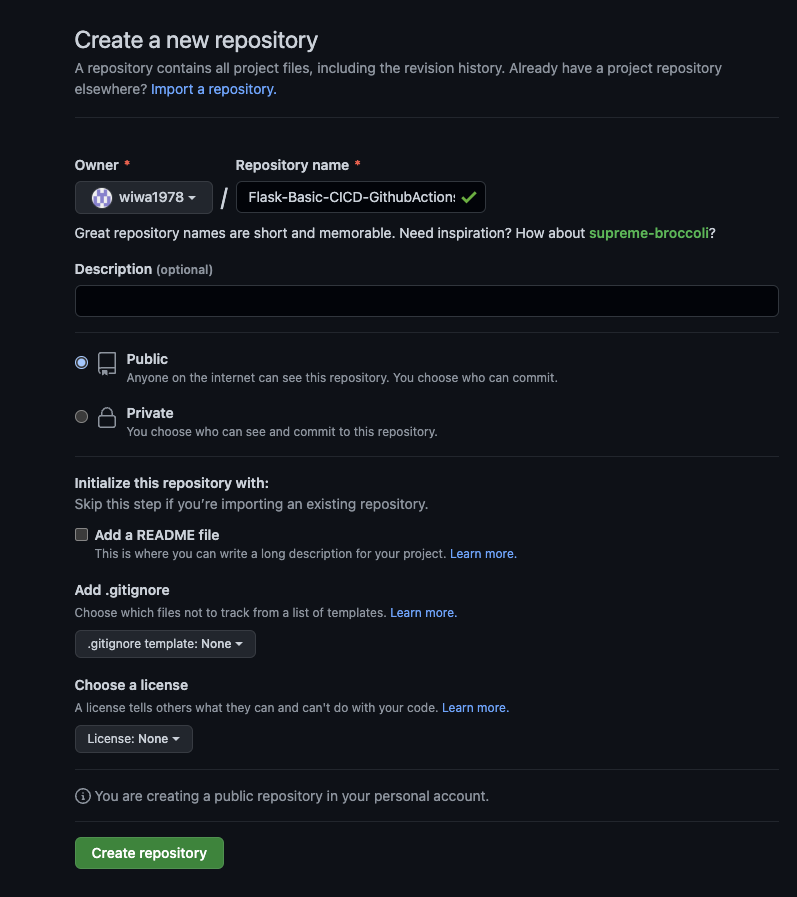
When successfull, some instructions will be shown how to push your application to your repository.
Commit our application
We will use the same Flask application we have been using before. We will be using the application from this post. The code for the app can be found here. Go ahead and download the code and push it to your repository.
~/Flask-Basic-CICD-GithubActions-DigitalOcean-Droplet ❯ git init
~/Flask-Basic-CICD-GithubActions-DigitalOcean-Droplet ❯ git add .
~/Flask-Basic-CICD-GithubActions-DigitalOcean-Droplet ❯ git commit -m "Initial commit"
~/Flask-Basic-CICD-GithubActions-DigitalOcean-Droplet ❯ git remote add origin https://github.com/wiwa1978/Flask-Basic-CICD-GithubActions-DigitalOcean-Droplet.git
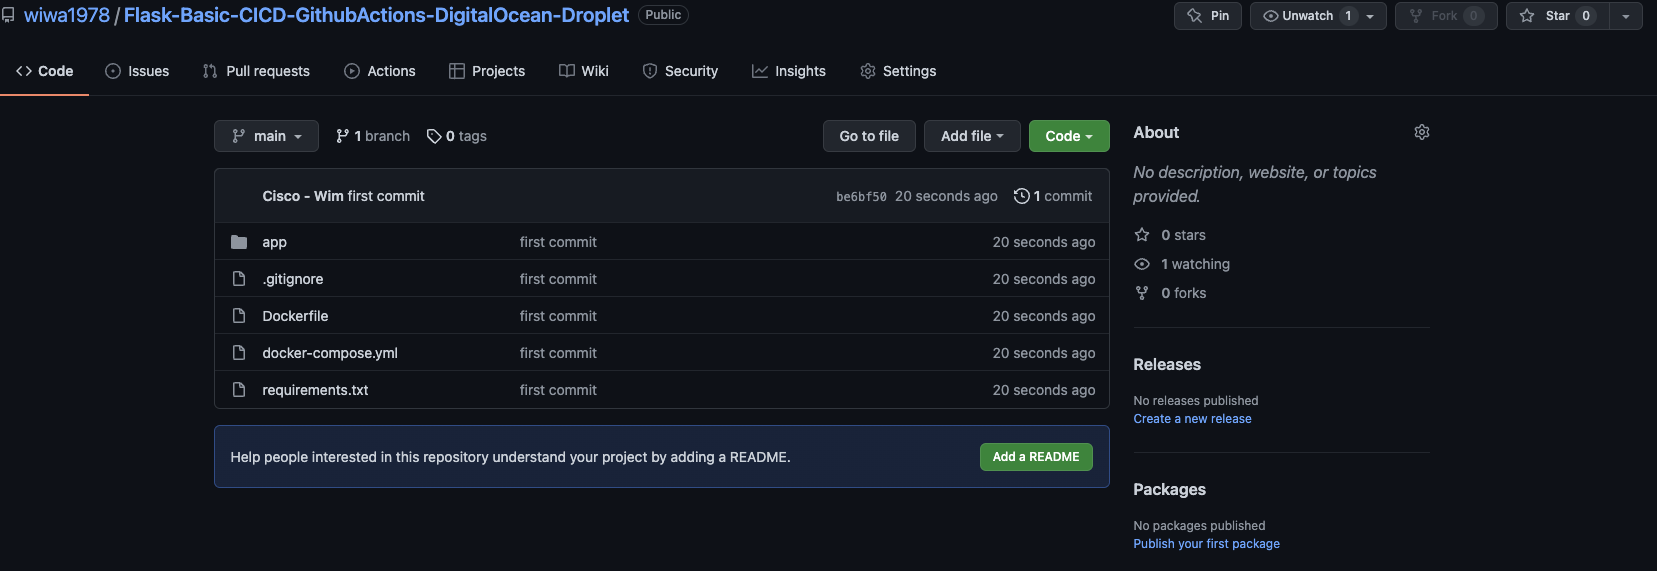
~/Flask-Basic-CICD-GithubActions-DigitalOcean-Droplet ❯ git push origin mainYour remote repository will now contain the source code of your application.
Configure DigitalOcean Access token
Next we need to care of some DigitalOcean specifics. We will do the following:
- Create an access token to interact with the API
- Create a droplet that will run our application
- Create a container registry to store our container image
First, to be able to interact with the DigitalOcean API you need to create a new token.
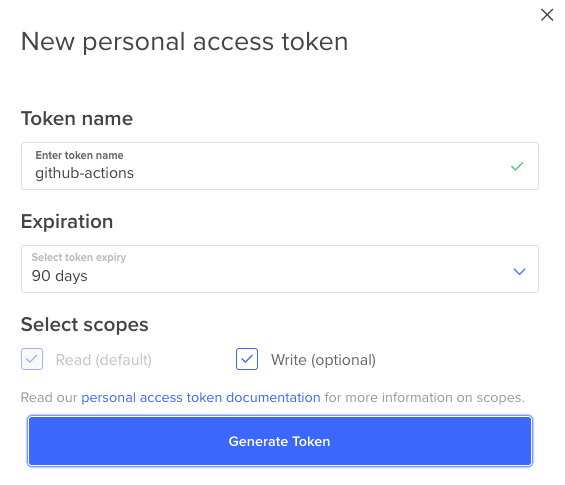
Make a copy of the token as we will need to create a secret in our Github repository (later section).
Create Droplet
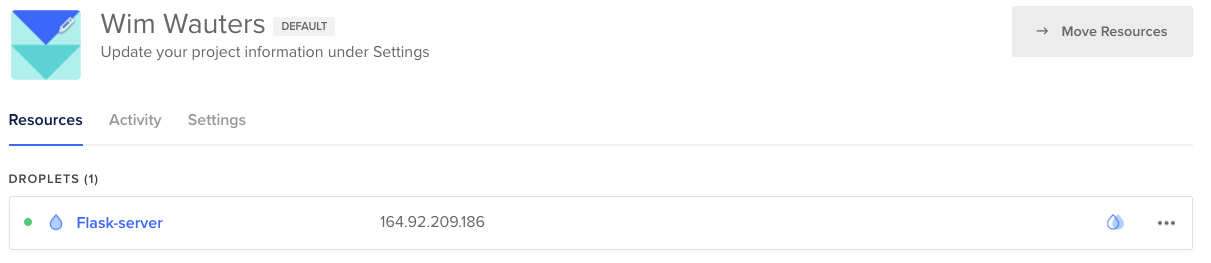
Next, create a Droplet on DigitalOcean. You could do this through the console (user interface) or through Doctl. In this post, we will be using Doctl.
~/Flask-Basic-CICD-GithubActions-DigitalOcean-Droplet ❯ doctl compute droplet create Flask-server --image docker-18-04 --size s-1vcpu-1gb --region ams3 --waitIf all goes well, you will receive an email with the username and password for this droplet. You will need to login to the droplet using ssh. Just use ssh root@IPaddress to login through SSH. Use the password that you received in the email. Next change your password using the console and store this as a secret in your Github repository (later section).
Create container registry
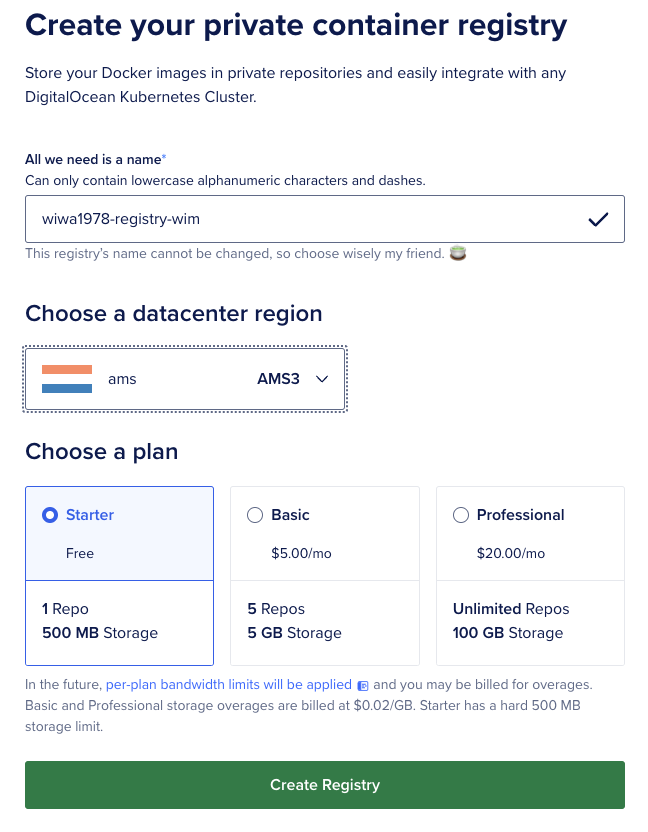
On the DigitalOcean user interface, go to Container Registry and create a private container registry as follows:
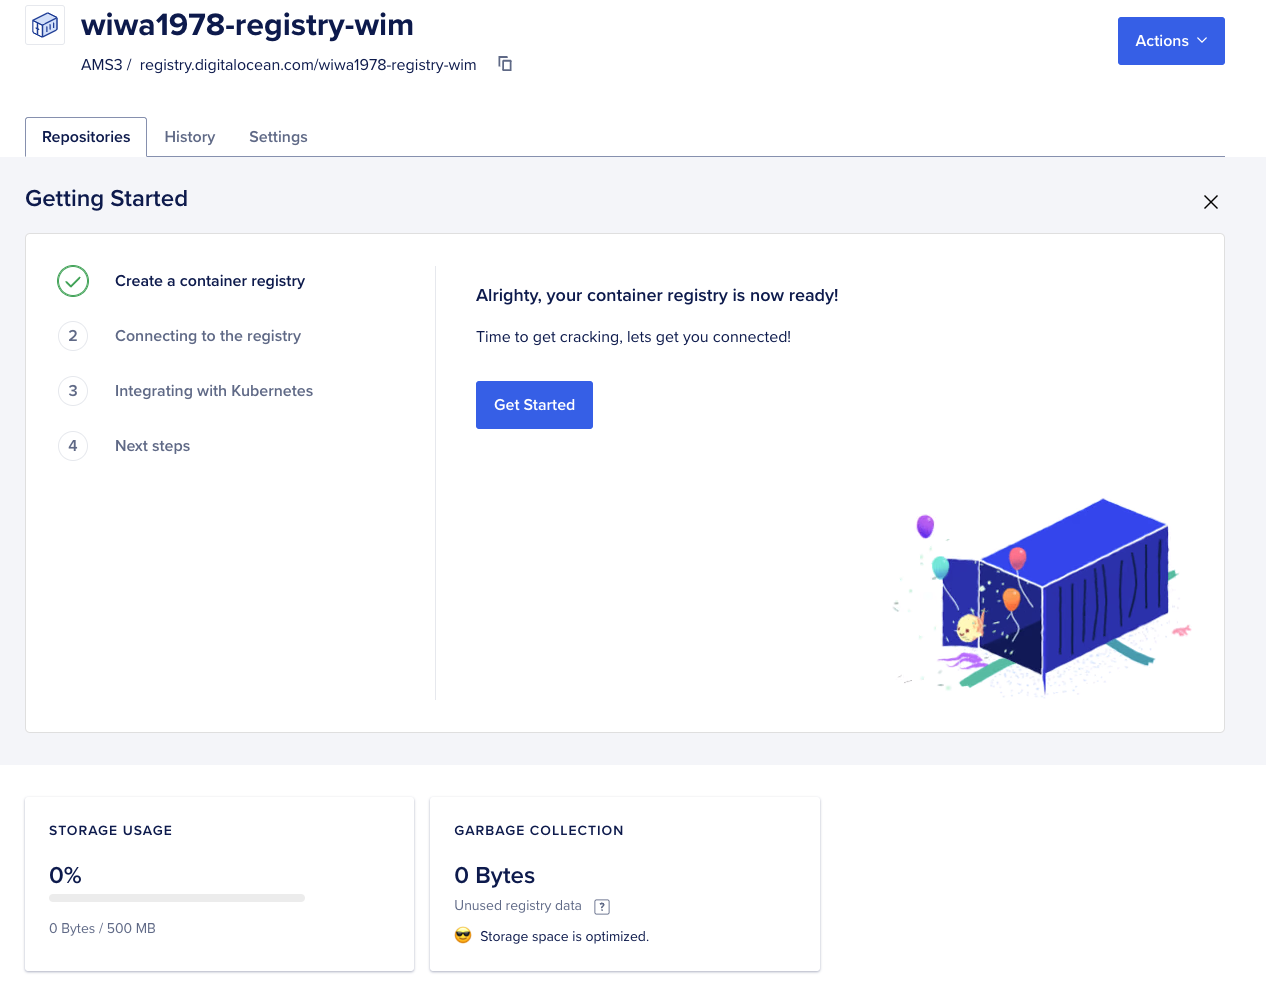
Once the container registry is created, you will see the following:
Create secrets on Github repo
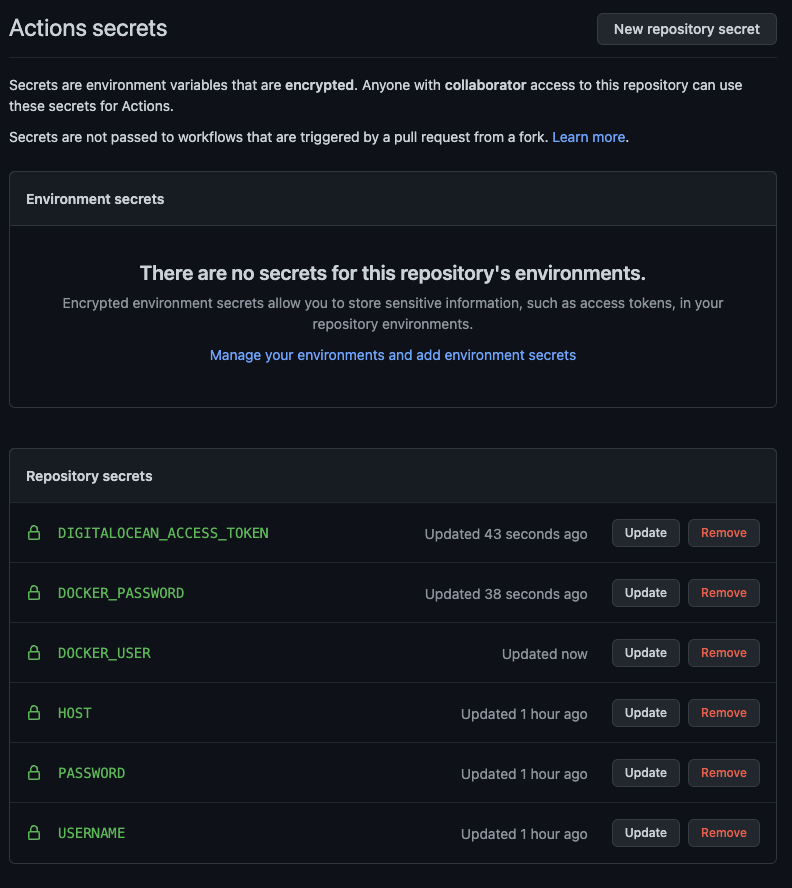
As we mentioned already before, there are some secrets we need to configure in our Github repo because Github Actions (discussed in a later section) will make use of these. The screenshot shows the list of secrets that need to be created. To create these secrets go to your Github repo and click Settings and then Secrets. Create the following secrets:
- DIGITALOCEAN_ACCESS_TOKEN: contains the access token that was created in a previous section
- DOCKER_USER: contains the access token that was created in a previous section (note: it’s DOCKER_USER, not DOCKER_USERNAME)
- DOCKER_PASSWORD: contains the access token that was created in a previous section
- HOST: the IP address of your droplet
- USERNAME: username of your droplet (e.g usually this is root)
- PASSWORD: the password you created for the root user on your droplet
Add Github actions workflow
All configuration for DigitalOcean and Github should be done now so we can focus on deploying the application. To do so, we will use Github Actions and configure the GIthub Actions workflow.
Add Github actions workflow
We will add a workflows file to our code repostitory. All Github Actions workflows will be located in the .github/workflows folder so we will need to create this folder first. Next, add a file main.yml under that folder. The main.yml file will contain the workflow. The entire content of the file is show below:
name: CI

on:
  push:
    branches: [main]

  workflow_dispatch:

env:
  REGISTRY: "registry.digitalocean.com/wiwa1978-registry-wim"
  IMAGE_NAME: "flask-app-wim"

jobs:
  build_and_push:
    runs-on: ubuntu-latest

    steps:
      - name: Checkout files
        uses: actions/checkout@v2

      - name: Build container image latest version
        run: docker build -t $(echo $REGISTRY)/$(echo $IMAGE_NAME):$(echo $GITHUB_SHA | head -c7) .

      - name: Install doctl
        uses: digitalocean/action-doctl@v2
        with:
          token: ${{ secrets.DIGITALOCEAN_ACCESS_TOKEN }}

      - name: Log in to DigitalOcean Container Registry with short-lived credentials
        run: doctl registry login --expiry-seconds 600

      - name: Push image to DigitalOcean Container Registry
        run: docker push $(echo $REGISTRY)/$(echo $IMAGE_NAME):$(echo $GITHUB_SHA | head -c7)

  deploy:
    needs: build_and_push
    runs-on: ubuntu-latest

    steps:
      - name: Deploy to Digital Ocean droplet via SSH action
        uses: appleboy/ssh-action@v0.1.3
        with:
          host: ${{ secrets.HOST }}
          username: ${{ secrets.USERNAME }}
          password: ${{ secrets.PASSWORD }}
          envs: IMAGE_NAME,REGISTRY,GITHUB_SHA, ${{ secrets.DOCKER_USER }}, ${{ secrets.DOCKER_PASSWORD }}
          port: 22
          script: |
            # login docker
            docker login -u $DOCKER_USER -p $DOCKER_PASSWORD registry.digitalocean.com

            # Run a new container from a new image
            docker run -d \
            --restart always \
            -p 80:5000 \
            --name $(echo $IMAGE_NAME) \
            $(echo $REGISTRY)/$(echo $IMAGE_NAME):$(echo $GITHUB_SHA | head -c7)
The workflow does the following:
A) Build_and_push step
- Checkout the files from the repository onto an Ubuntu (e.g. ubuntu-latest) container
- Build a container image (using the Dockerfile in our repo). Note the environment variables we have set prior to tje job definition
- Install the DOCTL commandline tools
- Login to the DigitalOcean container registry
- Eventually push the container image to the DigitalOcean container registry
B) Deploy step
- Deploy the container to the Droplet that you created in an earlier section. Under the hood, we login to the droplet through SSH, we stop the existing app and remove the existing container and run the new container image.
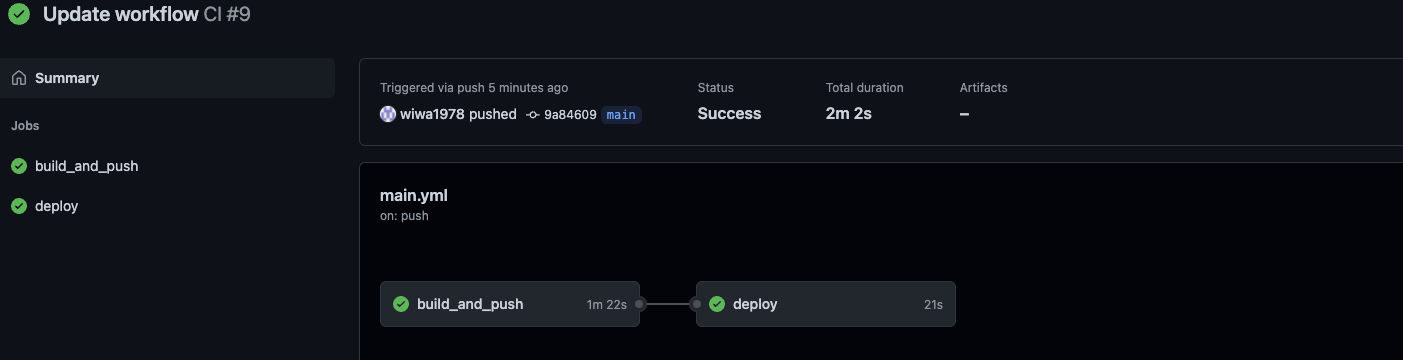
Since we have made updates to the main.yml workflow file, go ahead and commit that change to your Github repository.
~/Flask-Basic-CICD-GithubActions-DigitalOcean-Droplet ❯ git add .
~/Flask-Basic-CICD-GithubActions-DigitalOcean-Droplet ❯ git commit -m "Update workflow"
~/Flask-Basic-CICD-GithubActions-DigitalOcean-Droplet ❯ git push -u origin main
Enumerating objects: 6, done.
Counting objects: 100% (6/6), done.
Delta compression using up to 6 threads
Compressing objects: 100% (2/2), done.
Writing objects: 100% (5/5), 362 bytes | 362.00 KiB/s, done.
Total 5 (delta 1), reused 0 (delta 0), pack-reused 0
remote: Resolving deltas: 100% (1/1), completed with 1 local object.
To https://github.com/wiwa1978/Flask-Basic-CICD-GithubActions-DigitalOcean-Droplet.git
   be6bf50..e5306c0  main -> main
Branch 'main' set up to track remote branch 'main' from 'origin'.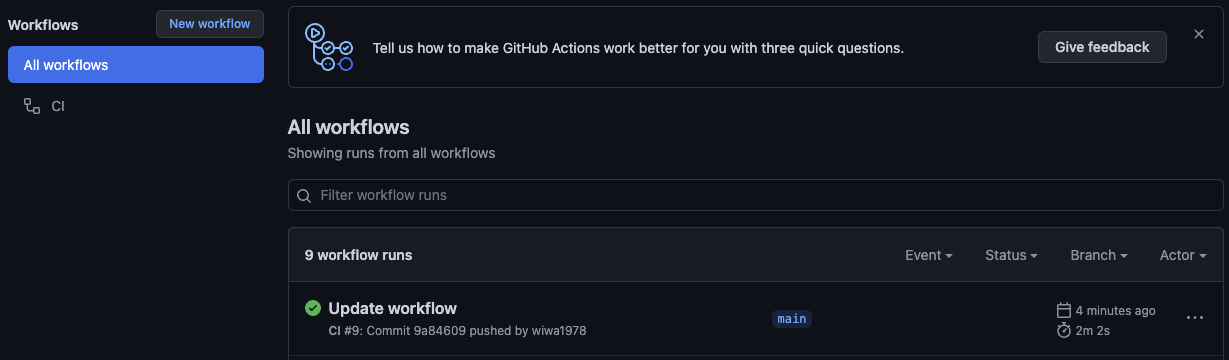
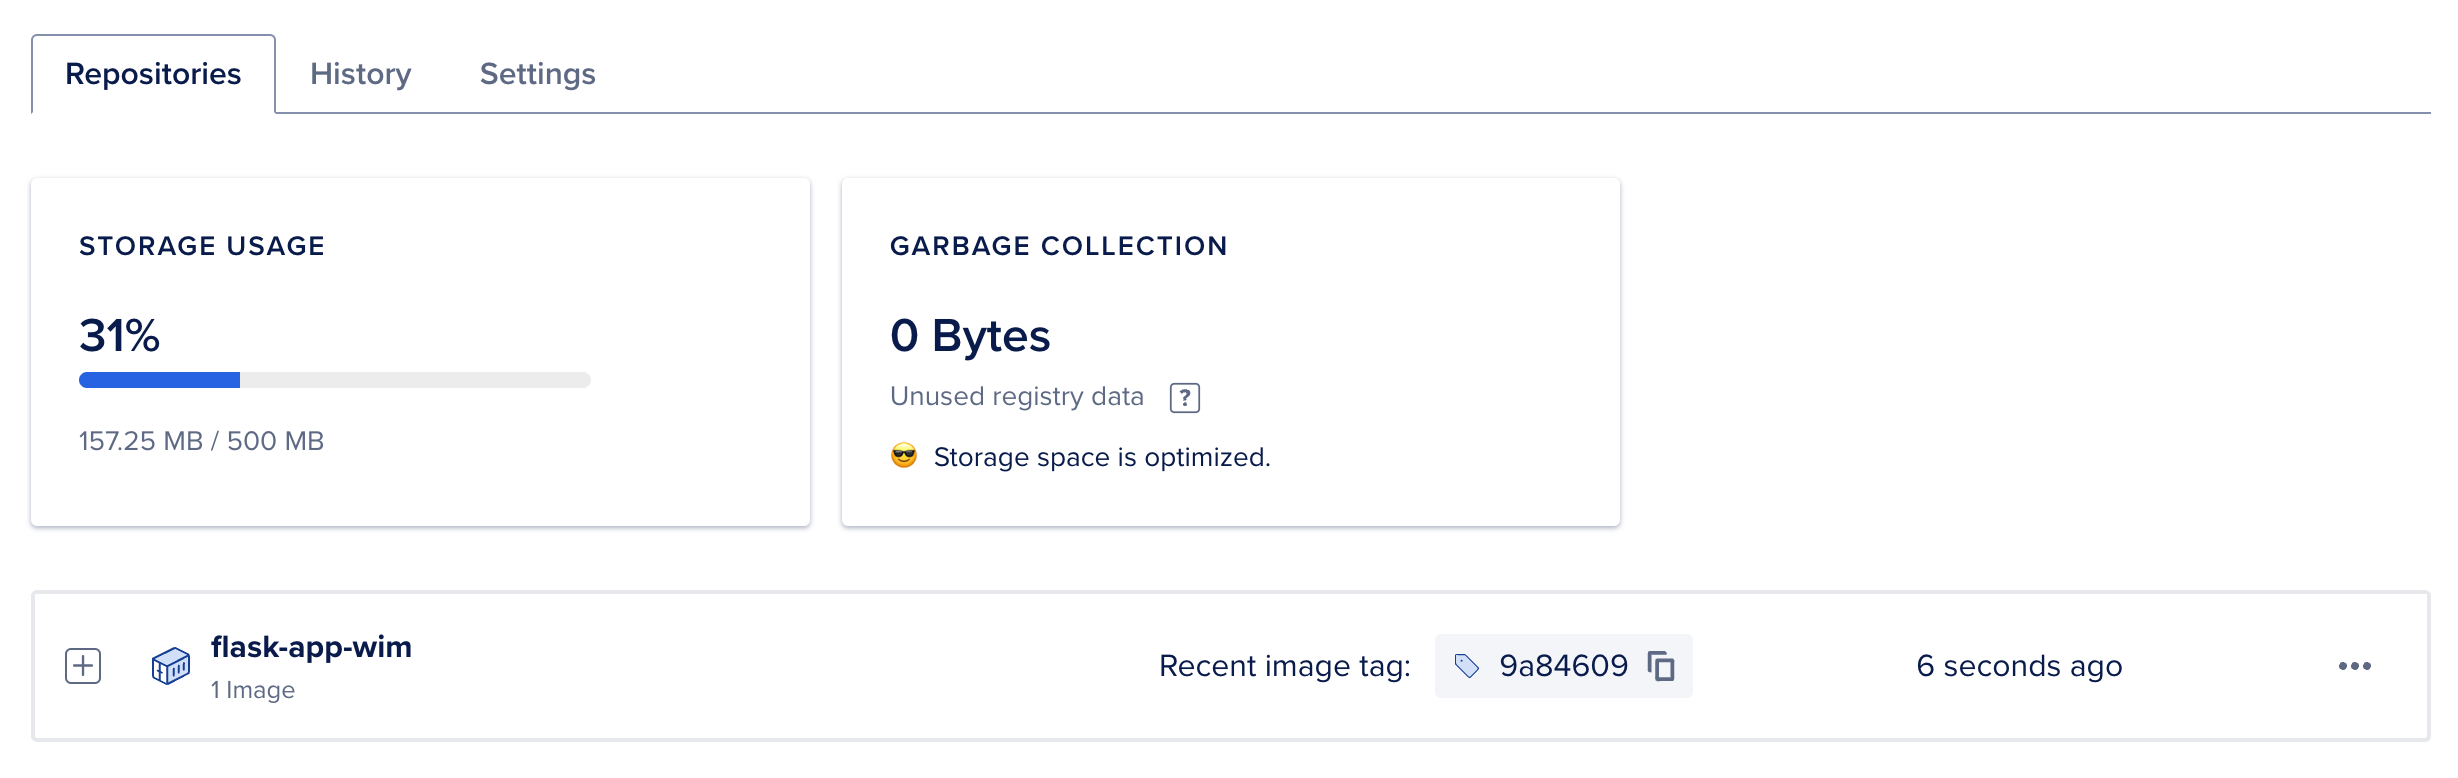
You will see that the image got uploaded to the DigitalOcean registry:
Showing off the result
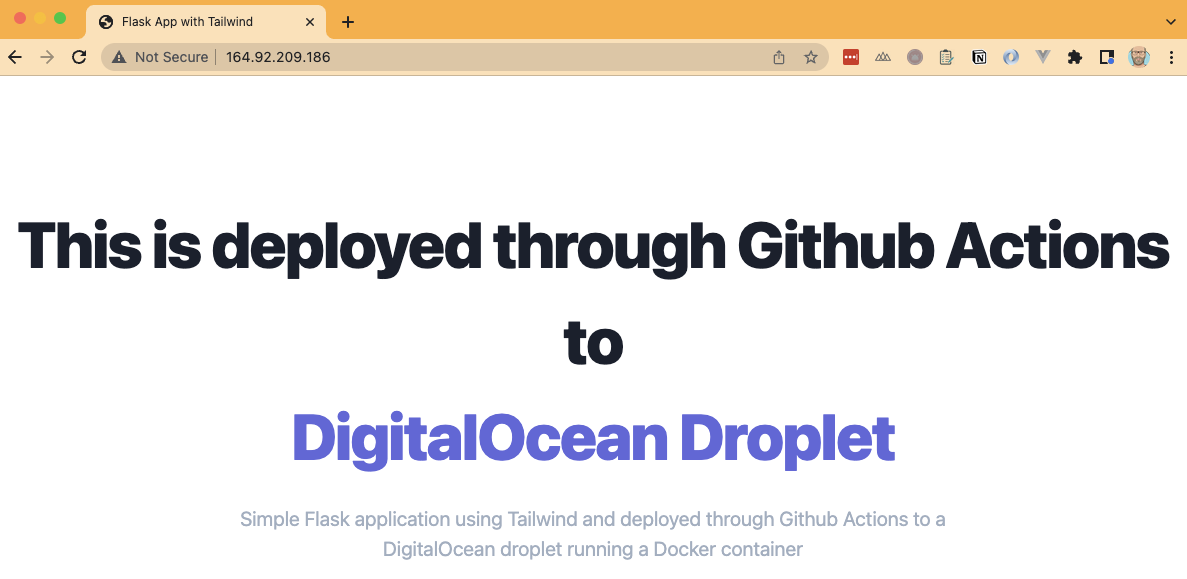
As a result of all this, we will have a container running inside the Droplet we created in an earlier session. Feel free to login to your Droplet using SSH and verify with the command docker ps. In any case, open a browser and use the IP address from your droplet. If all went well, you will see our Flask app.
Updating our app
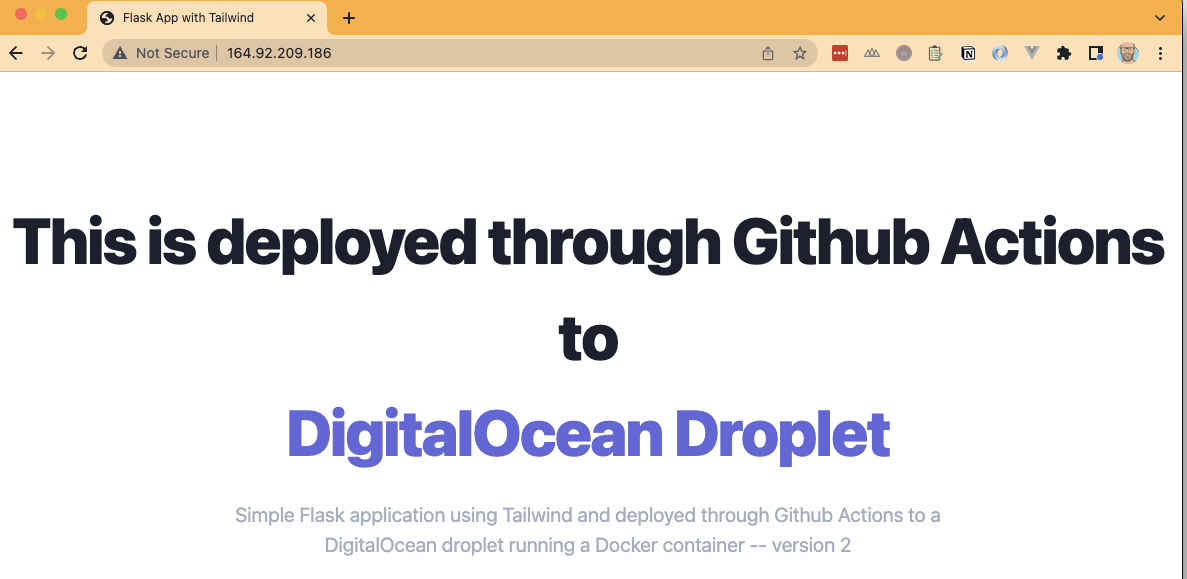
Next, let’s update our app. As usual we will make a very simple change because we just want to show the process here. Open the index.html file under the app/templates folder. In our case we added the words -- version 2 to the title tagline.
Next, open the main.yml workflow file and add the docker stop and docker rm commands. This is needed to clean up the images and containers a bit when updating the application. The relevant section will look as follows.
script: |
           # login docker
           docker login -u $DOCKER_USER -p $DOCKER_PASSWORD registry.digitalocean.com

           docker stop $(echo $IMAGE_NAME)

           docker rm $(echo $IMAGE_NAME)

           # Run a new container from a new image
           docker run -d \
           --restart always \
           -p 80:5000 \
           --name $(echo $IMAGE_NAME) \
           $(echo $REGISTRY)/$(echo $IMAGE_NAME):$(echo $GITHUB_SHA | head -c7)
As soon as you push these changes to your Git repo, you will notice a new Github Actions workflow will be triggered. Once that workflow completes successfully, open the browser again and you will see the updated version of our app.
 Hope you enjoyed this post. As always, code can be found here.