Configure AWS instances using Terraform and Gitlab CI/CD
Introduction
In this post, we will deploy EC2 instances on AWS using a CI/CD pipeline. If you want to follow along, it’s advised you also refer to part 1 and part 2 for getting some background information.
Code
Below are the files we are going to use. If you went through part 1 and part 2 you’ll surely know what they are doing. Won’t explain them here anymore, but will just list them.
provider.tf:
provider "aws" {
  version    = "~> 2.0"
  region     = var.ec2_region
}
variables.tf:
variable "ec2_region" {
  default = "eu-west-1"
}

variable "ec2_image" {
  default = "ami-00035f41c82244dab"
}

variable "ec2_instance_type" {
  default = "t2.micro"
}

variable "ec2_keypair" {
  default = "AWS-Cisco"
}

variable "ec2_tags" {
  default = "Cisco-Demo-Terraform-1"
}

variable "ec2_count" {
  default = "2"
}
main.tf:
resource "aws_instance" "OneServer" {
  ami           = var.ec2_image
  instance_type = var.ec2_instance_type
  key_name      = var.ec2_keypair
  count         = var.ec2_count
  tags = {
    Name = var.ec2_tags
  }
}

output "instance_ip_addr" {
  value       = aws_instance.OneServer.*.private_ip
  description = "The private IP address of the main server instance."
}

output "instance_ips" {
  value = aws_instance.OneServer.*.public_ip
}
Create Gitlab repository
We will be using Gitlab in this post. I’m going to assume you have a working Gitlab application. For this post, you can just go to http://gitlab.com and create an account. It’s free.
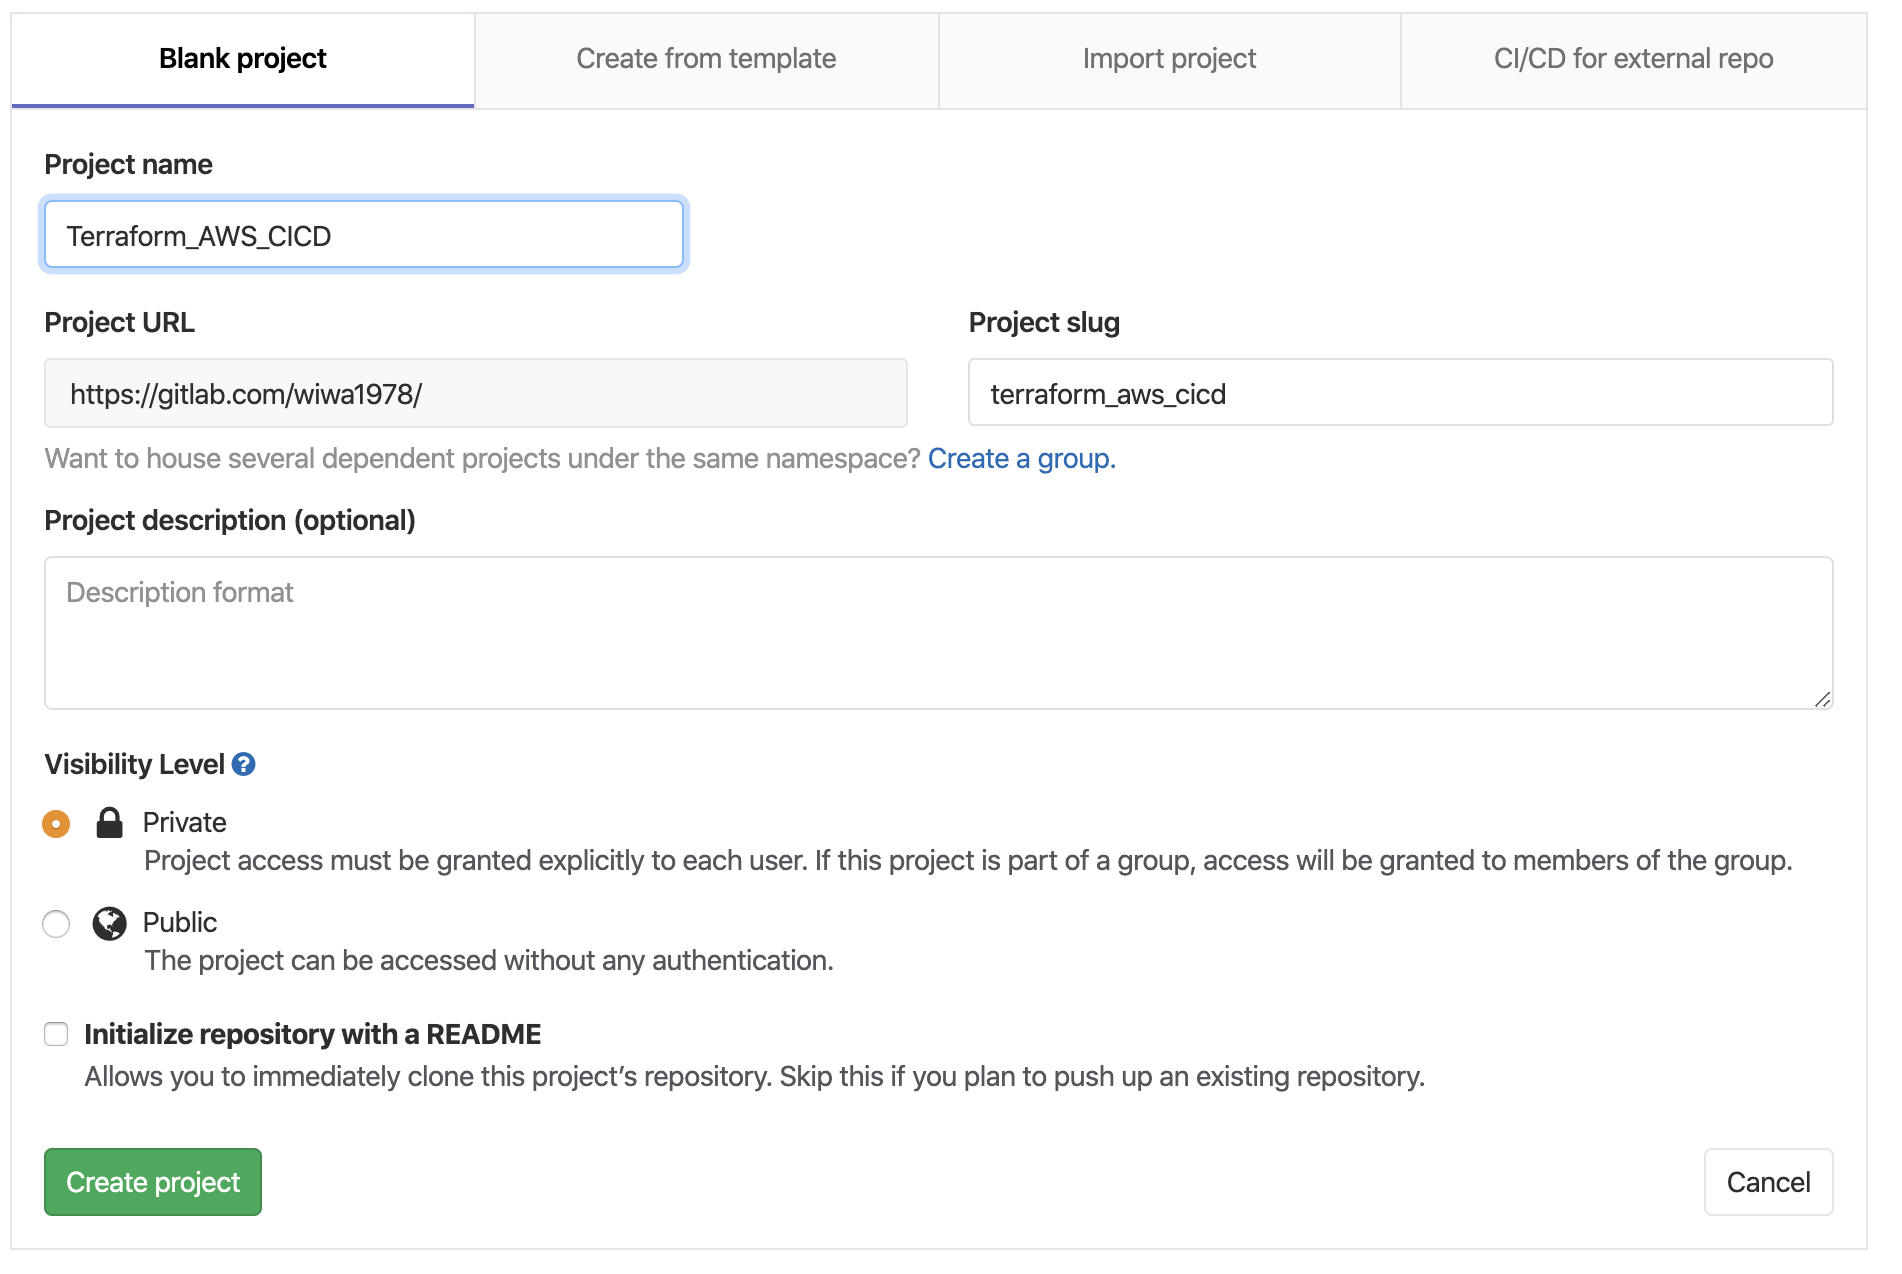
Next login and create a new project. See the screenshot below:
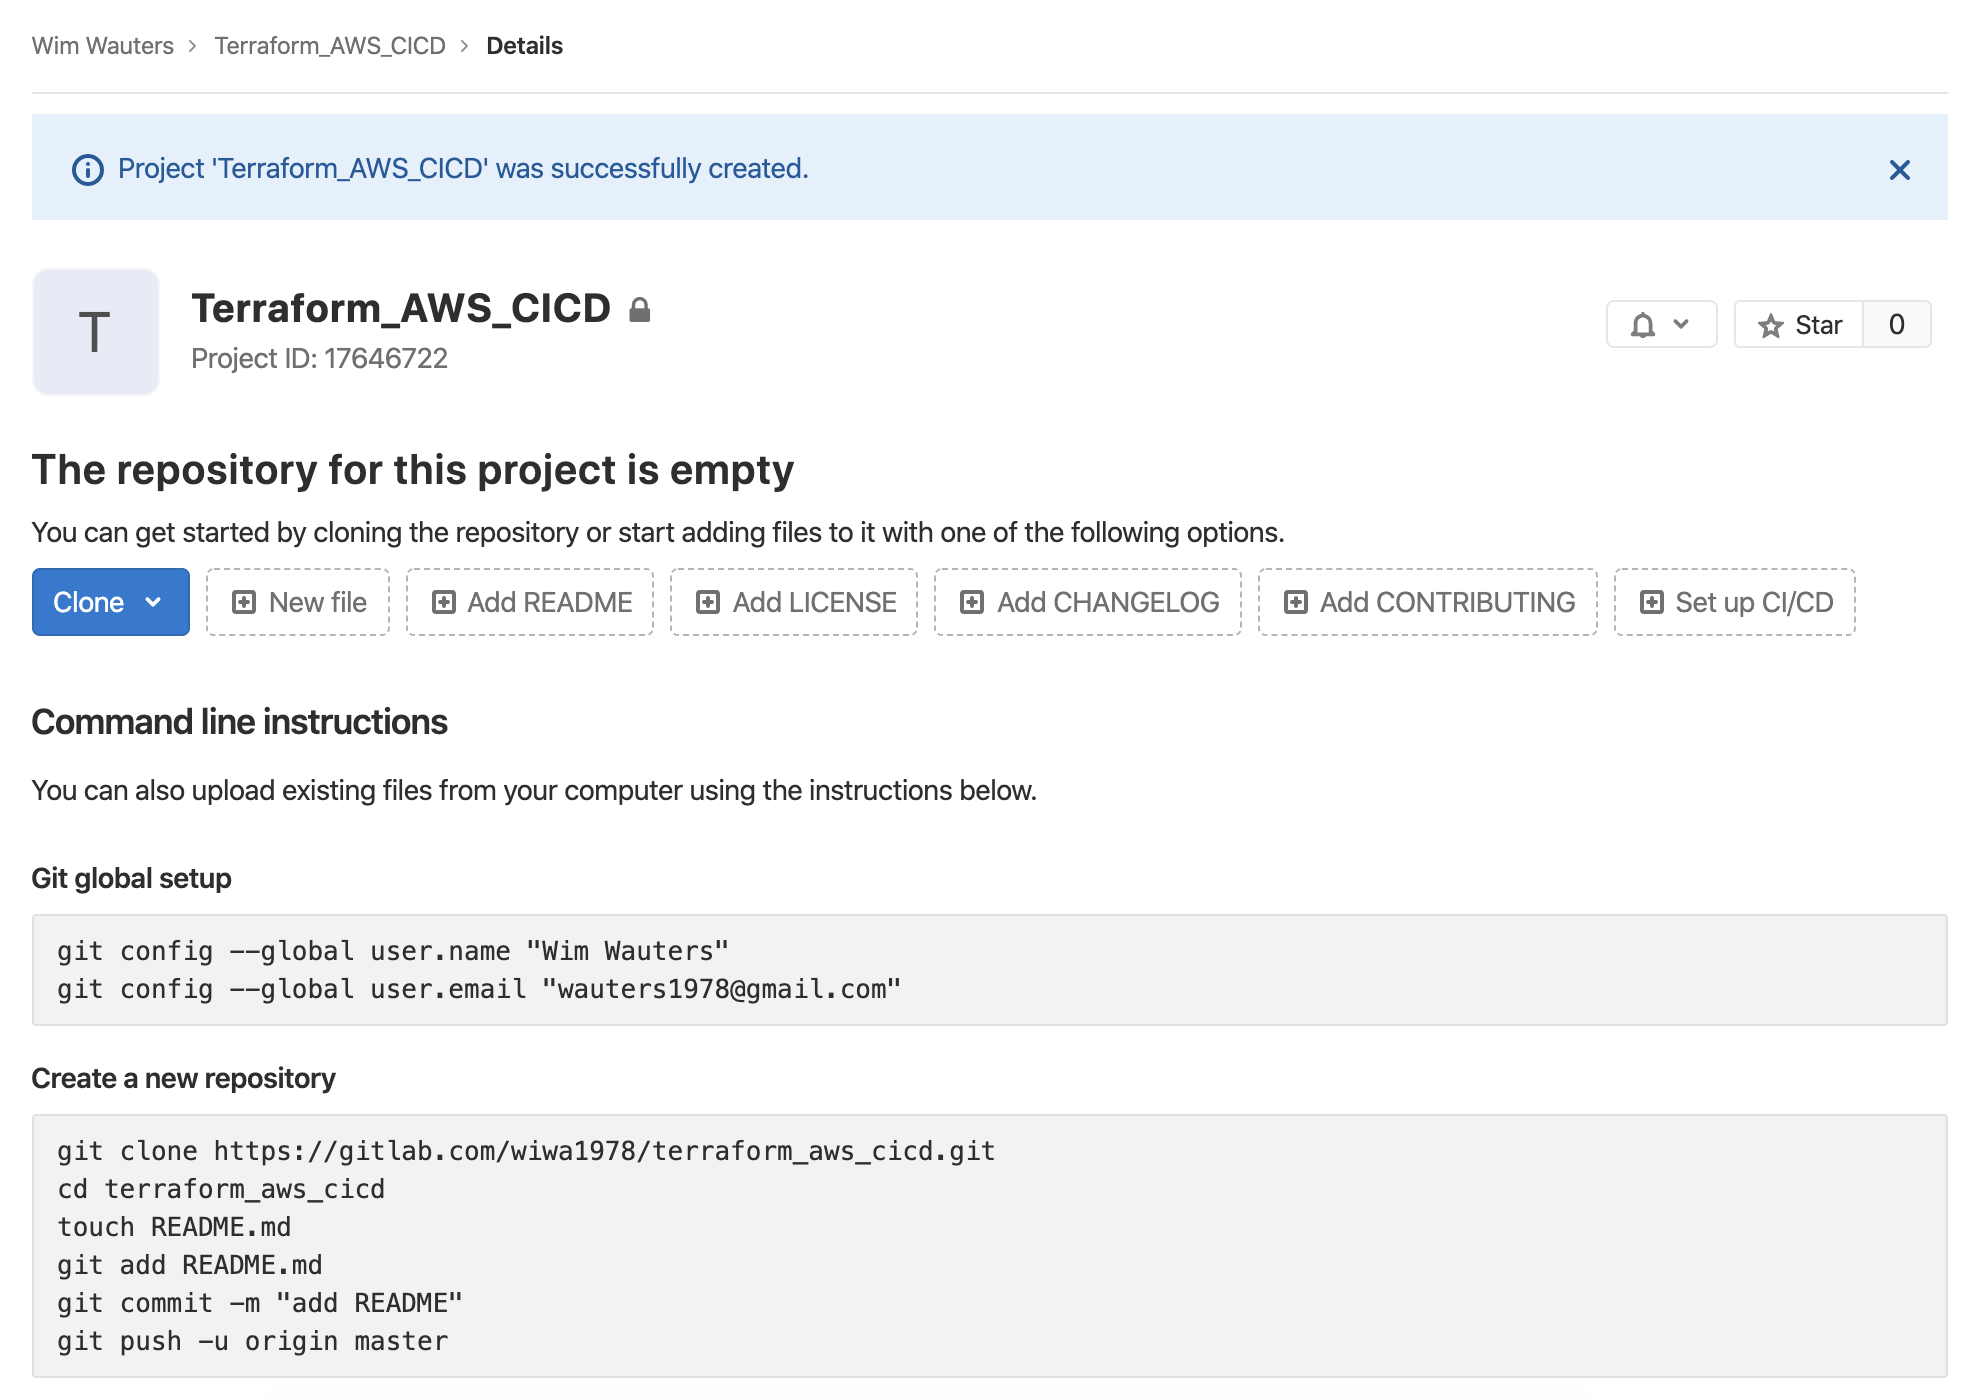
Once the project is created, you will get the below screen:
Next, go to the folder where you stored all the tf files and just follow what Gitlab informed you about, dead easy. Below are the commands you should use:
WAUTERW-M-65P7:AWS_Terraform_Gitlab wauterw$ git init
Initialized empty Git repository in /Users/wauterw/Dropbox/Programming/blog-hugo-netlify-code/AWS_Terraform_Gitlab/
.git/
WAUTERW-M-65P7:AWS_Terraform_Gitlab wauterw$ git remote add origin https://gitlab.com/wiwa1978/terraform_aws_cicd.g
it
WAUTERW-M-65P7:AWS_Terraform_Gitlab wauterw$ git add .
WAUTERW-M-65P7:AWS_Terraform_Gitlab wauterw$ git commit -m "First commit"
[master (root-commit) 3b3c3b1] First commit
4 files changed, 63 insertions(+)
create mode 100644 main.tf
create mode 100644 provider.tf
create mode 100644 terraform.tf
create mode 100644 variables.tf
WAUTERW-M-65P7:AWS_Terraform_Gitlab wauterw$ git push origin master
Enumerating objects: 6, done.
Counting objects: 100% (6/6), done.
Delta compression using up to 12 threads
Compressing objects: 100% (6/6), done.
Writing objects: 100% (6/6), 957 bytes | 957.00 KiB/s, done.
Total 6 (delta 0), reused 0 (delta 0)
To https://gitlab.com/wiwa1978/terraform_aws_cicd.git
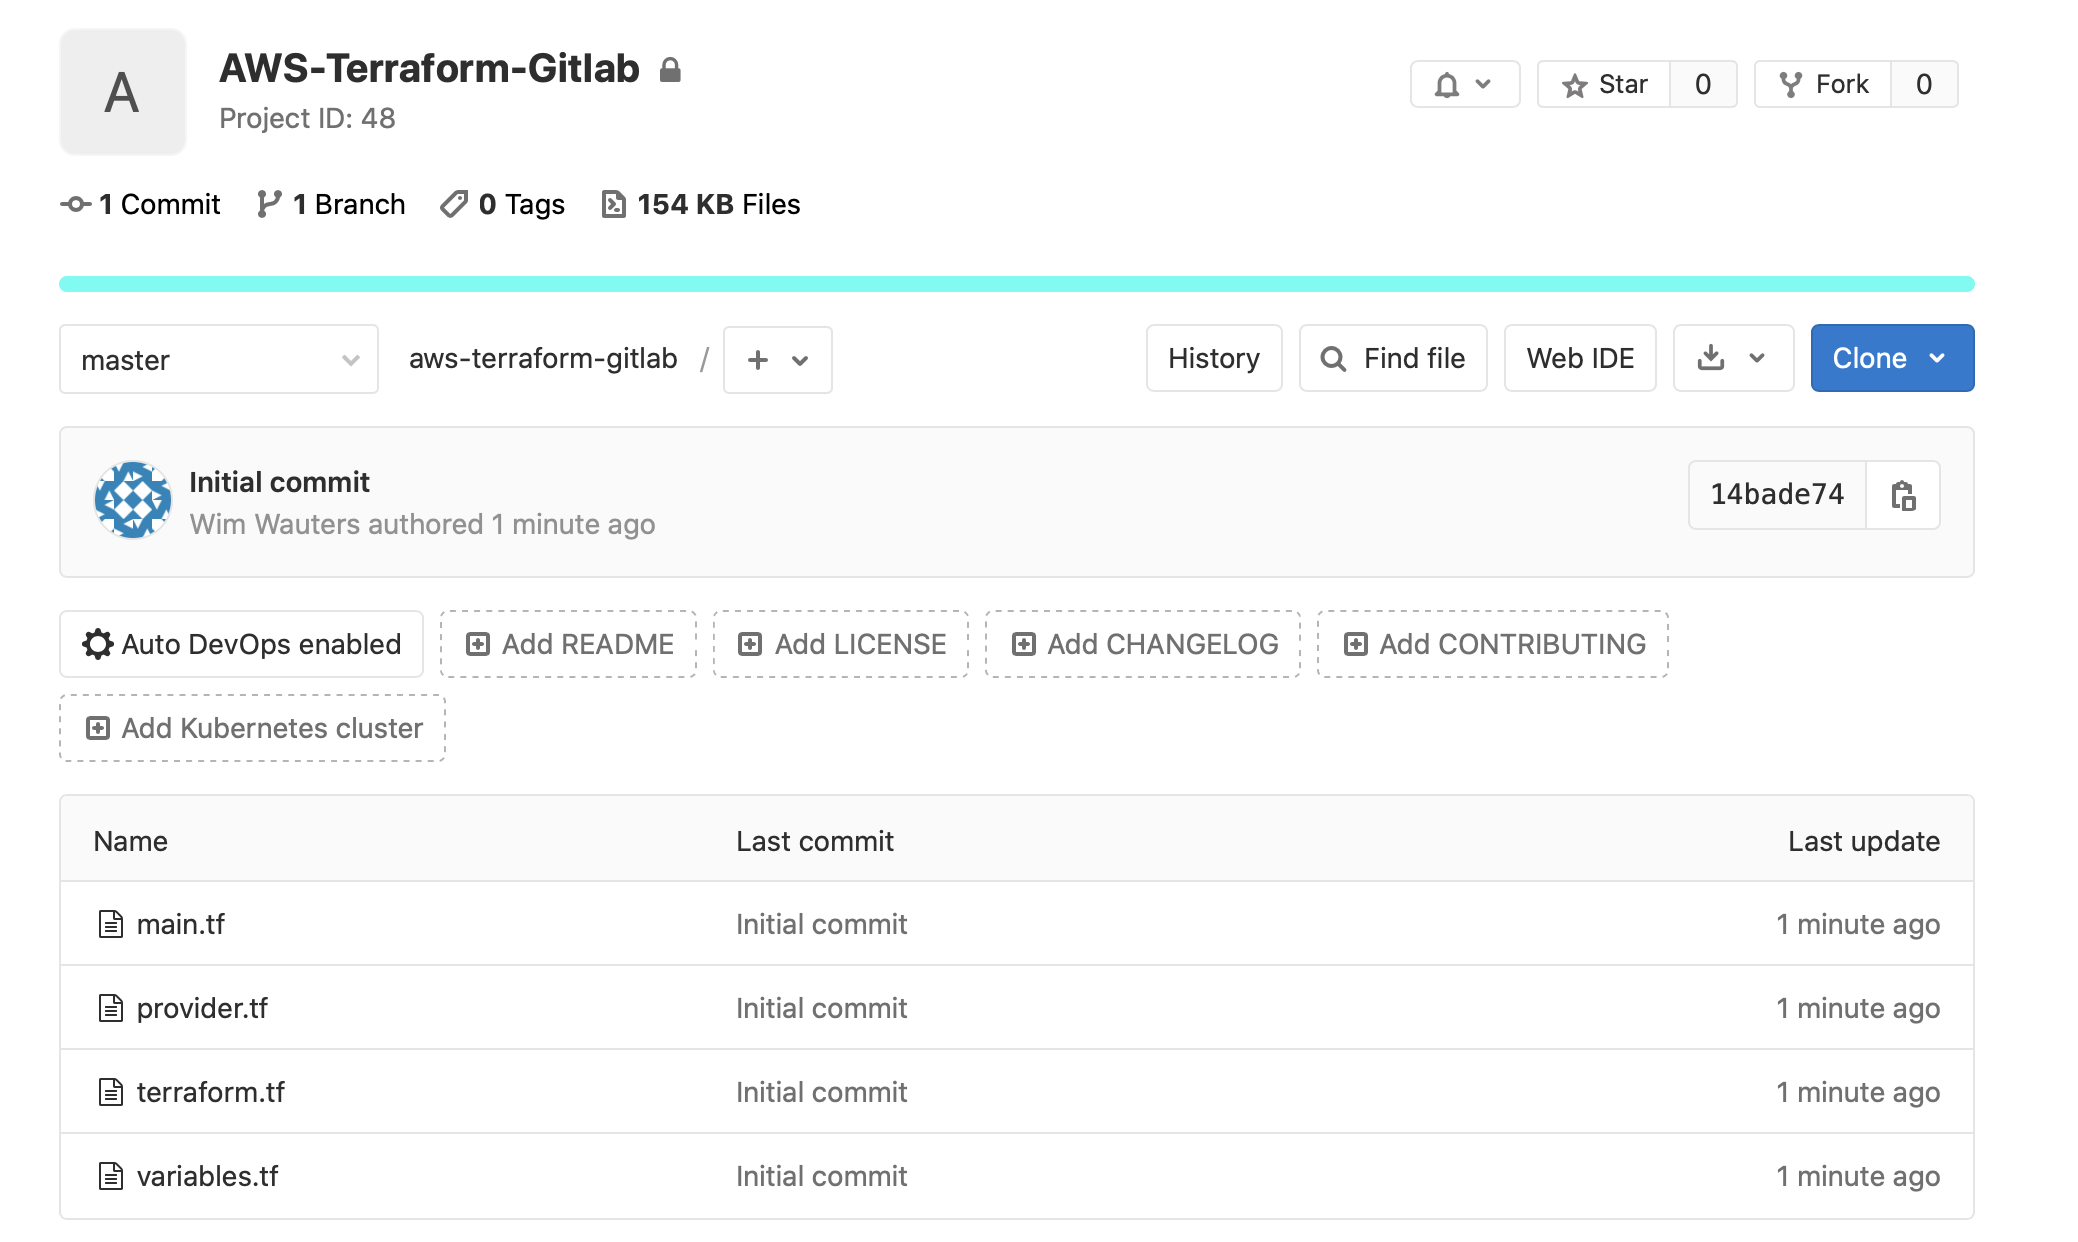
* [new branch] master -> masterEventually, your repository on Gitlab will contain all your files.
Configure Gitlab pipeline
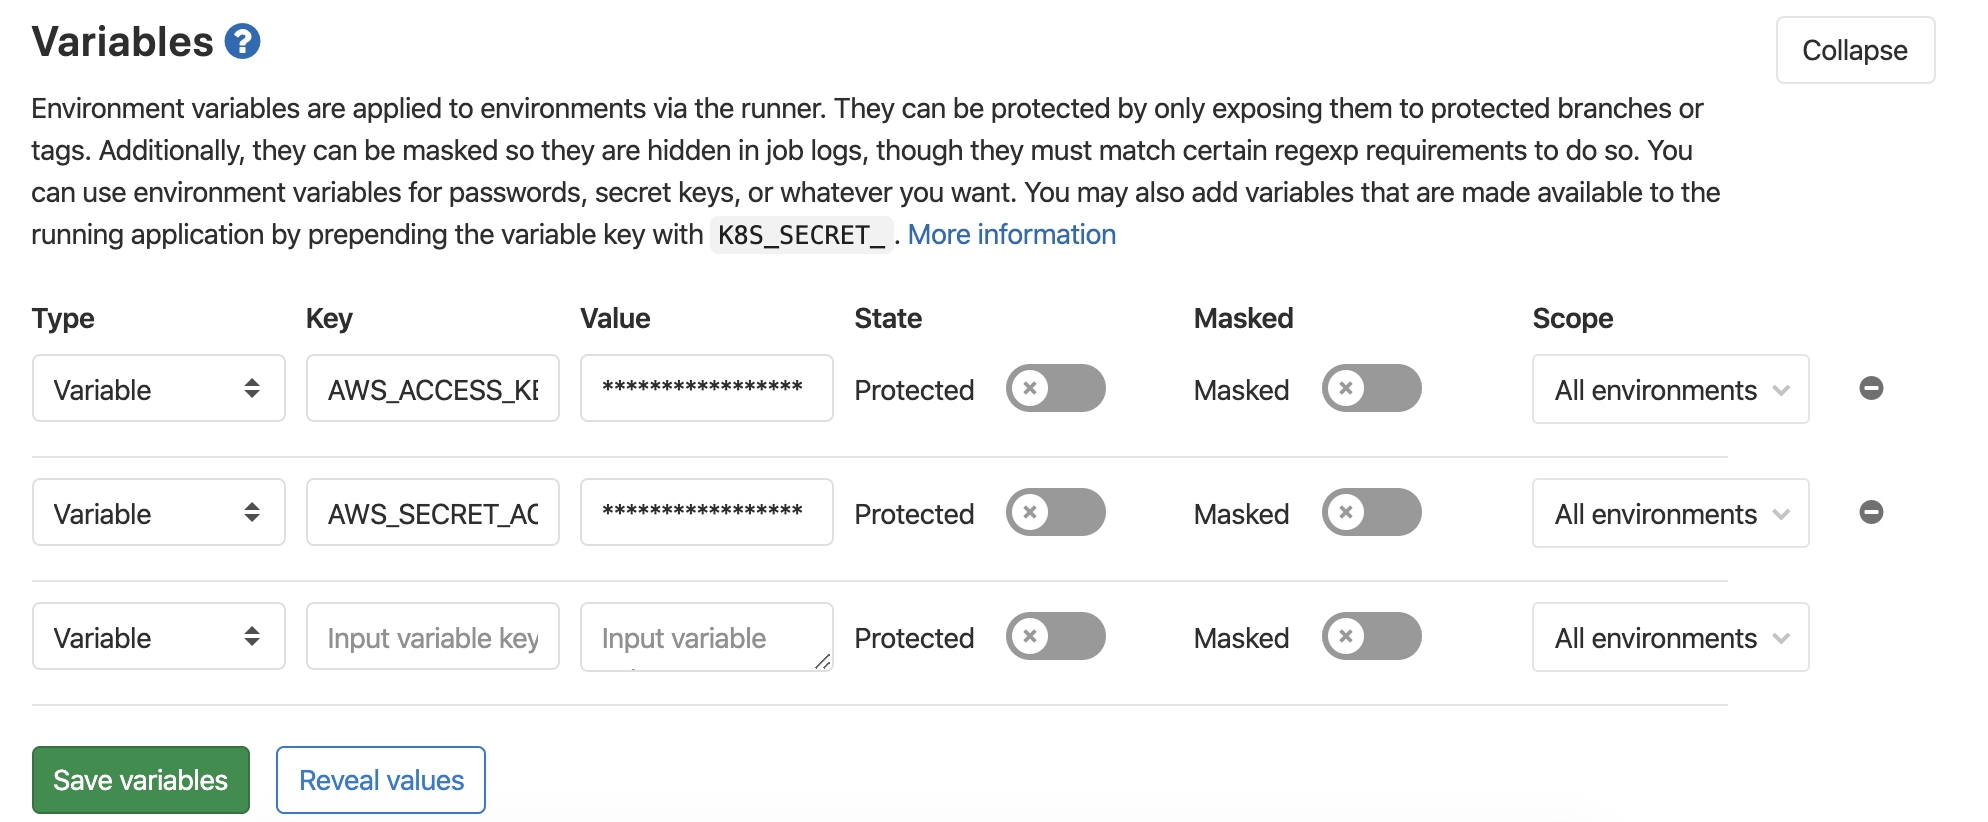
Now that all files are in your git repository, we are going to use Gitlab’s CI/CD functionality. To do so, go to Settings > CI/CD first. Go to the variables section and add your AWS credentials over there. See below screenshot.
Next, we will need to create the pipeline we want to execute. In our case, we will create a pipeline which contains all the stages to execute the Terraform functions.
We will start with pulling the hashicorp/terraform image. In the background, Gitlab will create a docker container (running that image). Next, you will notice that we specify two export statements. Essentially, these statements will take the environment variables we created above and add them to your docker instance.
The rest of the file is pretty self-explanatory in my view. We will validate our TF files, we will make a TF plan and we will apply the configuration. We have added the ‘when: manual’ statement to the apply stage because we want Gitlab to ask for our confirmation before deploying our infrastructure.
It’s important you call the below file ‘.gitlab-ci.yml’.
image:
  name: hashicorp/terraform:light
  entrypoint:
    - '/usr/bin/env'
    - 'PATH=/usr/local/sbin:/usr/local/bin:/usr/sbin:/usr/bin:/sbin:/bin'

before_script:
  - rm -rf .terraform
  - terraform --version
  - export AWS_ACCESS_KEY_ID
  - export AWS_SECRET_ACCESS_KEY
  - terraform init

stages:
  - validate
  - plan
  - apply

validate:
  stage: validate
  script:
    - terraform validate

plan:
  stage: plan
  script:
    - terraform plan -out "planfile"
  dependencies:
    - validate
  artifacts:
    paths:
      - planfile

apply:
  stage: apply
  script:
    - terraform apply -input=false "planfile"
  dependencies:
    - plan
  when: manual
Execute Gitlab pipeline
Once you commit this file to your Gitlab repository, Gitlab will automatically (by default) start the execution of your pipeline.
So we need to commit this file to our repository. You can do this using below commands:
WAUTERW-M-65P7:AWS_Terraform_Gitlab wauterw$ git init
Initialized empty Git repository in /Users/wauterw/Dropbox/Programming/blog-hugo-netlify-code/AWS_Terraform_Gitlab/
.git/
WAUTERW-M-65P7:AWS_Terraform_Gitlab wauterw$ git remote add origin https://gitlab.com/wiwa1978/terraform_aws_cicd.g
it
WAUTERW-M-65P7:AWS_Terraform_Gitlab wauterw$ git add .
WAUTERW-M-65P7:AWS_Terraform_Gitlab wauterw$ git commit -m "First commit"
[master (root-commit) 3b3c3b1] First commit
 4 files changed, 63 insertions(+)
WAUTERW-M-65P7:AWS_Terraform_Gitlab wauterw$ git init
Reinitialized existing Git repository in /Users/wauterw/Dropbox/Programming/blog-hugo-netlify-code/AWS_Terraform_Gi
tlab/.git/
WAUTERW-M-65P7:AWS_Terraform_Gitlab wauterw$ git add .
WAUTERW-M-65P7:AWS_Terraform_Gitlab wauterw$ git commit -m "Add CICD config"
[master b5c52da] Add CICD config
 1 file changed, 40 insertions(+)
 create mode 100644 .gitlab-ci.yml
WAUTERW-M-65P7:AWS_Terraform_Gitlab wauterw$ git push origin master
Enumerating objects: 4, done.
Counting objects: 100% (4/4), done.
Delta compression using up to 12 threads
Compressing objects: 100% (3/3), done.
Writing objects: 100% (3/3), 574 bytes | 574.00 KiB/s, done.
Total 3 (delta 1), reused 0 (delta 0)
To https://gitlab.com/wiwa1978/terraform_aws_cicd.git
   3b3c3b1..b5c52da  master -> master
Note: Make sure the remote state is cleaned in the beginning, otherwise you might run into some issues.
In Gitlab, go to CI/CD pipelines and you will visually see the progress as Gitlab walks through the pipeline configuration. You’ll see that Gitlabs first will execute the validate step and when that was successful moves to the plan stage.
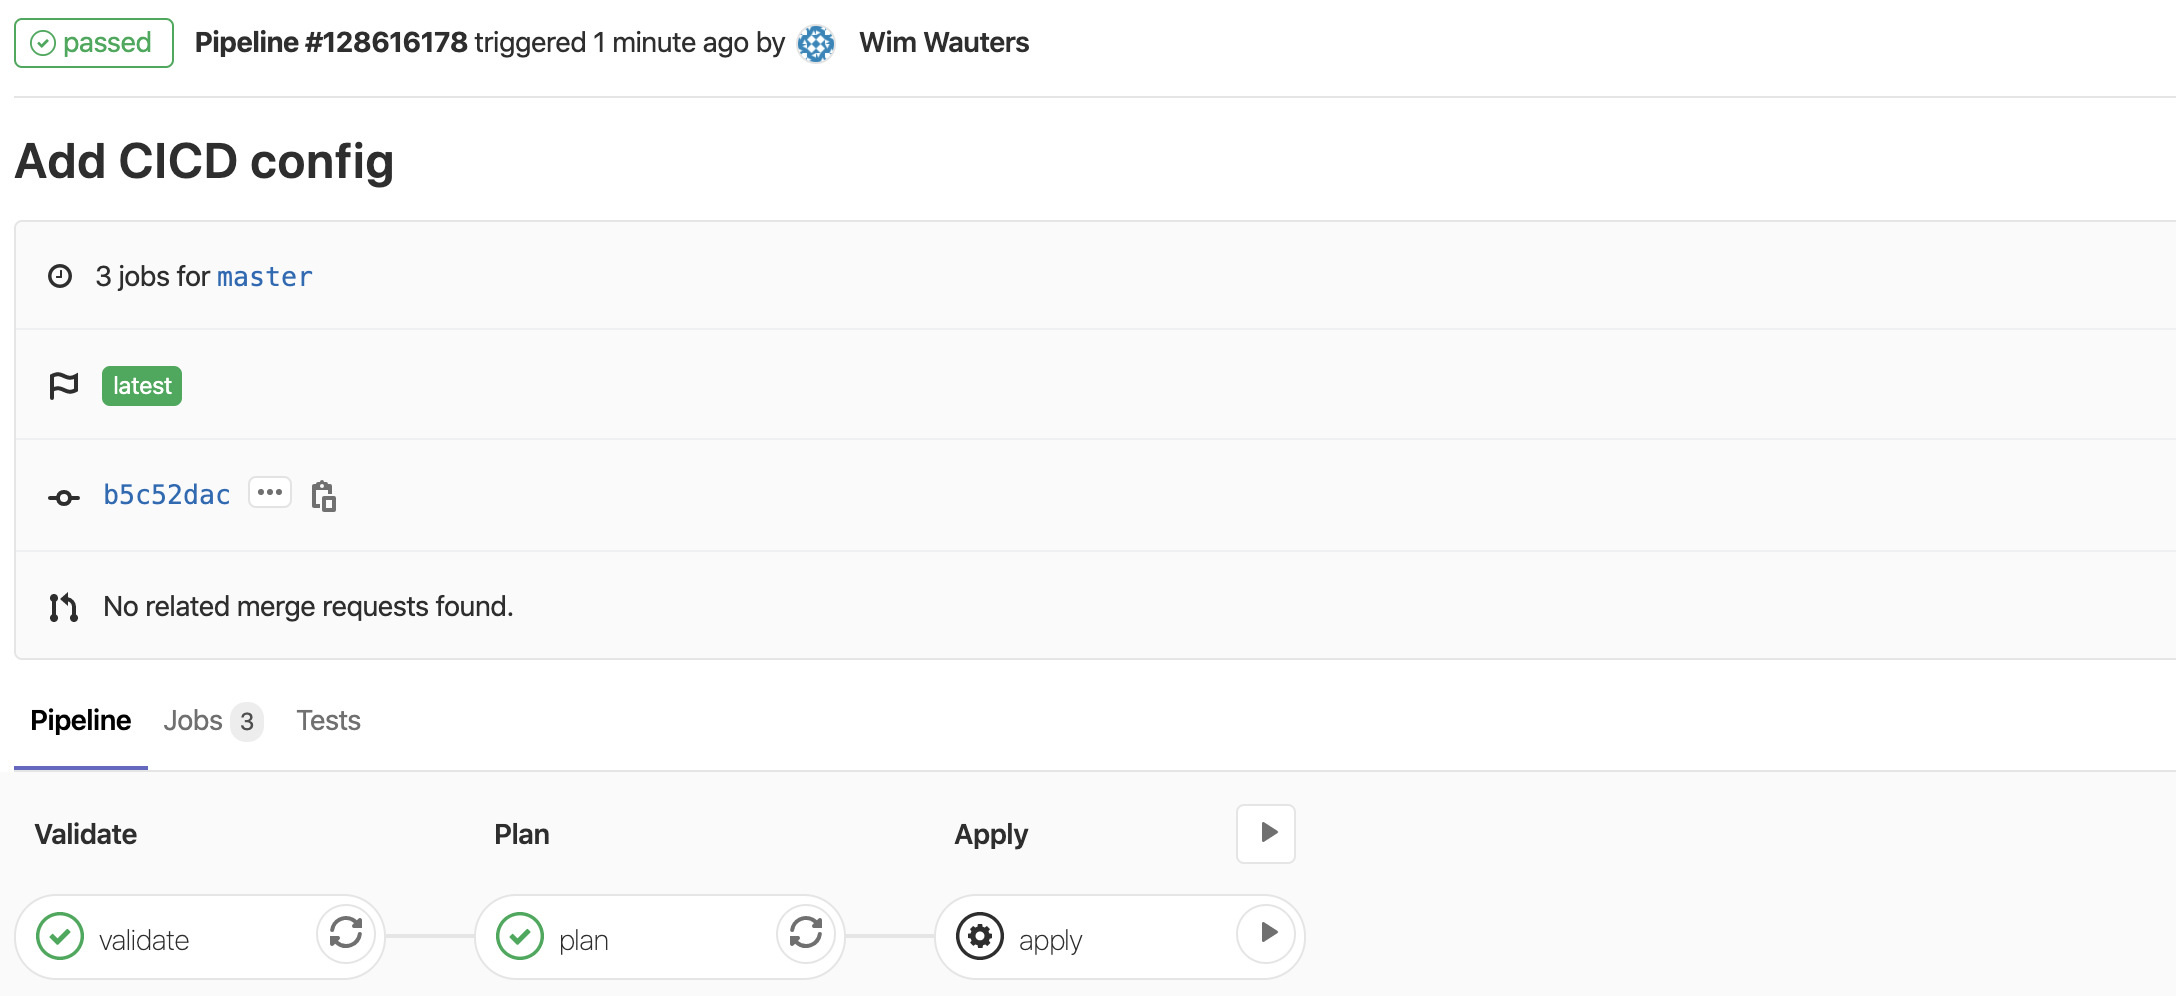
The pipeline executing will stop after the first two steps as we asked for a manual confirmation before continuing the deployment.
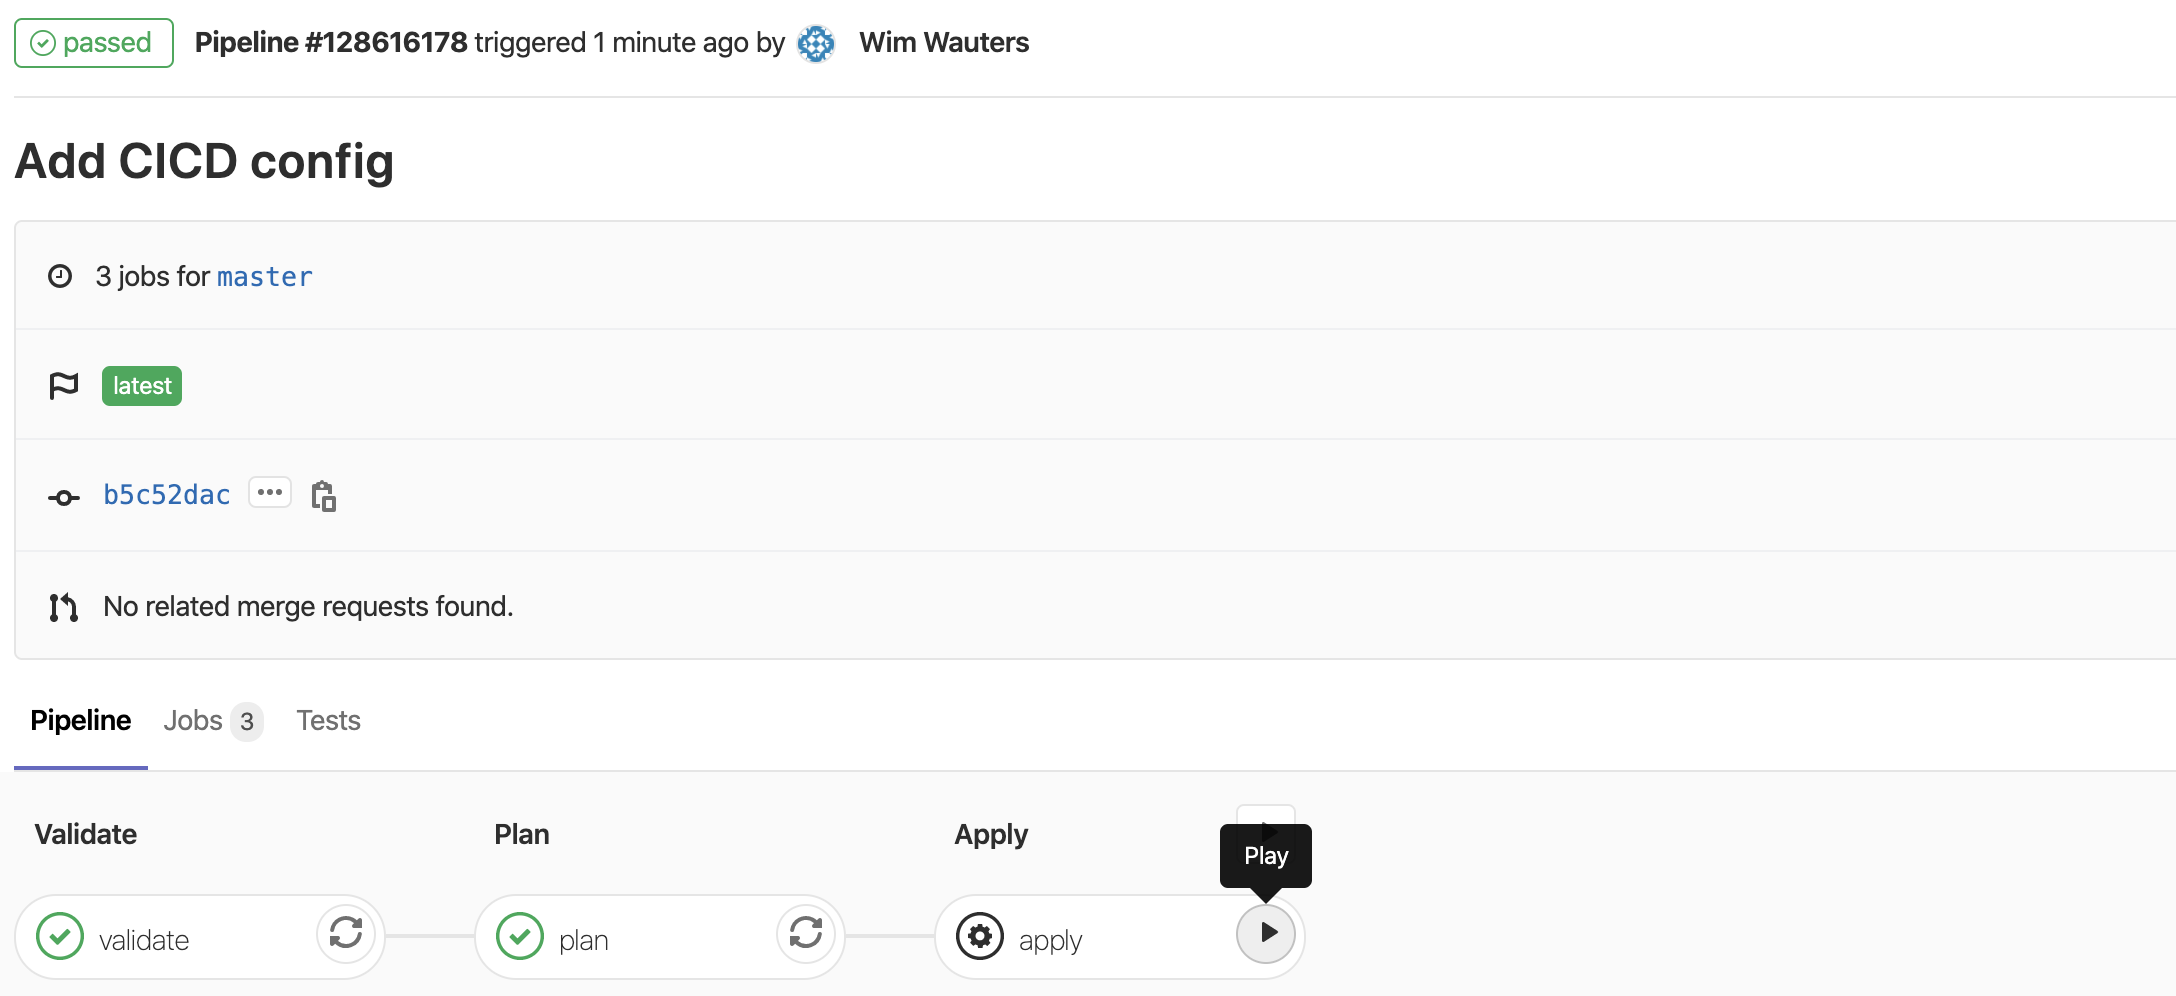
If the pipeline has finished without errors (see screenshot below)…

Then you will see the EC2 instances in your AWS account.

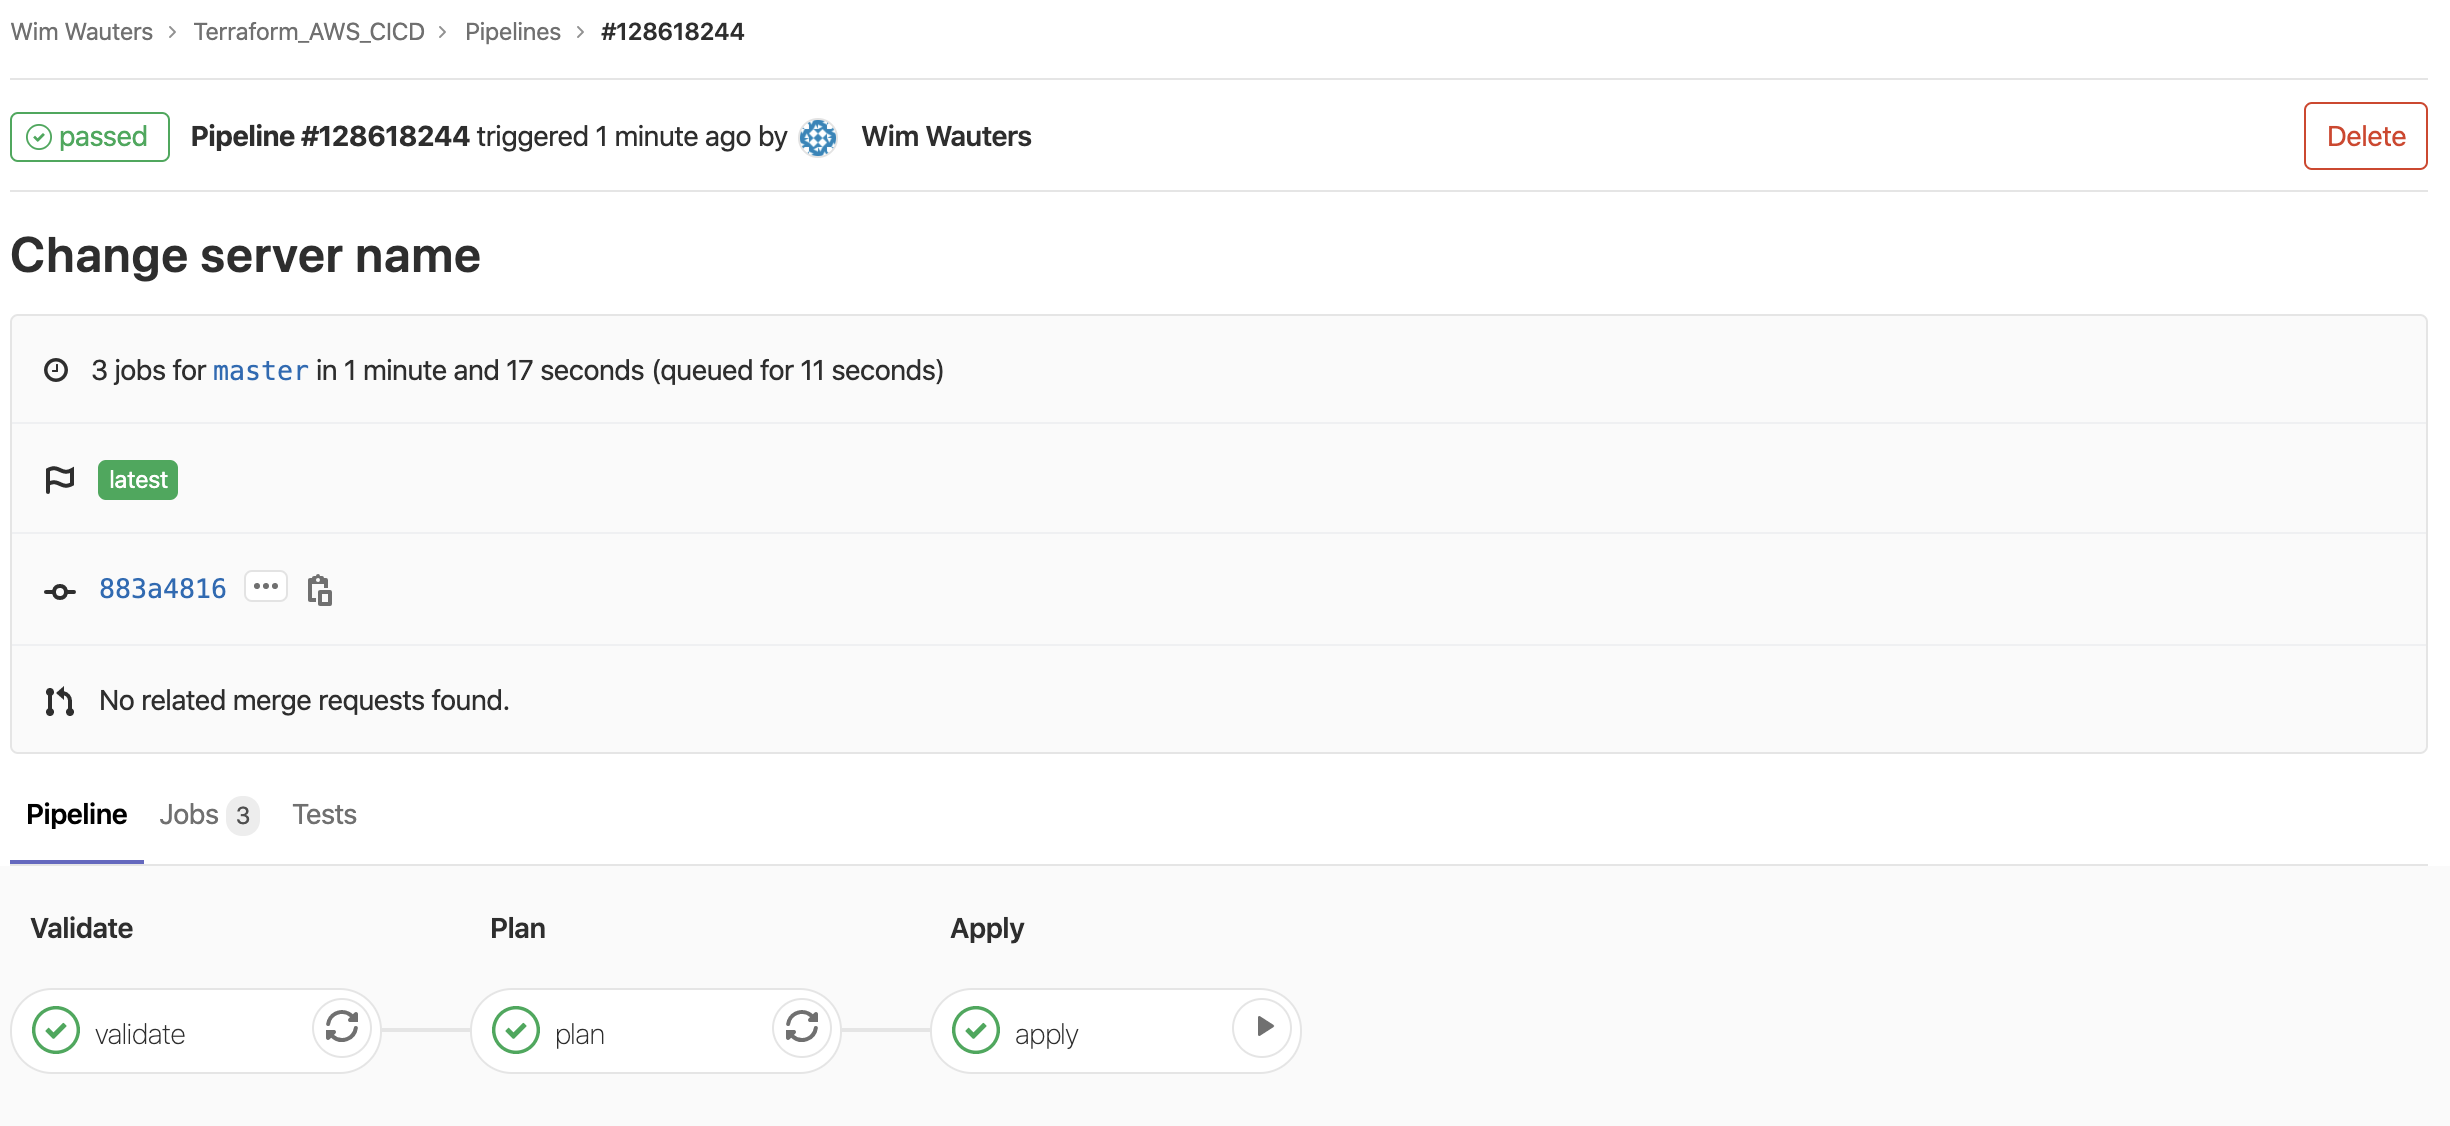
Changing the name of the EC2 instance
Let’s give our instances a different name. Change the name of the EC2 instance in the variable.tf file:
variable "ec2_tags" {
  default = "Cisco-Demo-Terraform-NewValue"
}
Once done, commit these changes to your Gitlab repository using the below commands.
WAUTERW-M-65P7:AWS_Terraform_Gitlab wauterw$ git add .
WAUTERW-M-65P7:AWS_Terraform_Gitlab wauterw$ git commit -m "Change server name"
[master 883a481] Change server name
1 file changed, 1 insertion(+), 1 deletion(-)
WAUTERW-M-65P7:AWS_Terraform_Gitlab wauterw$ git push origin master
Enumerating objects: 5, done.
Counting objects: 100% (5/5), done.
Delta compression using up to 12 threads
Compressing objects: 100% (3/3), done.
Writing objects: 100% (3/3), 305 bytes | 305.00 KiB/s, done.
Total 3 (delta 2), reused 0 (delta 0)
To https://gitlab.com/wiwa1978/terraform_aws_cicd.git
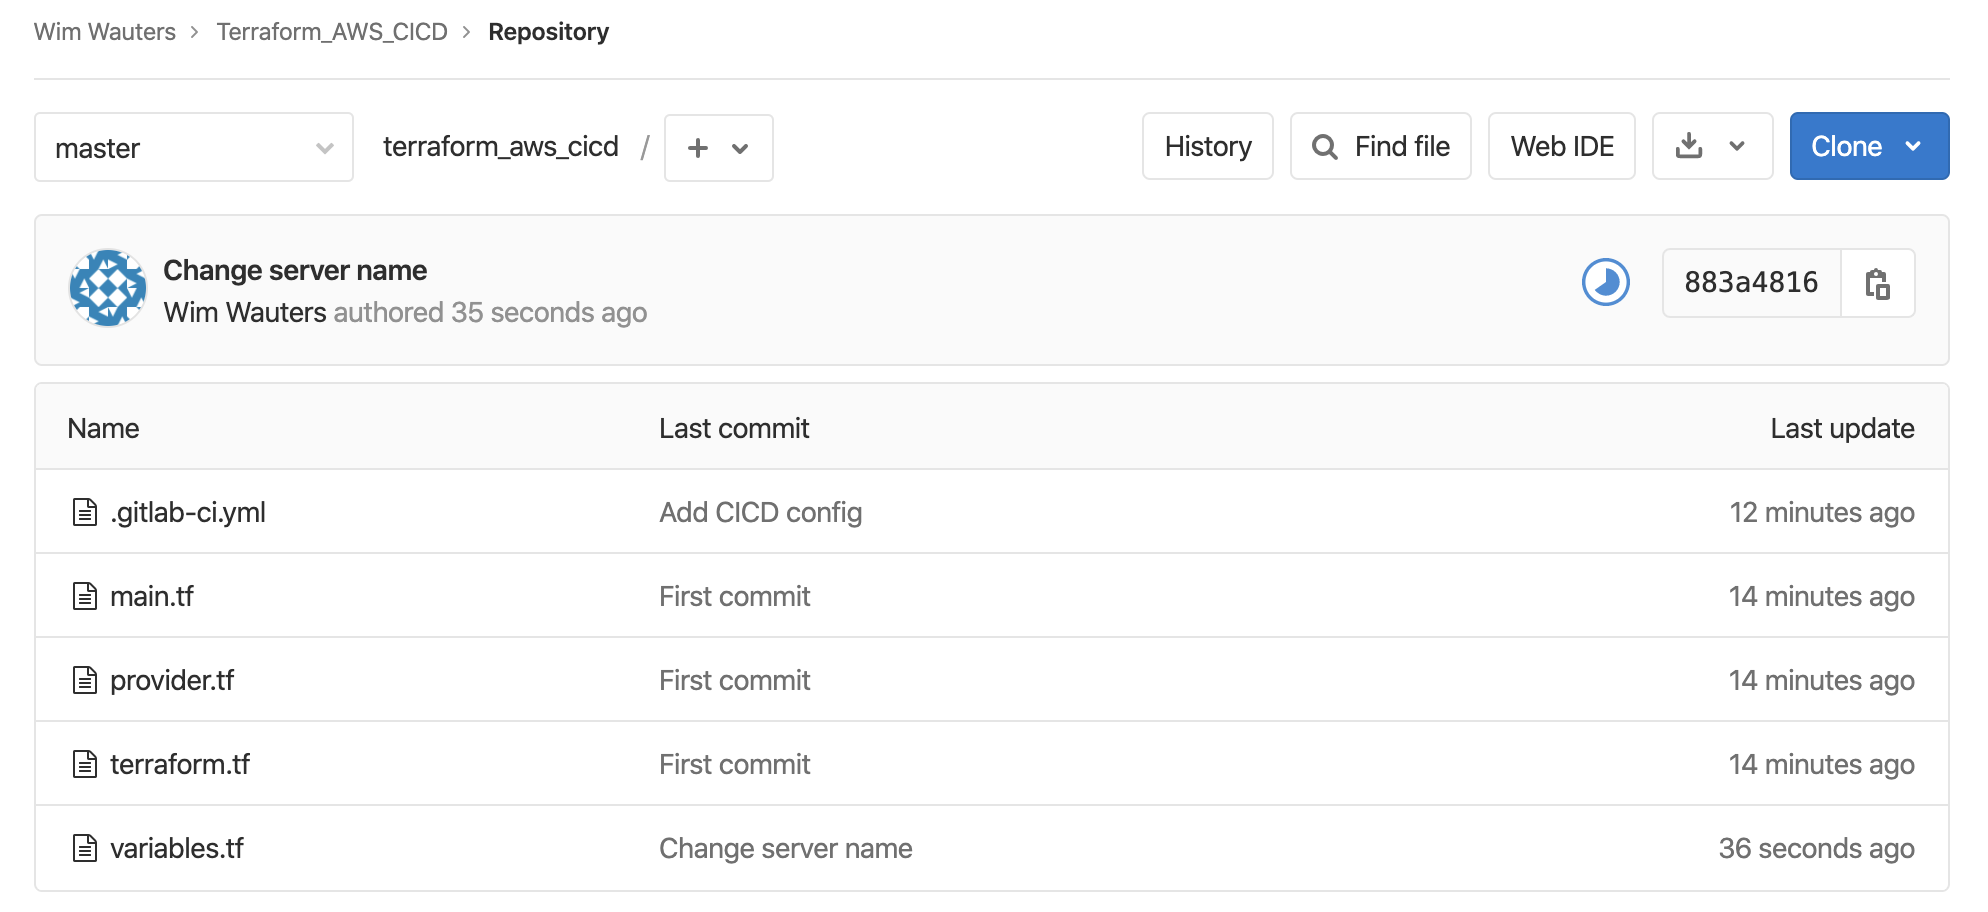
b5c52da..883a481 master -> masterYou will see now in your Gitlab repo that the variables.tf file has changed (look specifically at the commit message):
Gitlab will automatically rerun the CICD pipeline:
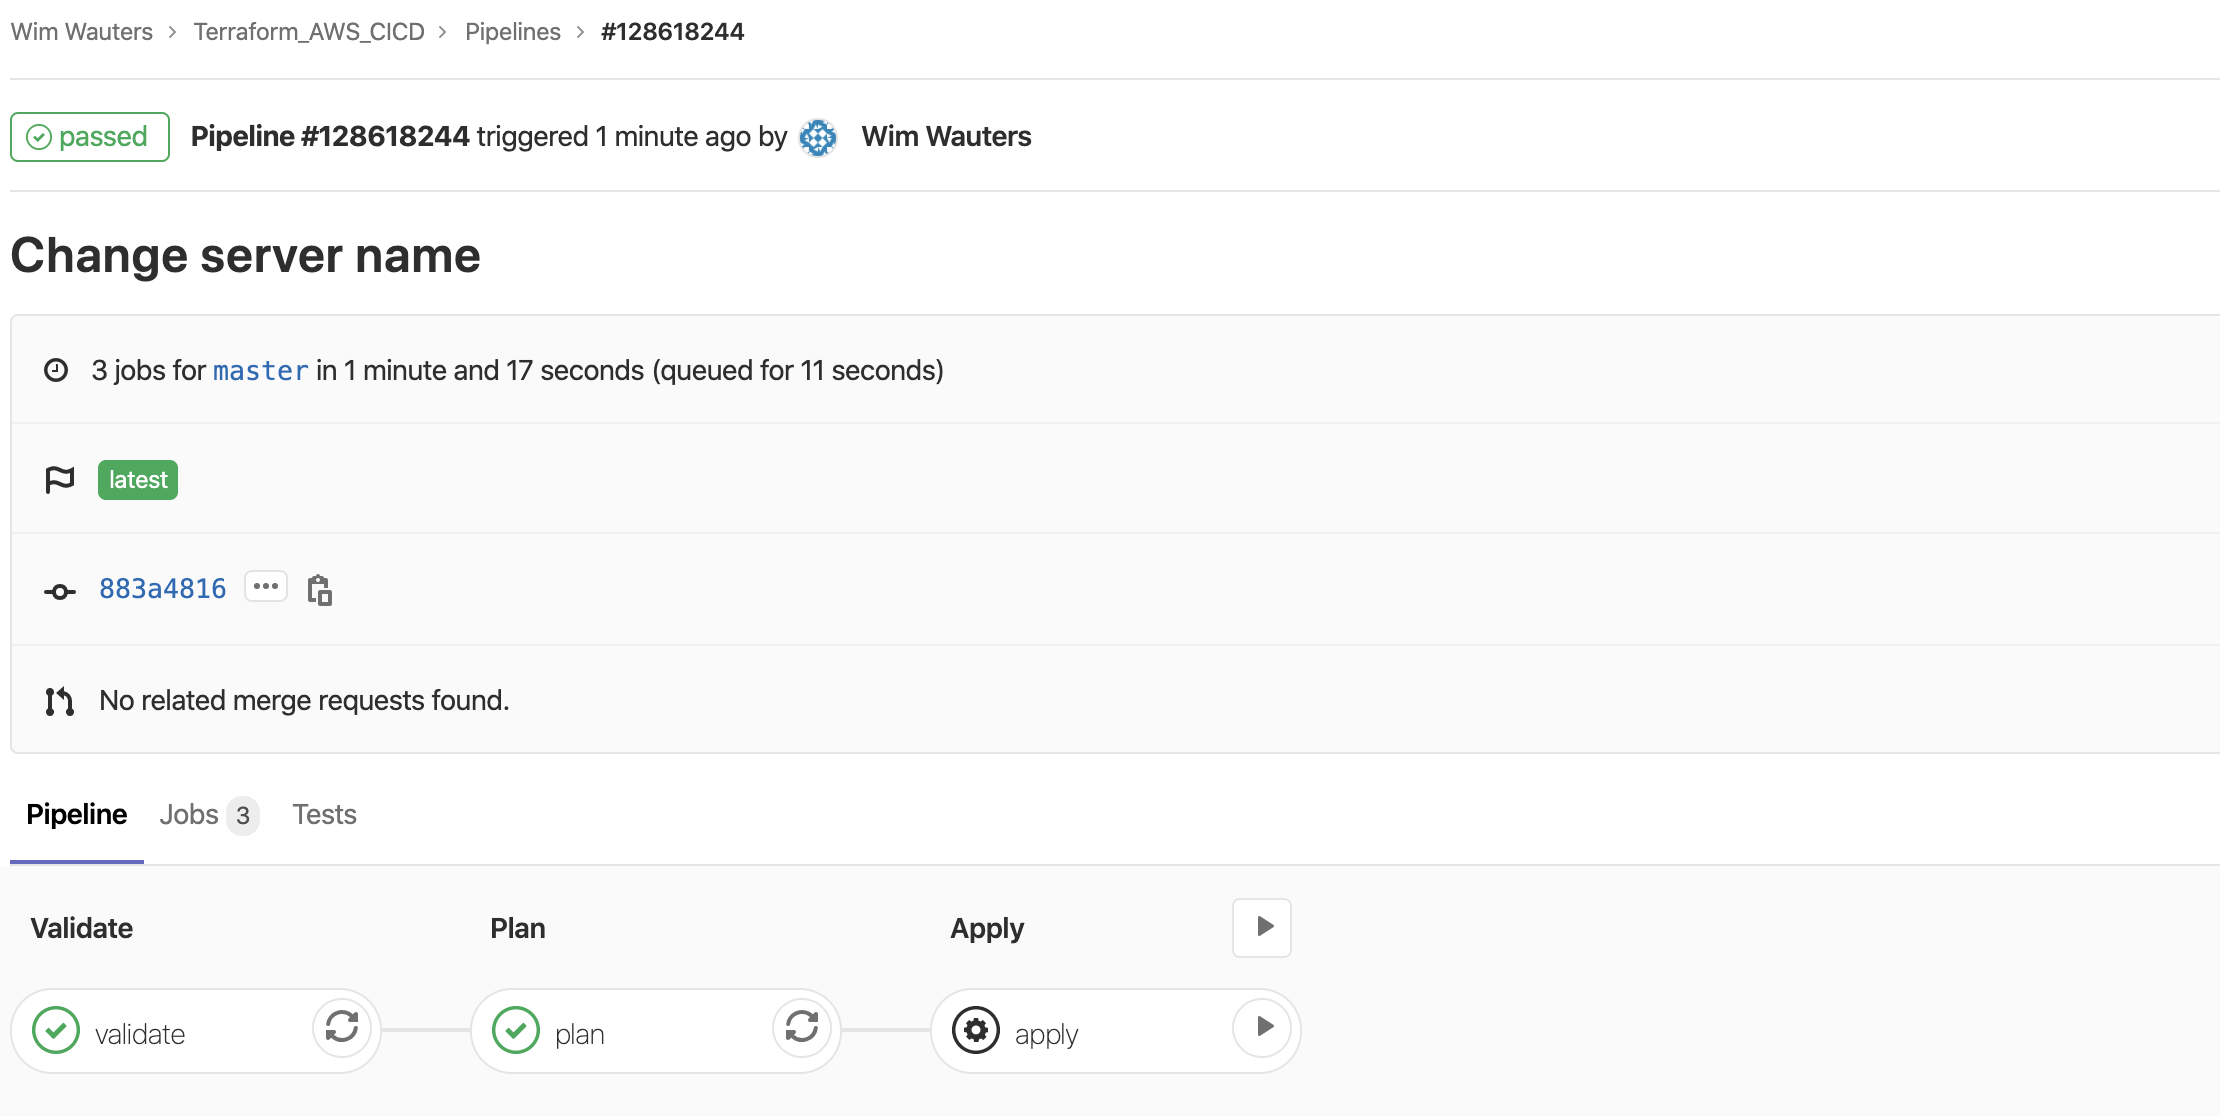
Once the pipeline has run successfully…
… you will see that our EC2 instances have different names:

You can download the files we used for this blog via my Github repo.