DigitalOcean - Loadbalancer setup with Terraform
Introduction
In this post, we will use the knowledge of the previous posts to create a webserver farm behind a loadBalancer using a firewall to controll access to our infrastructure.
Creating the project
We want all our droplets to be in a specific project for ease of management. Check out the documentation here.
The documentation mentions that the resources attribute can be used to assign droplets to the project (cfr. a list of uniform resource names for the resources associated with the project). As we create multiple servers (using count), we can address all created servers by using digitalocean_droplet.server[*].
resource "digitalocean_project" "terraform_project" {
  name        = var.project_name
  environment = "Development"
  resources   = digitalocean_droplet.server[*].urn
}
Creating the droplets
Next, let’s go ahead and create the droplets. This is pretty similar to what we have done in this post, although right now we are using a count variable instead of a for_each clause. Does not really make a difference, I just wanted to show that both methods can eventually be used.
resource "digitalocean_droplet" "server" {
    count = var.amount
    name    = format("%s-%s", var.name, "${count.index+1}")

    image   = var.image
    size    = "s-2vcpu-2gb"
    region  = var.region
    ssh_keys = [
      data.digitalocean_ssh_key.terraform.id
    ]

    tags = [format("%s-%s", var.name, "${count.index+1}")]

    //provisioners here
}
As we create multiple servers behind a loadbalancer, we would like to install some webserver software on each of the droplets and have some kind of identification so we know which server will respond when we query the loadbalancer. We can use provisioners to achieve this. Nothing really different than what we did in this post though. Just the script itself has some changes which I’ll show a bit later.
Provisioners
  # Create directories for deployment scripts
  provisioner "remote-exec" {
    inline = [
      "mkdir -p  /tmp/scripts/",
    ]
    nnection {
      type        = "ssh"
      user        = "root"
      private_key = file("ssh_keys/${var.ssh_key}")
      host        = self.ipv4_address
    }
  }

  # Copy Scripts
  provisioner "file" {
    source      = "${local.script_directory}/"
    destination = "/tmp/scripts/"
  }

  # Install software
  provisioner "remote-exec" {
    inline = [
      "bash /tmp/scripts/software_install.sh"
    ]
  }
We basically do three things here:
- Create a directory onto the droplet
- Copy the scripts into that directory
- Install the script
Provisioning script
As mentioned above, the script is a bit different compared to this post. We will start off with the installation of nginx but instead of showing the default nginx page we will customize this a bit so it outputs the IP address of the droplet it’s running from. The relevant section of the script can be seen below:
sudo apt install -y nginx
echo 'Changing default nginx page ...'
echo 'Servername:' > /var/www/html/index.html
echo $(uname -n) '<br>' >> /var/www/html/index.html
echo 'IP address:' >> /var/www/html/index.html
echo $(ip route get 8.8.8.8 | sed -n '/src/{s/.*src *\([^ ]*\).*/\1/p;q}') >> /var/www/html/index.html
echo 'Restarting nginx ...'
sudo service nginx restart
Creating the loadbalancer
Next we’ll tackle the load balancing setup. Documentation can be found here. In below snippet we create a loadbalancer and tell it to forward traffic received on port 80 to port 80 on the target droplets. These target droplets are defined using the droplet_ids argument. In our case, we assign all the created droplets to the loadbalancer.
resource "digitalocean_loadbalancer" "public" {
  name   = "lbdigitalocean"
  region = var.region

  forwarding_rule {
    entry_port     = 80
    entry_protocol = "http"

    target_port     = 80
    target_protocol = "http"
  }

  healthcheck {
    port     = 22
    protocol = "tcp"
  }

  droplet_ids = digitalocean_droplet.server[*].id
}
Creating the firewall
It’s not a good idea to leave your droplets open to the entire world. Hence we will also configure a firewall. Check out the documentation here. Similar to the loadbalancer in the previous section, we need to tell the firewall which droplets to protect. This is done throught the droplet_ids argument. Next, we simply have to specifiy some inbound and outbound rules. In the below example, we do the following:
- allow port 22 to the droplets
- allow icmp traffic to and from the droplets
- allow all outbound traffic from the droplets
resource "digitalocean_firewall" "web" {
  name        = "Test"
  droplet_ids = digitalocean_droplet.server[*].id

  inbound_rule {
    protocol   = "tcp"
    port_range = "80"
    source_addresses   = [digitalocean_loadbalancer.public.id]
    //source_addresses = ["0.0.0.0/0", "::/0"]
  }

  inbound_rule {
    protocol         = "tcp"
    port_range       = "22"
    source_addresses = ["0.0.0.0/0"]
  }

  inbound_rule {
    protocol         = "icmp"
    source_addresses = ["0.0.0.0/0", "::/0"]
  }

  outbound_rule {
    protocol              = "tcp"
    port_range            = "1-65535"
    destination_addresses = ["0.0.0.0/0", "::/0"]
  }

  outbound_rule {
    protocol              = "icmp"
    destination_addresses = ["0.0.0.0/0", "::/0"]
  }
}
Checking the results
Next, let’s execute our Terraform scripts:
~/DigitalOcean-Terraform-LoadbalancerSetup ❯ terraform init
~/DigitalOcean-Terraform-LoadbalancerSetup ❯ terraform plan
~/DigitalOcean-Terraform-LoadbalancerSetup ❯ terraform apply
...
...
...
digitalocean_record.www: Creating...
digitalocean_record.www: Creation complete after 1s [id=311201523]
Apply complete! Resources: 6 added, 0 changed, 2 destroyed.
Outputs:
droplet_ip_address = [
"164.92.158.128",
"161.35.88.169",
]
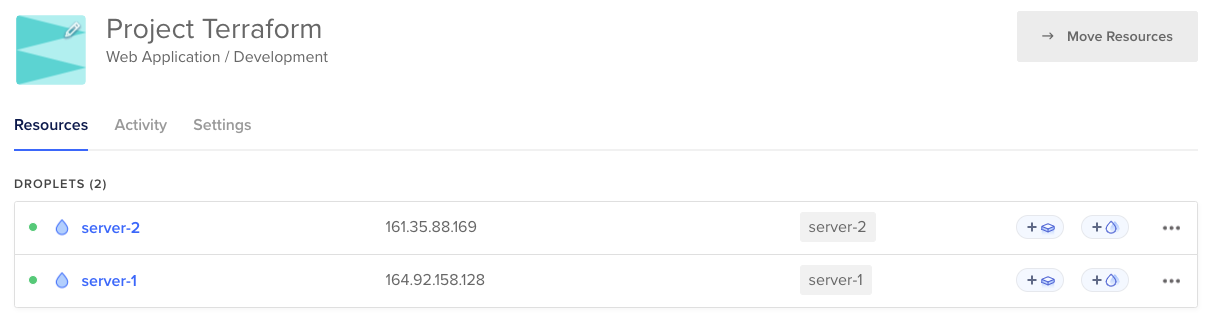
loadbalancer_ip_address = "143.198.251.121"You will see that two droplets got created in a project called Project Terraform:
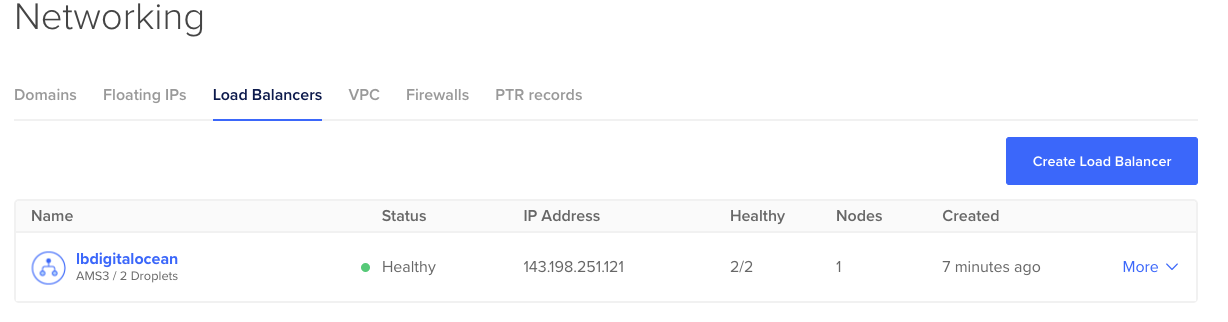
And going to the Networking page will show you the loadbalancer got created successfully as well:
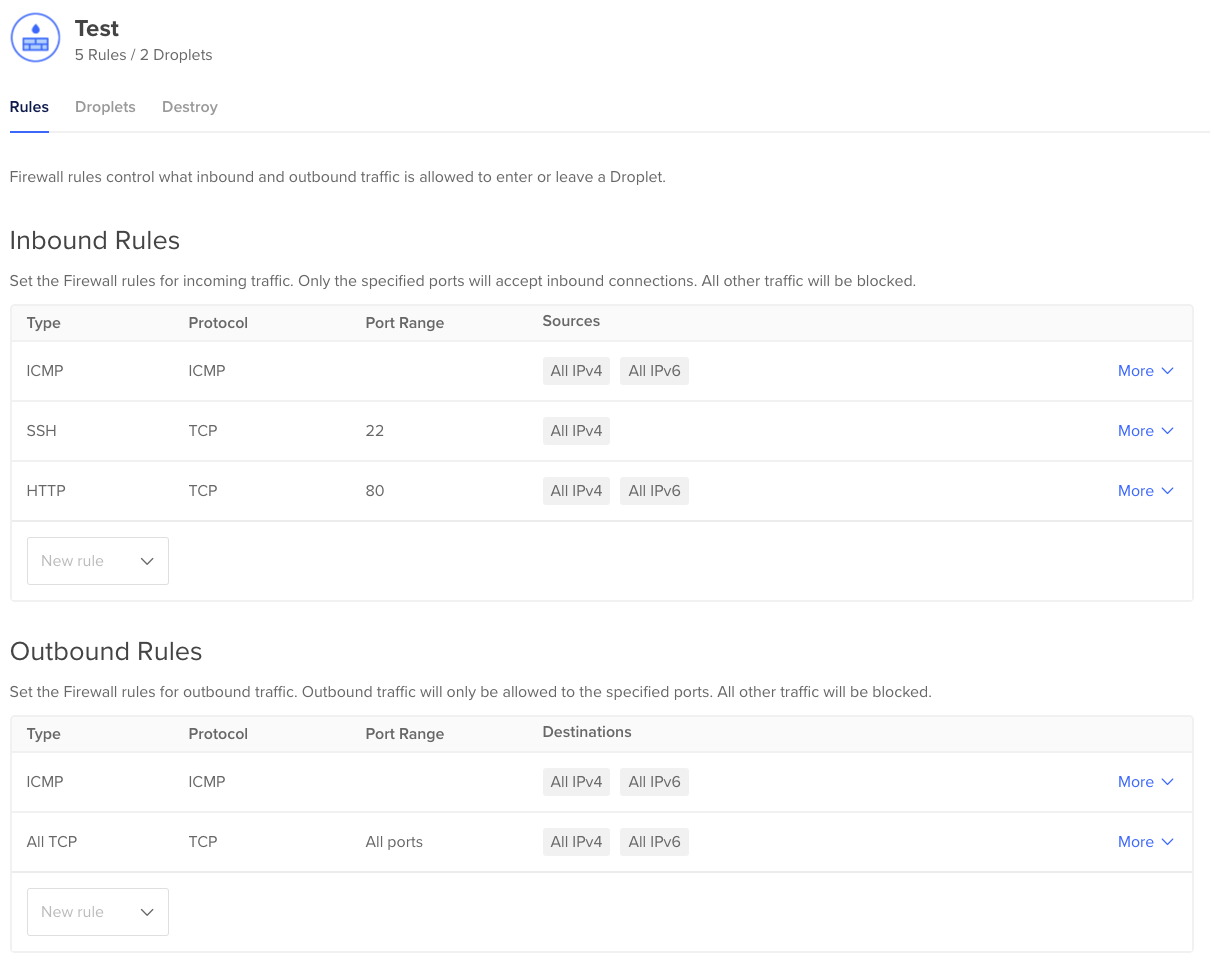
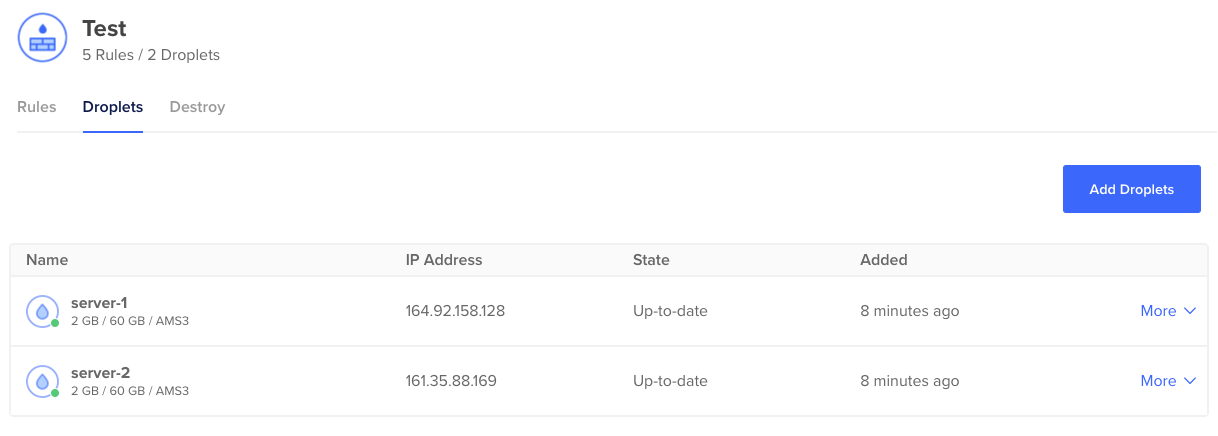
Have a look at the Firewall section and you will see a firewall was created as well with a nice overview of all inbound and outbound ports:
Also under the Firewall section, you can see which droplets are registed to be protected by the firewall:
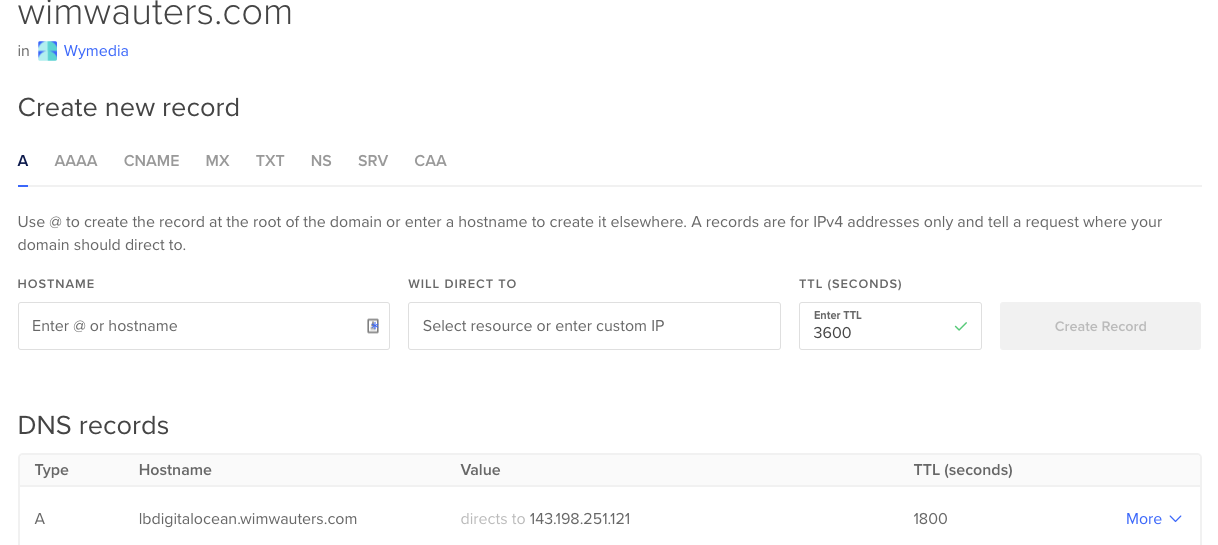
Next, let’s also have a look at the DNS records. As explained above, we have created a DNS record for the loadbalancer:
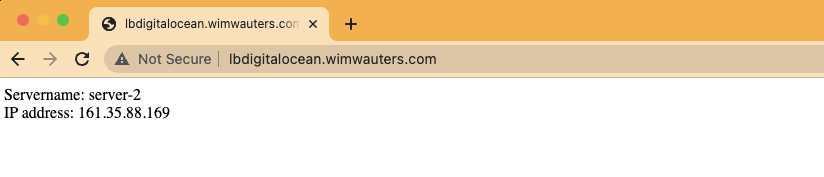
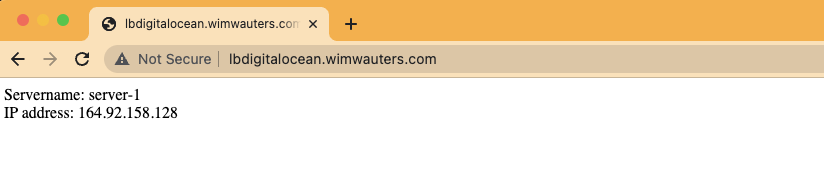
When we open a browser and go to that DNS record you will see be get the webpage from each droplet. Hit a couple of times the refresh button and you will see each time a different droplet is responding to our query.
Response from server 1:
Response from server 2: