MicroK8S HA-cluster on Raspberry Pi 4 ESXi host
Introduction
In this post I installed ESXi onto a Raspberry Pi 4 device with 8GB of RAM. Then I configured manually some Ubuntu servers and installed VMWare tools on them (see this post).
As such, I have the following situation:
ESXi on Raspberry Pi 1:
- microk8s-1: 192.168.80.16
- microk8s-2: 192.168.80.17
ESXi on Raspberry Pi 2:
- microk8s-3: 192.168.80.18
- microk8s-4: 192.168.80.19
I will use microk8s-1 as the master node.
Installing microK8S
On all four nodes, install microK8S
wim@ubuntu-microk8s-1:~$ sudo snap install microk8s --classic
[sudo] password for wim:
microk8s (1.19/stable) v1.19.3 from Canonical✓ installed
Next, verify the status of the microk8s cluster:
wim@ubuntu-microk8s-1:~$ microk8s status
Insufficient permissions to access MicroK8s.
You can either try again with sudo or add the user wim to the 'microk8s' group:

    sudo usermod -a -G microk8s wim
    sudo chown -f -R wim ~/.kube

The new group will be available on the user's next login.
You will see that it informs us to add the current user to the microk8s group. Let’s do this now:
wim@ubuntu-microk8s-1:~$ sudo usermod -a -G microk8s wim
[sudo] password for wim:
wim@ubuntu-microk8s-1:~$ sudo chown -f -R wim ~/.kube
wim@ubuntu-microk8s-1:~$ logout
After logging in again, you’ll see that microk8s is running:
wim@ubuntu-microk8s-1:~$ microk8s status
microk8s is running
high-availability: no
  datastore master nodes: 127.0.0.1:19001
  datastore standby nodes: none
addons:
  enabled:
    ha-cluster           # Configure high availability on the current node
  disabled:
    dashboard            # The Kubernetes dashboard
    dns                  # CoreDNS
    helm                 # Helm 2 - the package manager for Kubernetes
    helm3                # Helm 3 - Kubernetes package manager
    host-access          # Allow Pods connecting to Host services smoothly
    ingress              # Ingress controller for external access
    metallb              # Loadbalancer for your Kubernetes cluster
    metrics-server       # K8s Metrics Server for API access to service metrics
    rbac                 # Role-Based Access Control for authorisation
    registry             # Private image registry exposed on localhost:32000
    storage              # Storage class; allocates storage from host directory
Enable dashboard
root@ubuntu-microk8s-1:/home/wim# microk8s enable dashboard
Enabling Kubernetes Dashboard
Addon metrics-server is already enabled.
Applying manifest
serviceaccount/kubernetes-dashboard created
<TRUNCATED>
token=$(microk8s kubectl -n kube-system get secret | grep default-token | cut -d " " -f1)
microk8s kubectl -n kube-system describe secret $token
Note: I initially enabled the dashboard as a normal user (with sudo privileges) but that did not work. Executing as root user seems to work.
Next, we need to expose the dashboard. That’s done as follows:
root@ubuntu-microk8s-1:/home/wim# microk8s dashboard-proxyIn the output of the above command, you will receive a token. That token can be used to login into the dashboard (can be found at http://
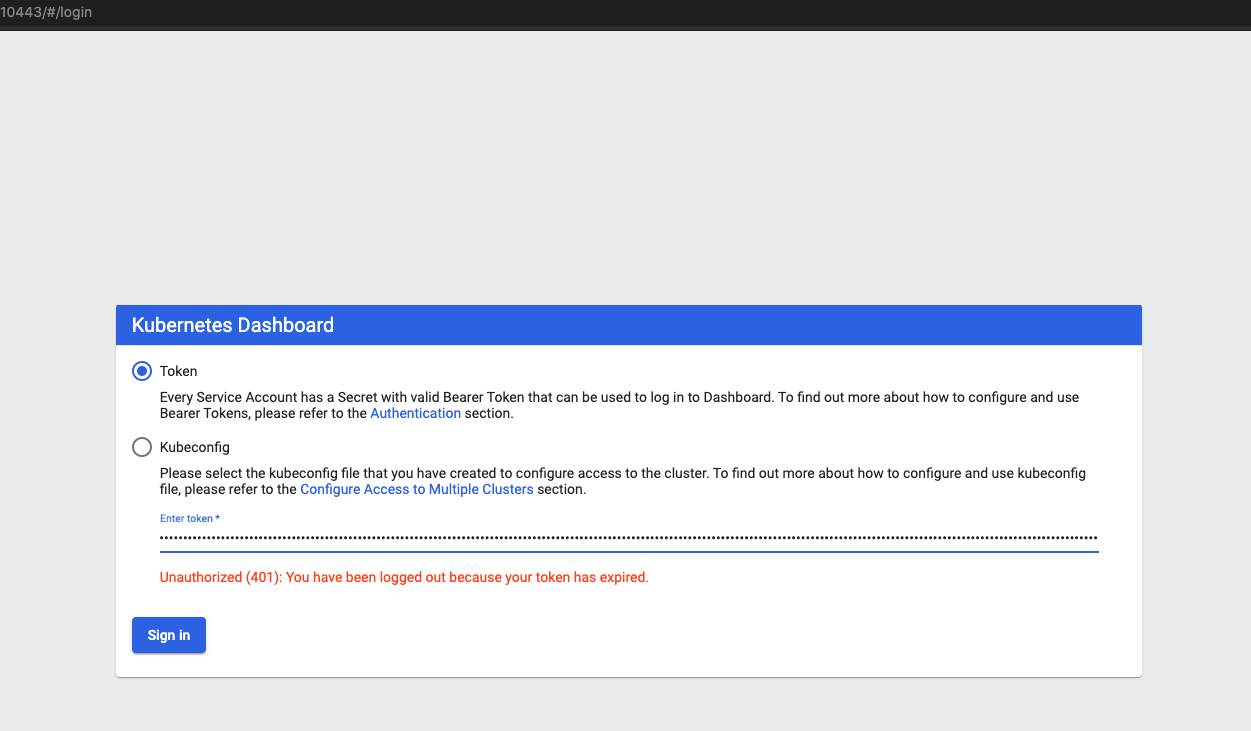
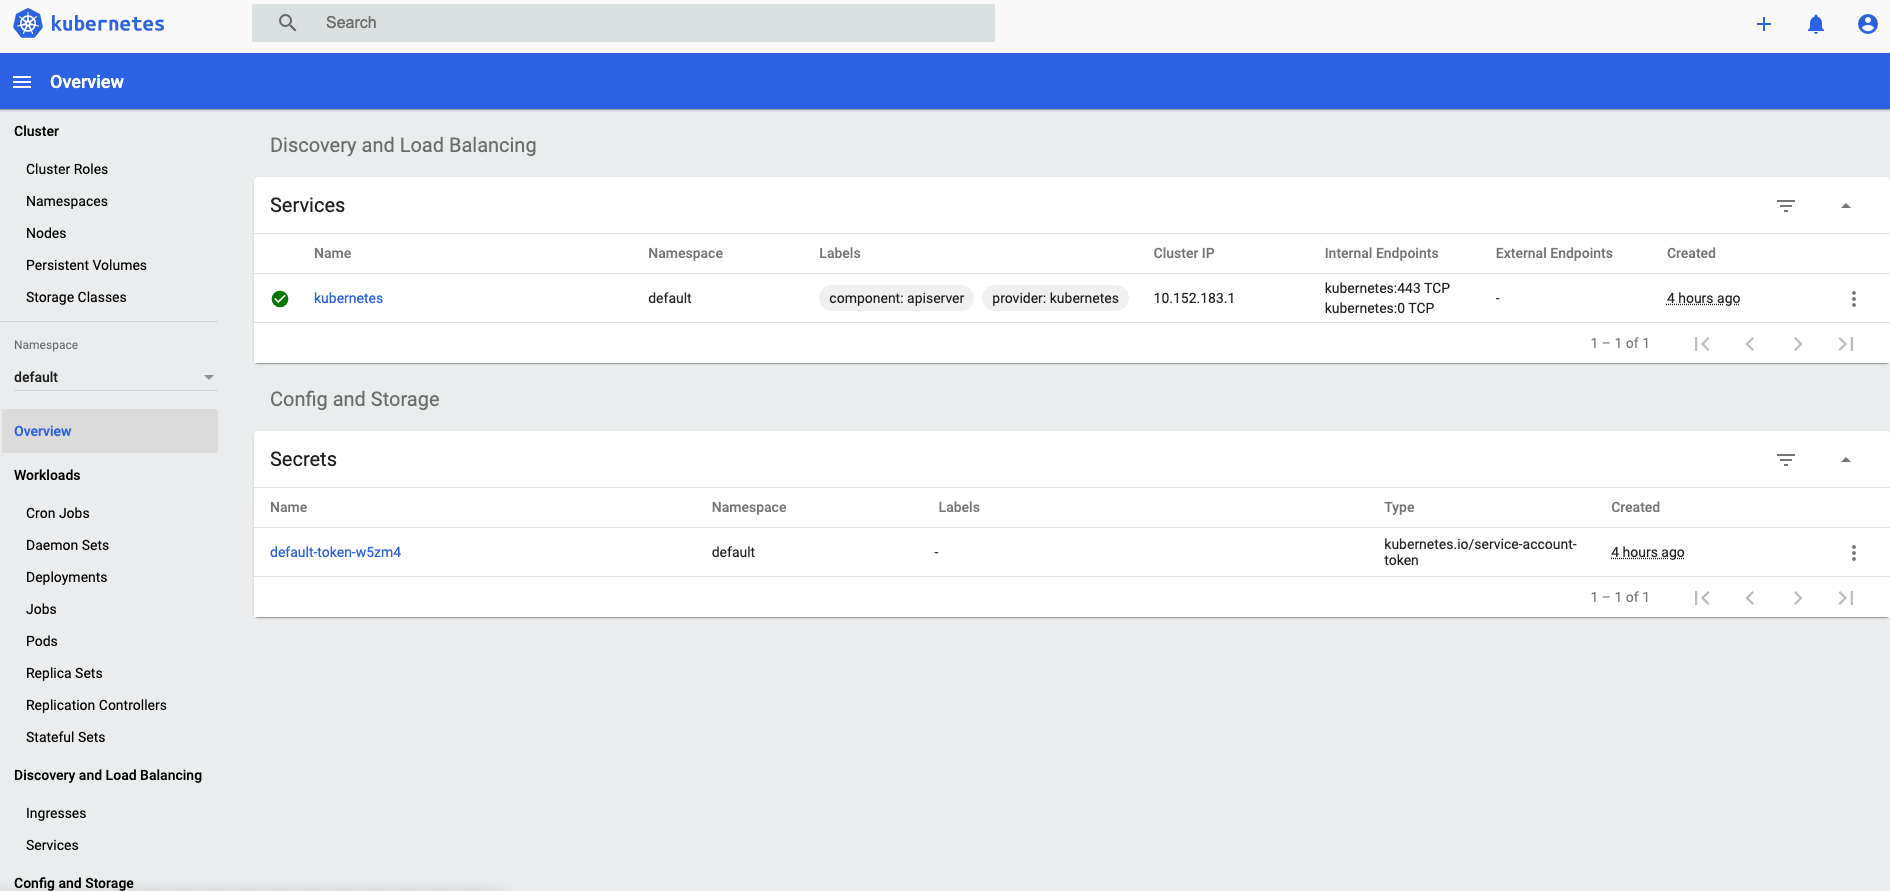
Enter the token and you should see the following screen.
On the microk8s-1 node, perform the following operation:
wim@ubuntu-microk8s-1:~$ microk8s kubectl get nodes
NAME                STATUS   ROLES    AGE     VERSION
ubuntu-microk8s-1   Ready    <none>   6h37m   v1.19.3-34+b9e8e732a07cb6
This will provide you with an overview of the nodes.
Adding nodes to the cluster
Next, we need to add nodes to the Kubernetes. In order to do so, run the add-node command on the first node. This will provide back a join command which you need to execute on the node you wish to add.
wim@ubuntu-microk8s-1:~$ microk8s add-node
From the node you wish to join to this cluster, run the following:
microk8s join 192.168.80.16:25000/bd6b9b85949242c102381de4b29dc472

If the node you are adding is not reachable through the default interface you can use one of the following:
 microk8s join 192.168.80.16:25000/bd6b9b85949242c102381de4b29dc472
 microk8s join 10.1.169.64:25000/bd6b9b85949242c102381de4b29dc472
As said above, on the node you want to add to the cluster, run the join command as follows:
wim@ubuntu-microk8s-2:~$ microk8s join 192.168.80.16:25000/bd6b9b85949242c102381de4b29dc472
[sudo] password for wim:
Contacting cluster at 192.168.80.16
Waiting for this node to finish joining the cluster. ..
After a couple of minutes you will see the node has been added. To do so, on your first node, run the following command and you’ll see that the node got added successfully.
wim@ubuntu-microk8s-1:~$ microk8s kubectl get nodes
NAME                STATUS   ROLES    AGE     VERSION
ubuntu-microk8s-2   Ready    <none>   4m14s   v1.19.3-34+b9e8e732a07cb6
ubuntu-microk8s-1   Ready    <none>   6h45m   v1.19.3-34+b9e8e732a07cb6
For adding the other nodes, just repeat the same procedure for each node:
- run
microk8s add-nodeon the first node - run the join command on the node you want to add to the cluster
Checking HA status
At this point we have added 3 additional nodes to the cluster, so we have 4 in total. Let’s check the output of the status command.
wim@ubuntu-microk8s-1:~$ microk8s status
microk8s is running
high-availability: yes
  datastore master nodes: 192.168.80.16:19001 192.168.80.18:19001 192.168.80.19:19001
  datastore standby nodes: 192.168.80.17:19001
addons:
  enabled:
    dashboard            # The Kubernetes dashboard
    ha-cluster           # Configure high availability on the current node
    metrics-server       # K8s Metrics Server for API access to service metrics
  disabled:
    dns                  # CoreDNS
    helm                 # Helm 2 - the package manager for Kubernetes
    helm3                # Helm 3 - Kubernetes package manager
    host-access          # Allow Pods connecting to Host services smoothly
    ingress              # Ingress controller for external access
    metallb              # Loadbalancer for your Kubernetes cluster
    rbac                 # Role-Based Access Control for authorisation
    registry             # Private image registry exposed on localhost:32000
    storage              # Storage class; allocates storage from host directory
You see here that our cluster has been put automatically to high-availability mode as it has 3 nodes available. The fourth node is choses as a backup node.
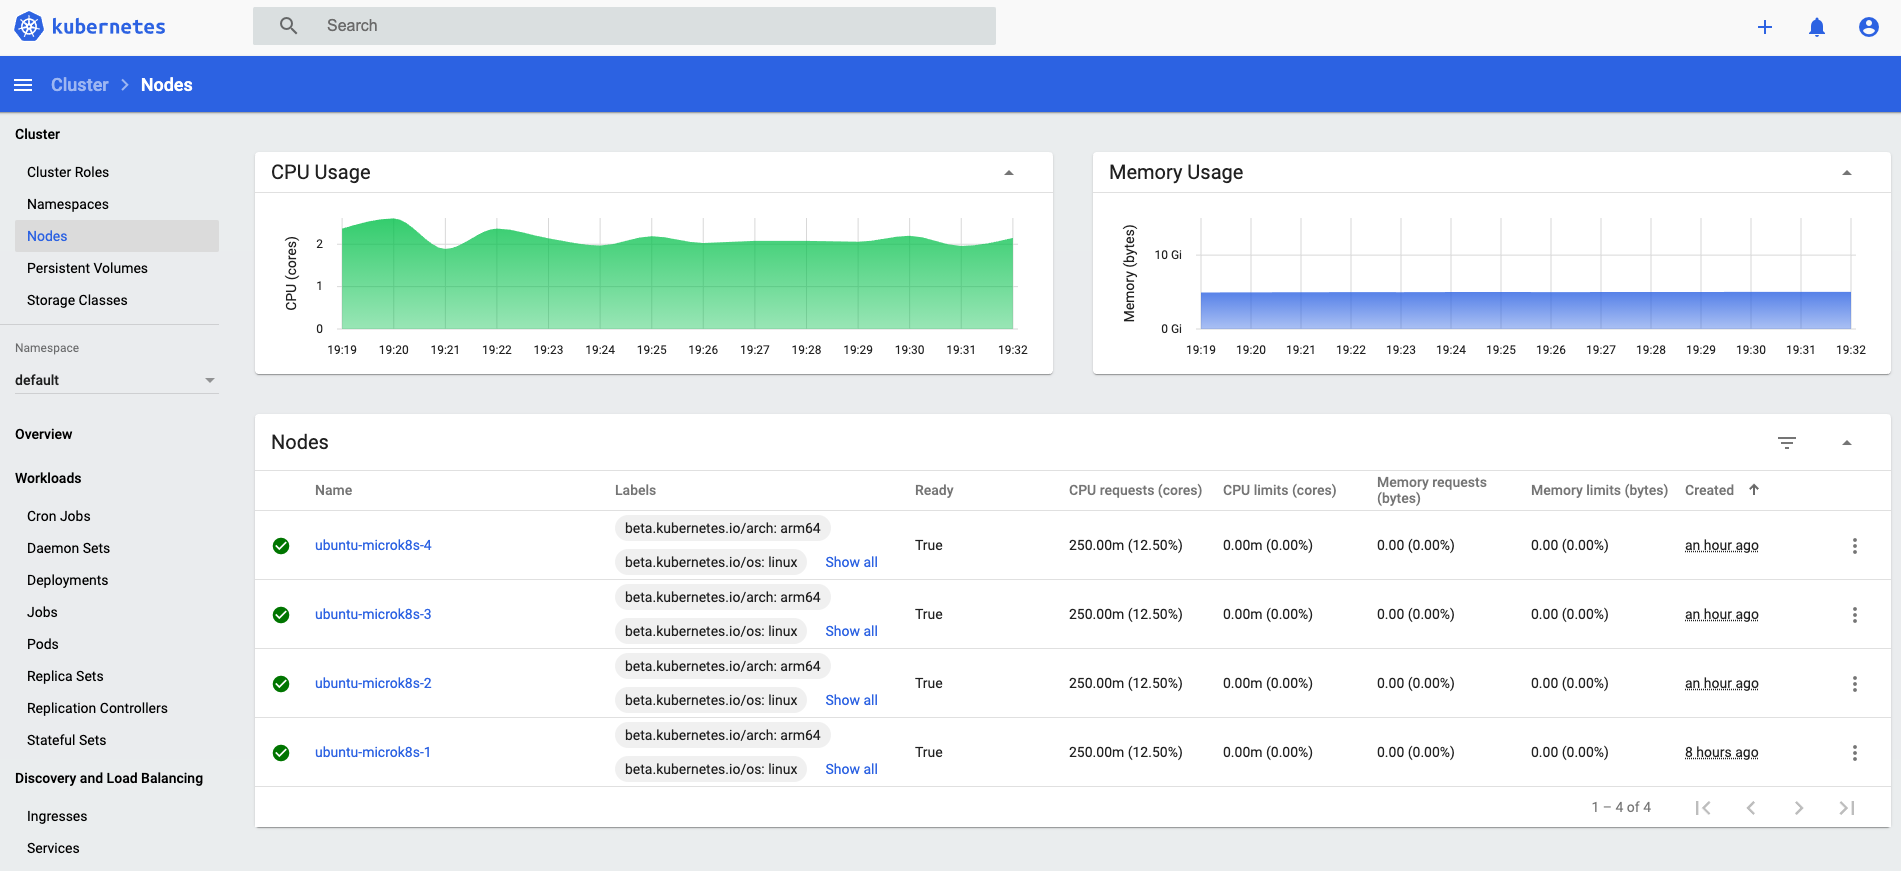
Also these nodes are dislayed into the dashboard (obviously). Just to be sure everything is working login to the dashboard and you should see the following:
Conclusion
That’s it folks. That’s how easy it is to create a full high available Kubernetes cluster spread across two (virtual) ESXI hosts. Go have fun!