Install Gitlab on Raspberry Pi 4 ESXI
Introduction
In this post we will be discussing an approach to have your own CICD system on premise. We will install Gitlab server onto our VMWare cluster running on ESXi. Just as a recap of what we did before:
- in this post, we have installed ESXi onto a Raspberry Pi 4
- in this post, we have installed VMWare tools onto the Ubuntu servers we created (manually)
Install Ubuntu on ESXi
To continue the installation of Gitlab, we will require two Ubuntu instances. Go ahead and create these on top of your ESXi hosts. We will use one instance for the Gitlab software and one instance for the Gitlab runner (the instance effectively running the workloads).
Install VMware tools on Ubuntu
Next, to make it all a bit fluent, install the VMware tools onto the Ubuntu instances. You can follow this post.
To check if the VMware tools are running, check the following:
root@ubuntu-gitlab:/home/wim# systemctl status vmtoolsd.service
● vmtoolsd.service - Service for virtual machines hosted on VMware
     Loaded: loaded (/etc/systemd/system/vmtoolsd.service; enabled; vendor preset: enabled)
     Active: active (running) since Thu 2021-01-14 10:32:47 UTC; 1min 40s ago
       Docs: http://github.com/vmware/open-vm-tools
   Main PID: 90379 (vmtoolsd)
      Tasks: 3 (limit: 1028)
     Memory: 3.5M
     CGroup: /system.slice/vmtoolsd.service
             └─90379 /usr/local/bin/vmtoolsd

Jan 14 10:32:47 ubuntu-gitlab systemd[1]: Started Service for virtual machines hosted on VMware.
As you can see from the output, VMware tools are running.
Installation Gitlab
The following sequence of commands only need to be run on the Gitlab instance (not on the Gitlab runner)
wim@ubuntu-gitlab:~$ sudo apt update
wim@ubuntu-gitlab:~$ sudo apt-get install -y curl openssh-server ca-certificates tzdata
wim@ubuntu-gitlab:~$ cd /tmp
wim@ubuntu-gitlab:/tmp$ curl -LO https://packages.gitlab.com/install/repositories/gitlab/gitlab-ce/script.deb.sh
wim@ubuntu-gitlab:/tmp$ sudo bash /tmp/script.deb.sh
wim@ubuntu-gitlab:/tmp$ sudo apt install gitlab-ce
Once finished, you will get the following output (if all went well):
Setting up gitlab-ce (13.7.4-ce.0) ...
It looks like GitLab has not been configured yet; skipping the upgrade script.

       *.                  *.
      ***                 ***
     *****               *****
    .******             *******
    ********            ********
   ,,,,,,,,,***********,,,,,,,,,
  ,,,,,,,,,,,*********,,,,,,,,,,,
  .,,,,,,,,,,,*******,,,,,,,,,,,,
      ,,,,,,,,,*****,,,,,,,,,.
         ,,,,,,,****,,,,,,
            .,,,***,,,,
                ,*,.


     _______ __  __          __
    / ____(_) /_/ /   ____ _/ /_
   / / __/ / __/ /   / __ `/ __ \
  / /_/ / / /_/ /___/ /_/ / /_/ /
  \____/_/\__/_____/\__,_/_.___/


Thank you for installing GitLab!
GitLab was unable to detect a valid hostname for your instance.
Please configure a URL for your GitLab instance by setting `external_url`
configuration in /etc/gitlab/gitlab.rb file.
Then, you can start your GitLab instance by running the following command:
  sudo gitlab-ctl reconfigure

For a comprehensive list of configuration options please see the Omnibus GitLab readme
https://gitlab.com/gitlab-org/omnibus-gitlab/blob/master/README.md

Help us improve the installation experience, let us know how we did with a 1 minute survey:
https://gitlab.fra1.qualtrics.com/jfe/form/SV_6kVqZANThUQ1bZb?installation=omnibus&release=13-7
All this is pretty straightforward, isn’t it?
Configuring Gitlab
Next, we need to do some configuration. Open the /etc/gitlab/gitlab.rb file and change the EXTERNAL_URL to the IP address of the instance on which you installed the Gitlab server. There are of course multiple ways to check this but the easiest might arguably be to take advantages of the VMware tools. Go to your ESXi host, click on the virtual machine for your Gitlab instances and check the allocated IP address in the General Information section.
Once the changes are saved, execute the following:
wim@ubuntu-gitlab:/tmp$ sudo gitlab-ctl reconfigure
Starting Chef Infra Client, version 15.14.0
<TRUNCATED>
Note 1: I ran into an issue while running the reconfigure script. Error was Error executing action run on resource 'ruby_block[authorize Grafana with GitLab]'. So after some investigation, what I decided to do was to disable Grafana monitoring in the /etc/gitlab/gitlab.rb file and run sudo gitlab-ctl reconfigure again:
grafana['enable'] = falseNote 2: The above did not solve it, so I decided to allocate some more memory to the virtual instance (4GB instead of 1GB) and ran sudo gitlab-ctl reconfigure again. That worked.
Gitlab Web interface
Next, using your browser go to the IP address of the Gitlab server. You will see the following page:
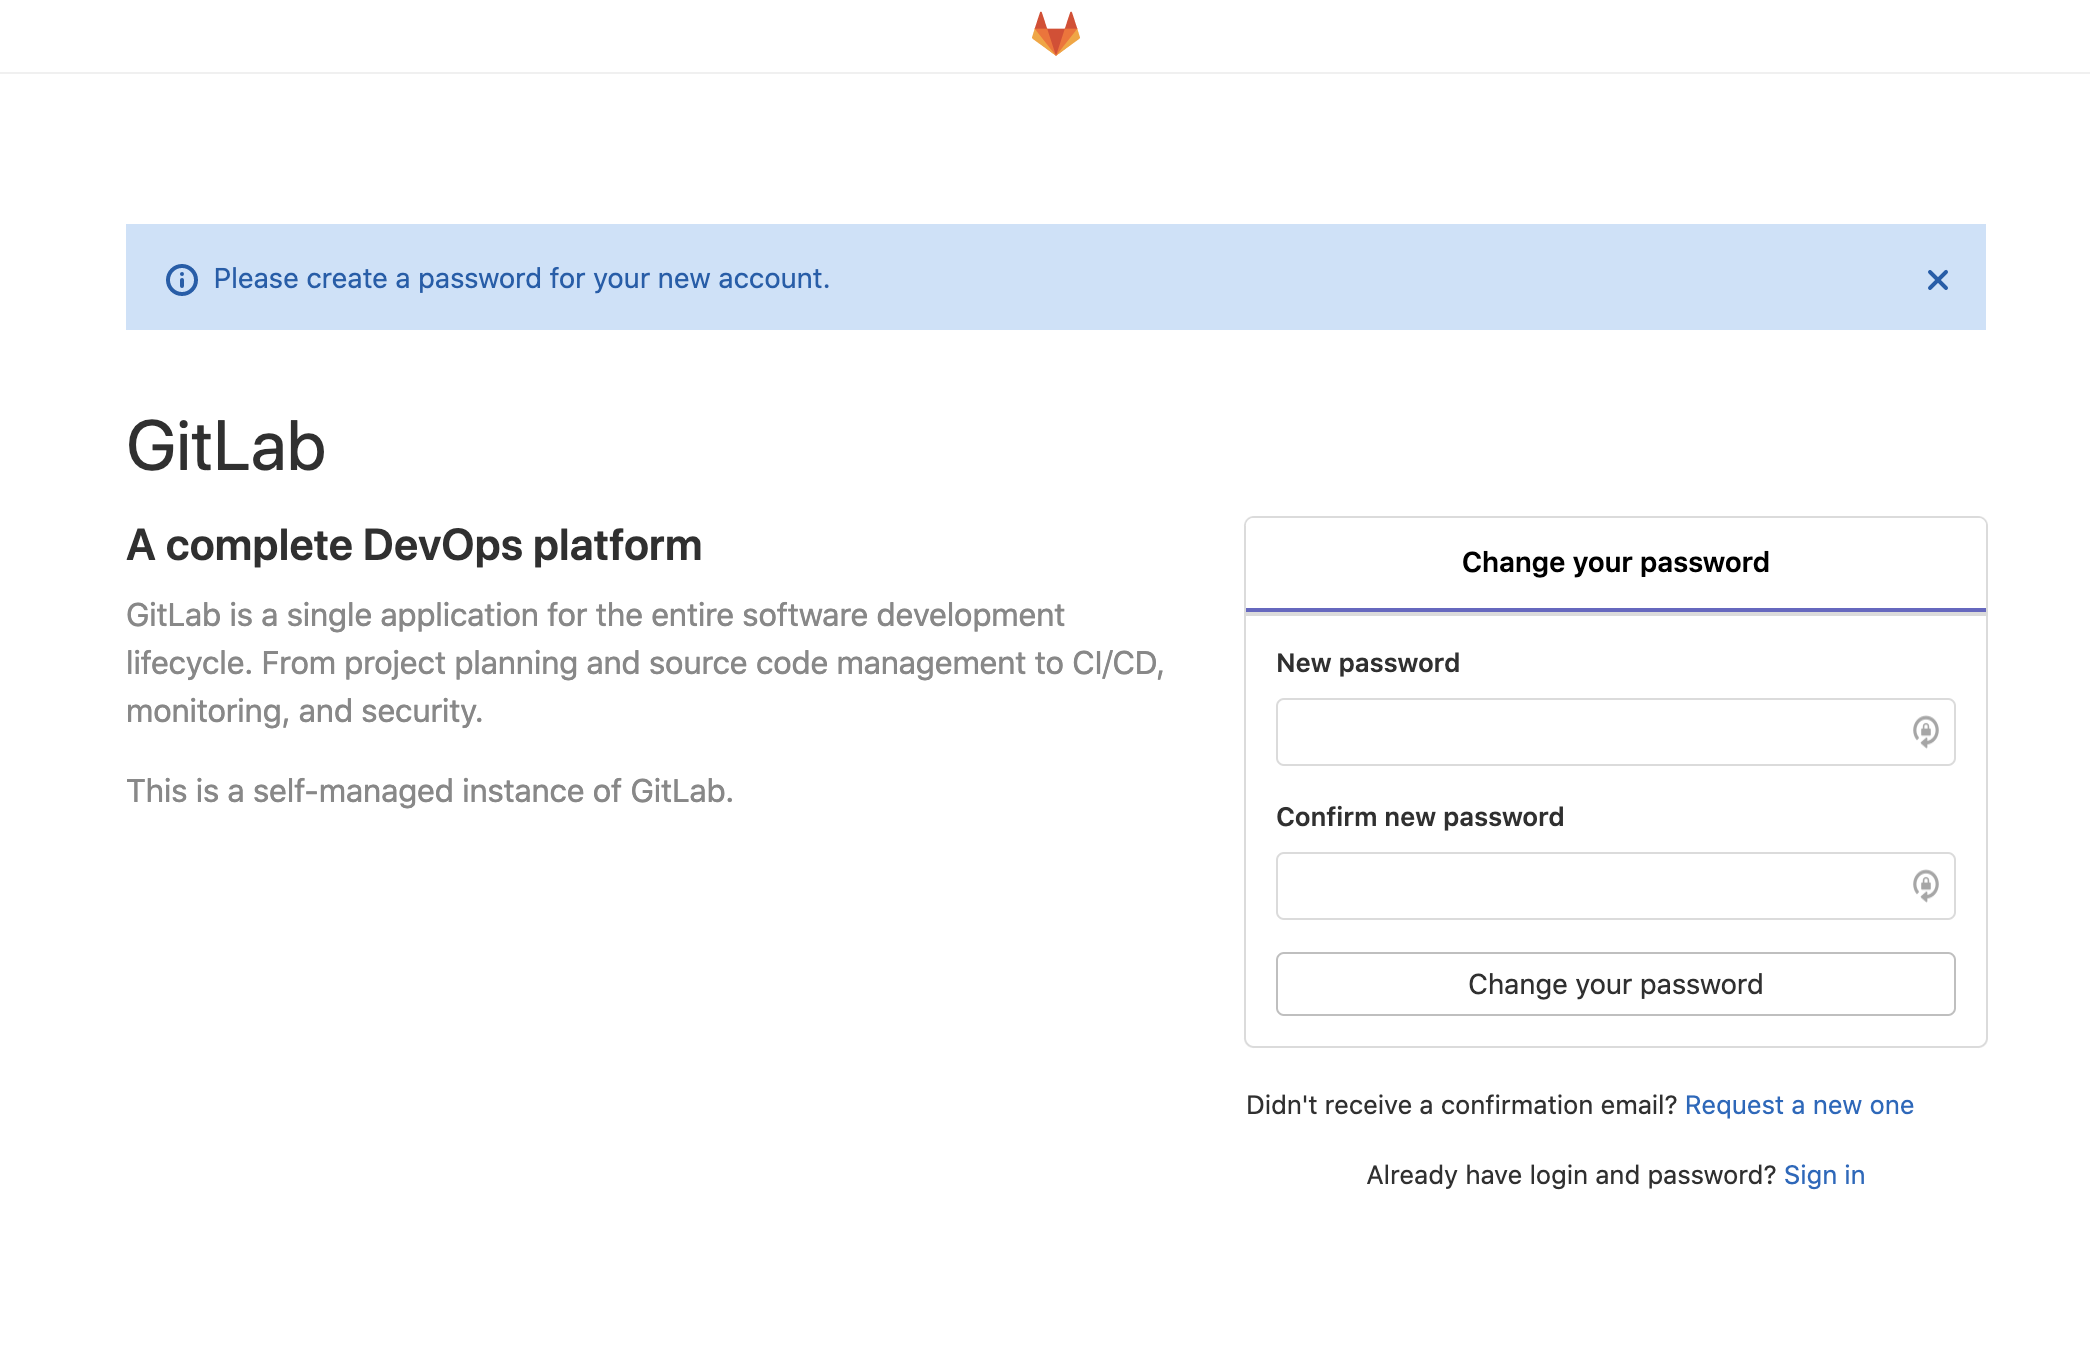
As requested, we need to change the root password. After doing this, you can login using username root and the password you just created in the previous step.
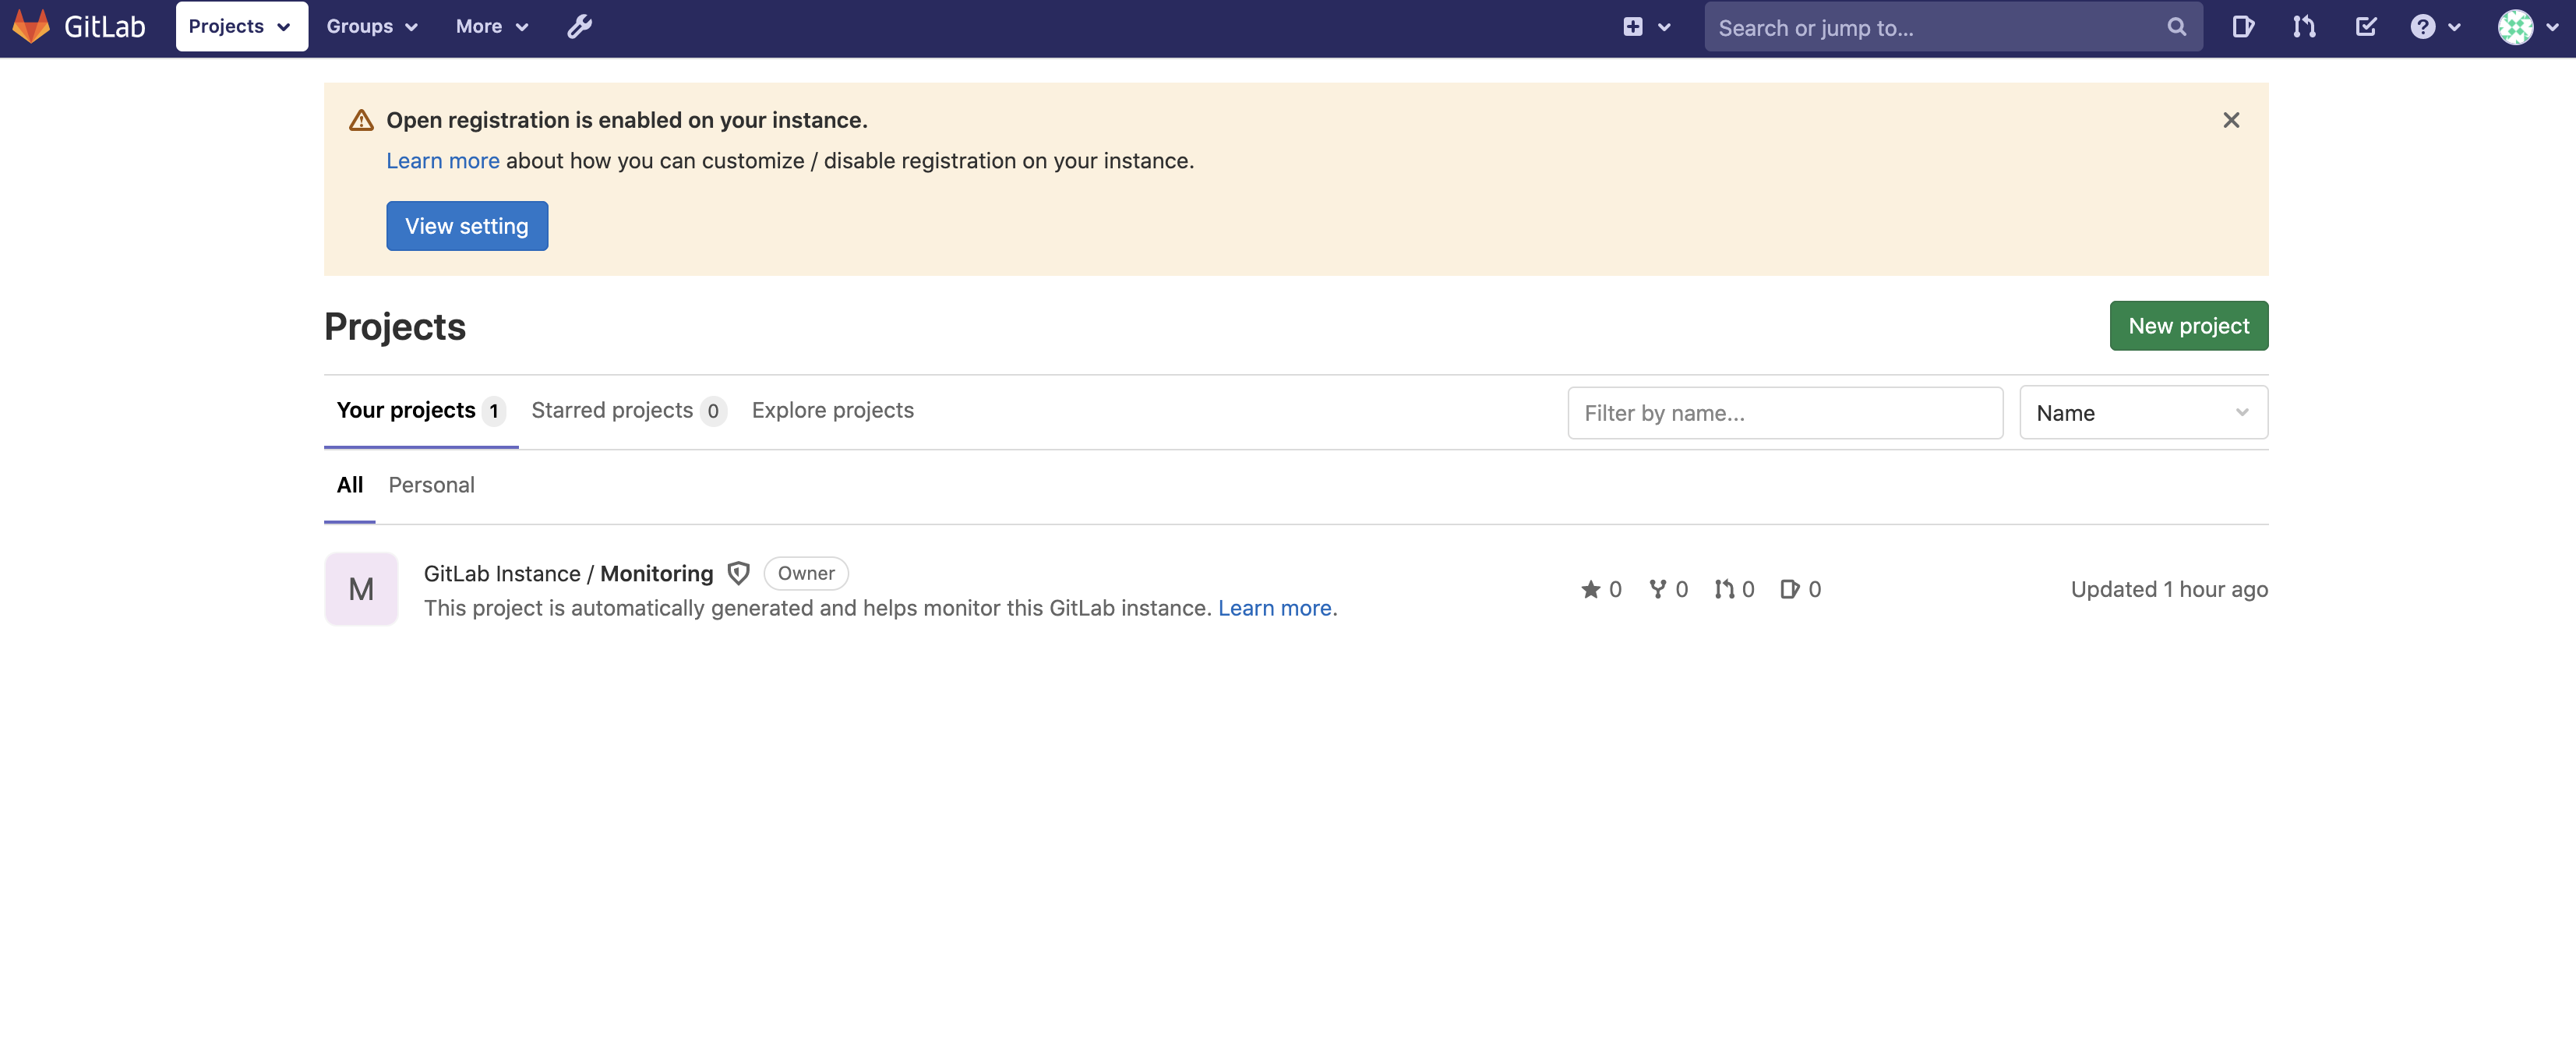
After login, you will see the following page:
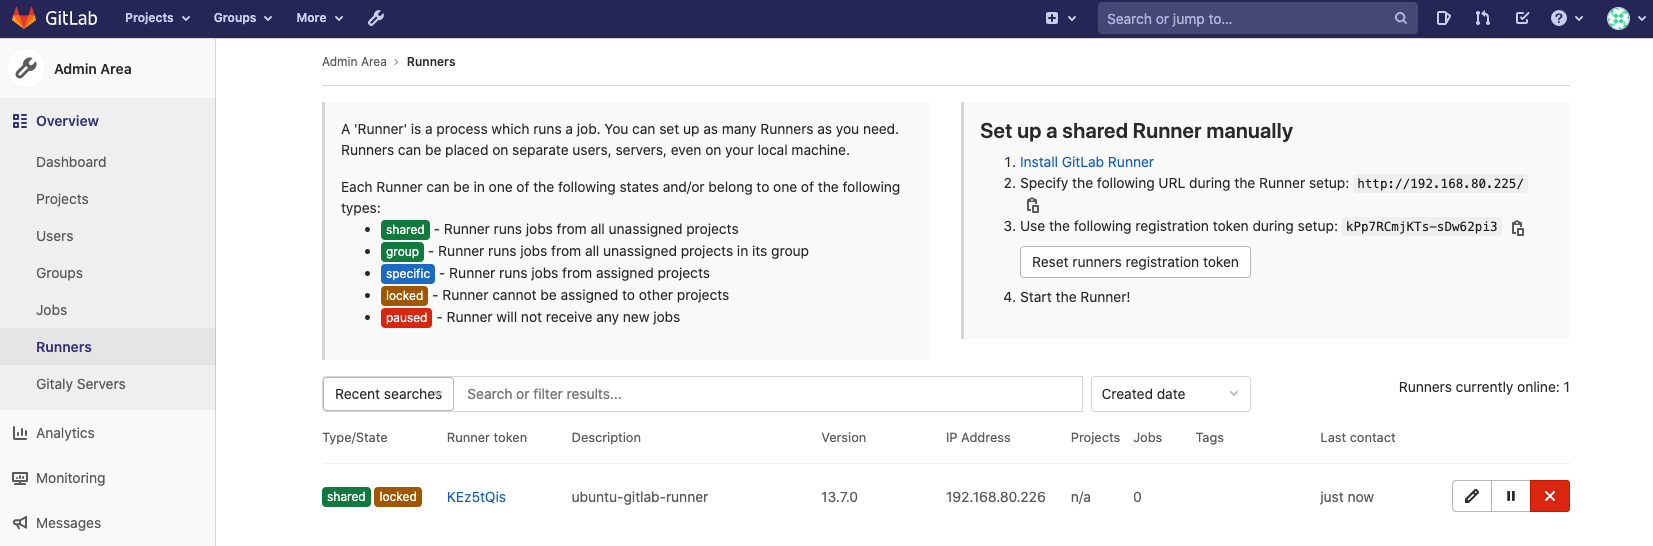
Configure Gitlab runners
Next, go to the following URL http://<IP_Gitlab_server>/admin, then to Overview > Runners. You will see that we don’t have any runners registered just yet (obviously). However, it contains an explanation on how to setup a runner manually.

Let’s just follow the instructions we find here.
Install Gitlab runner
Let’s install the Gitlab runner. On the Gitlab runner instance (not the Gitlab instance itself), run the following commands:
wim@ubuntu-gitlab-runner:~$ curl -LO https://packages.gitlab.com/install/repositories/runner/gitlab-runner/script.deb.sh
wim@ubuntu-gitlab-runner:~$ sudo bash script.deb.sh
<TRUNCATED>
The repository is setup! You can now install packages.
wim@ubuntu-gitlab-runner:~$ sudo apt-get install gitlab-runner
The Gitlab runner is now installed but not registered with the Gitlab server yet. Let’s do that next!
Another way to install Gitlab-runner on a Raspberry Pi is as follows:
wim@ubuntu-gitlab-runner:~$ curl -LJO "https://gitlab-runner-downloads.s3.amazonaws.com/latest/deb/gitlab-runner_arm64.deb"
wim@ubuntu-gitlab-runner:~$ sudo dpkg -i gitlab-runner_arm64.deb
Register Gitlab runner
We need to let Gitlab know which Gitlab runners are available. Therefore, run the following commands. You will get some questions along the way (a.o the registration token which you could find in the admin interface under Overview > Runners).
wim@ubuntu-gitlab-runner:~$ sudo gitlab-runner register
Runtime platform arch=arm64 os=linux pid=2369 revision=943fc252 version=13.7.0
Running in system-mode.

Enter the GitLab instance URL (for example, https://gitlab.com/):
http://192.168.80.225
Enter the registration token:
kPp7RCmjKTs-sDw62pi3
Enter a description for the runner:
[ubuntu-gitlab-runner]:
Enter tags for the runner (comma-separated):

Registering runner... succeeded                     runner=kPp7RCmj
Enter an executor: parallels, shell, virtualbox, docker, docker-ssh, docker+machine, docker-ssh+machine, kubernetes, custom, ssh:
docker
Enter the default Docker image (for example, ruby:2.6):
ubuntu:latest
Runner registered successfully. Feel free to start it, but if it's running already the config should be automatically reloaded!
Note that you will have to select an executor. I have both tested docker as well as shell and both worked nice (more on that in a next post).
If all went well, you will see the runner registered in Gitlab.
Create regular user
Next, let’s create a regular users that we will use for our projects. Go to http://<IP_Gitlab_server> and just register a new user.
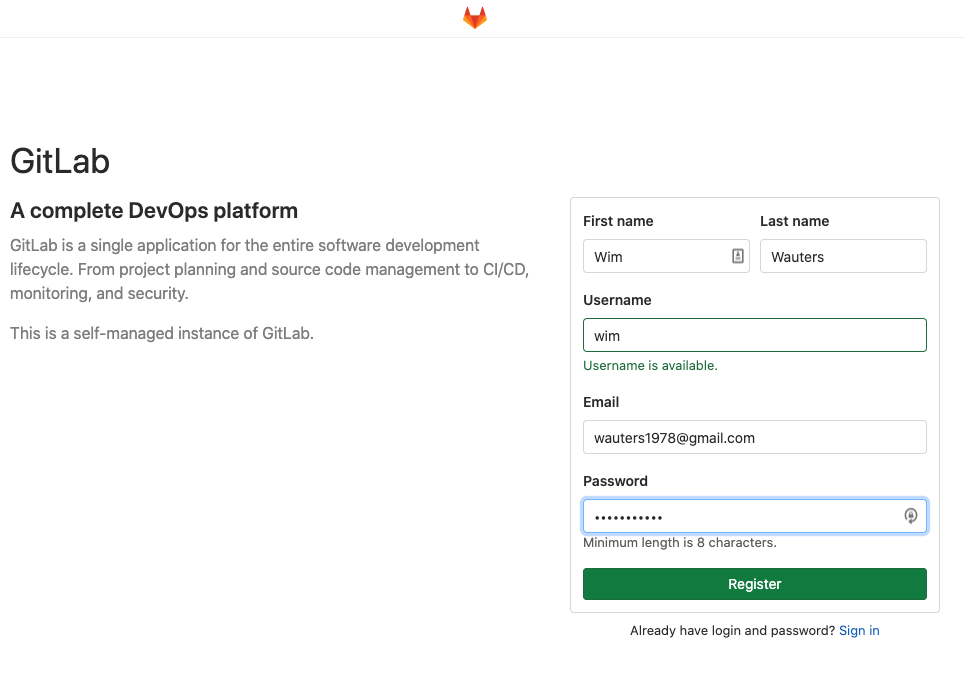
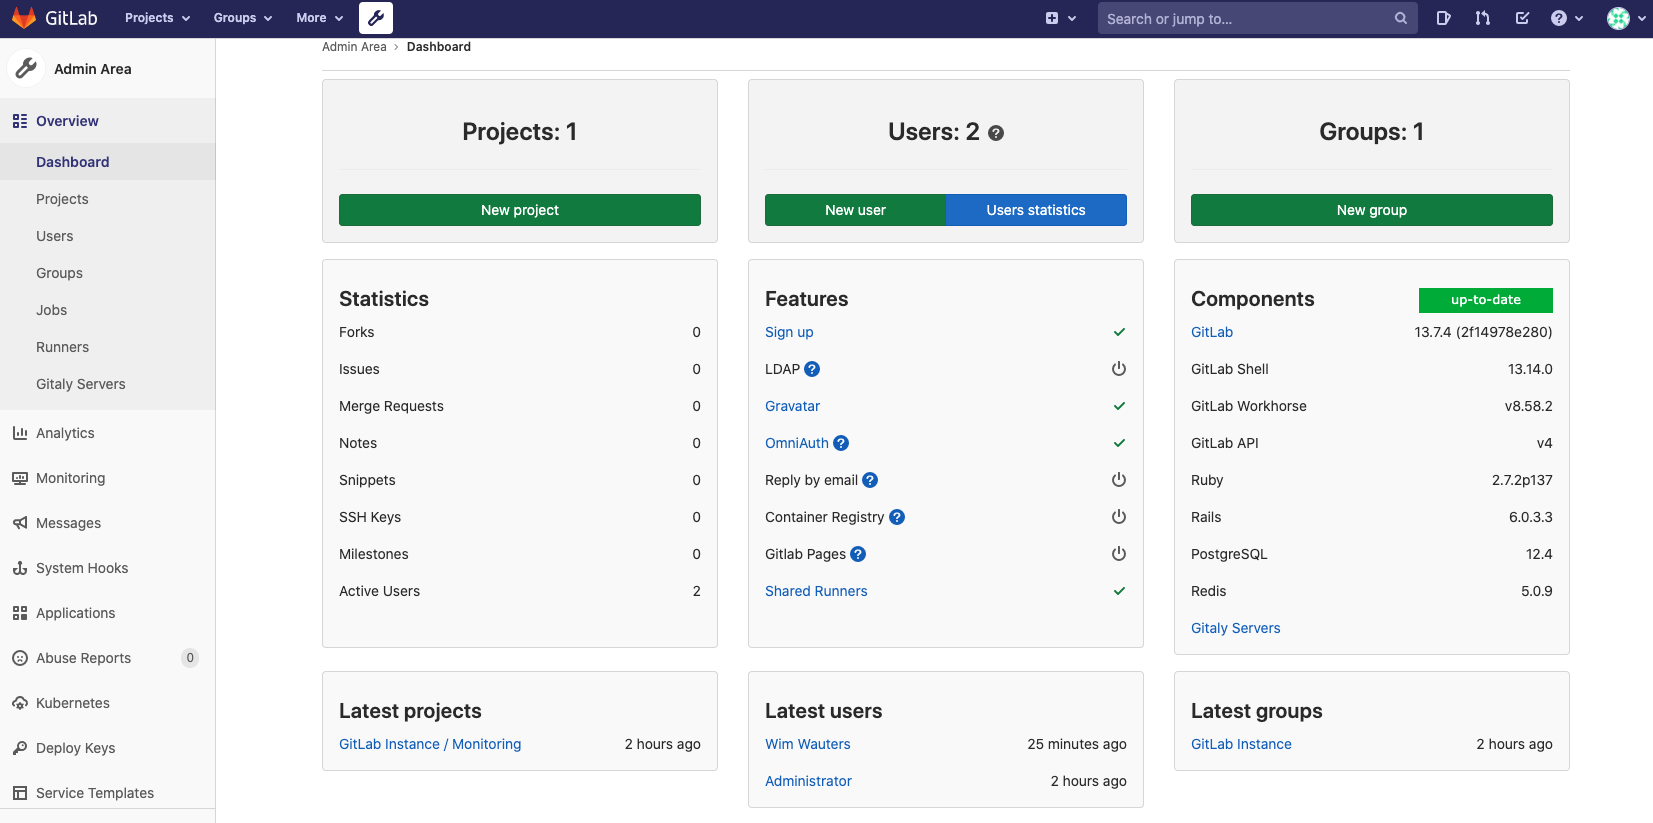
Upon creating the user, you will get a message that this user needs to be approved first by the administrator (root account). Hence, log into the root account and approve the user first. To do so, go to the following url http://<IP_Gitlab_server>/admin, then to Overview > Dashboard. You will see the following:
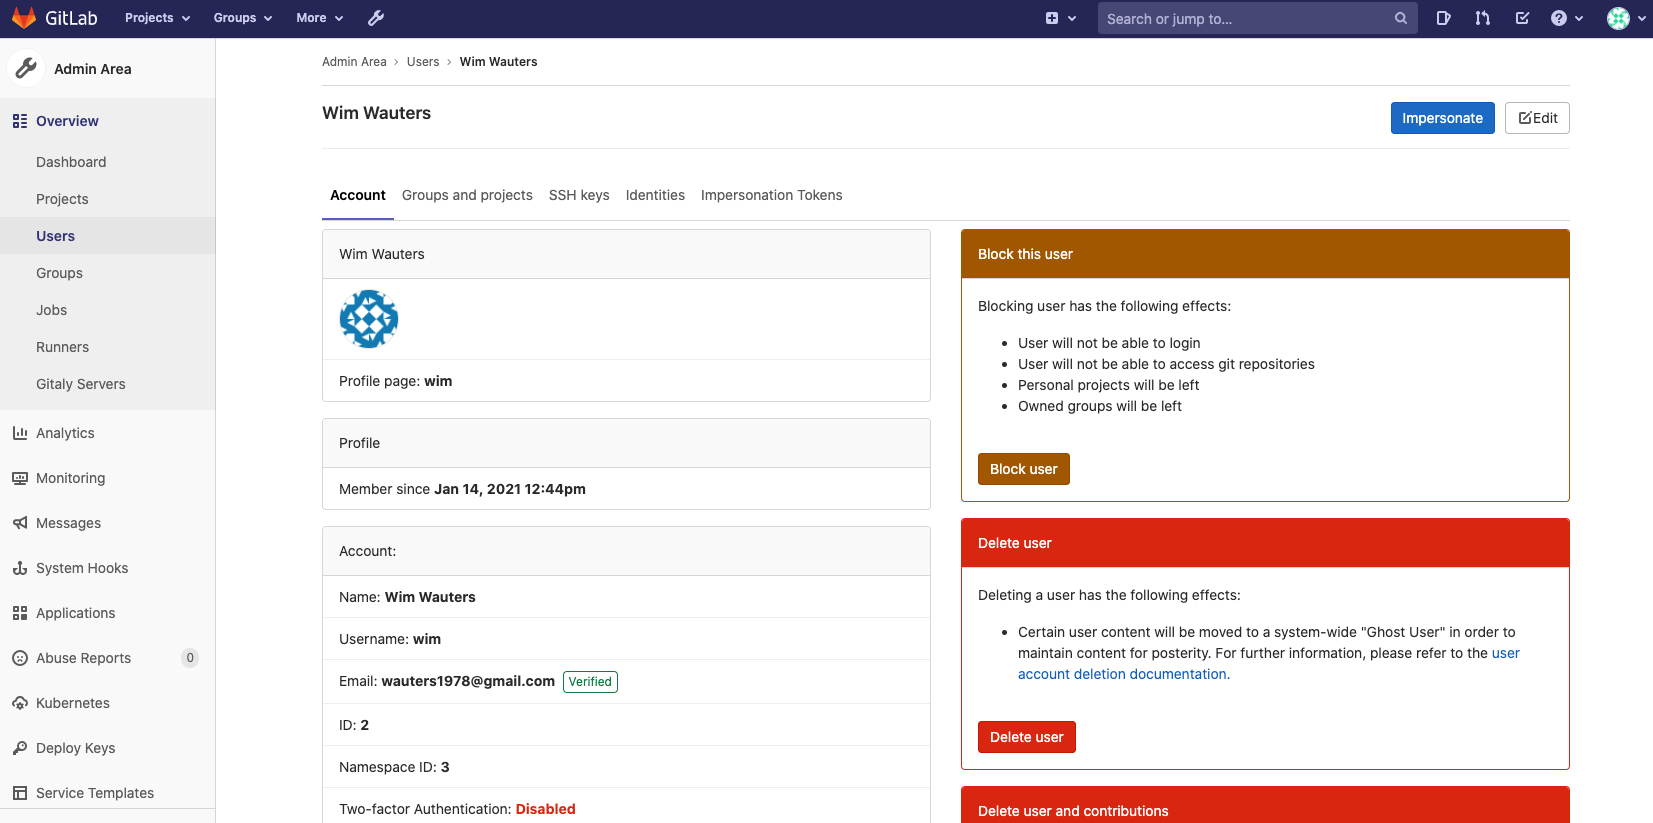
Next, click on the name of the user you just created. There you will get a screen to approve this user. Once approved, you will see something similar as the below screenshot.
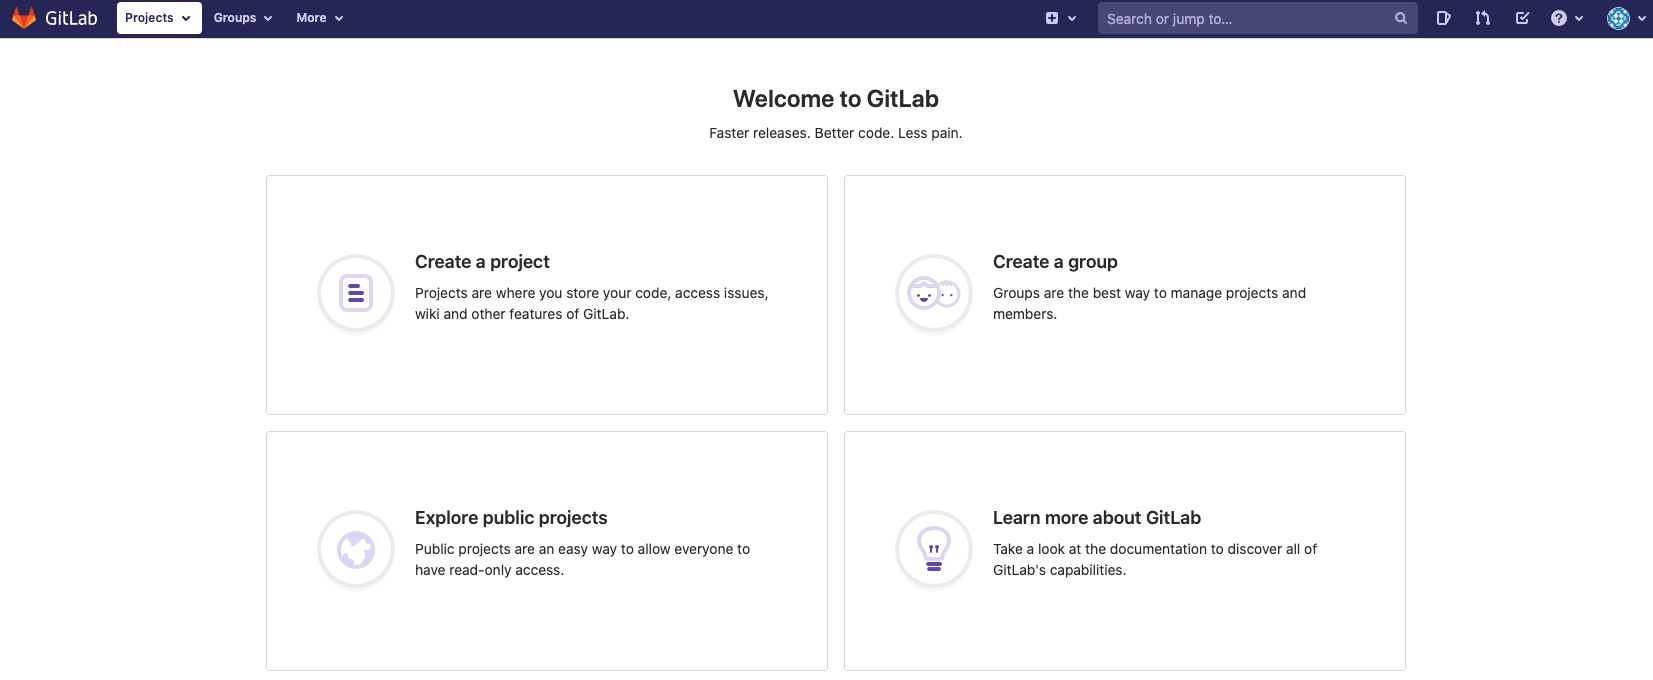
Next, login with your regular (newly created) user and you should see the following page:
We are now ready to host some projects onto our Gitlab instance. Stay tuned for a next post where we will show how to do this.