Deploy Flask App to Heroku using Heroku git
Introduction
In this post we have created a very basic Flask application. We then created a Docker container and ran it locally in this post. Now we want to deploy it onto Heroku, which is essentially a container based PaaS platform (and hence fully managed) that allows us to build and run our applications entirely in the cloud. All code in this post will entirely be based on the code from the articles I referred to above.
Create Heroku account
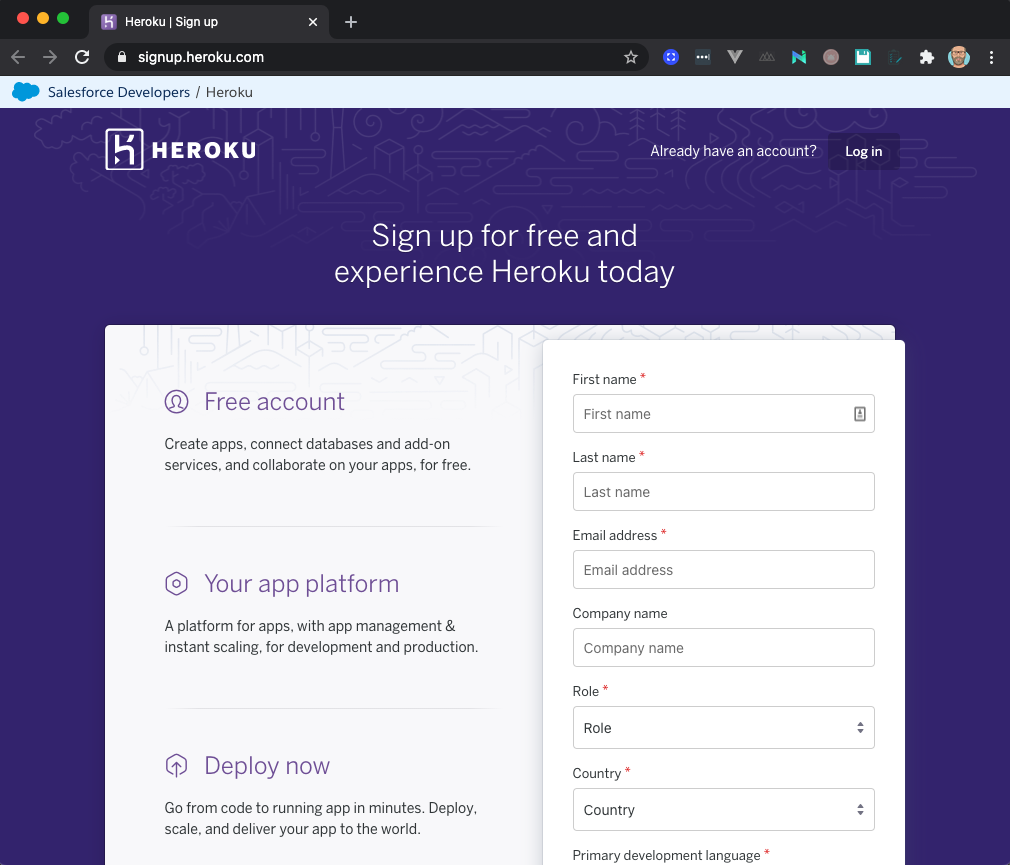
First, create an Heroku account. Head over to the website and sign up for an account if you don’t have one yet.
Create Heroku application
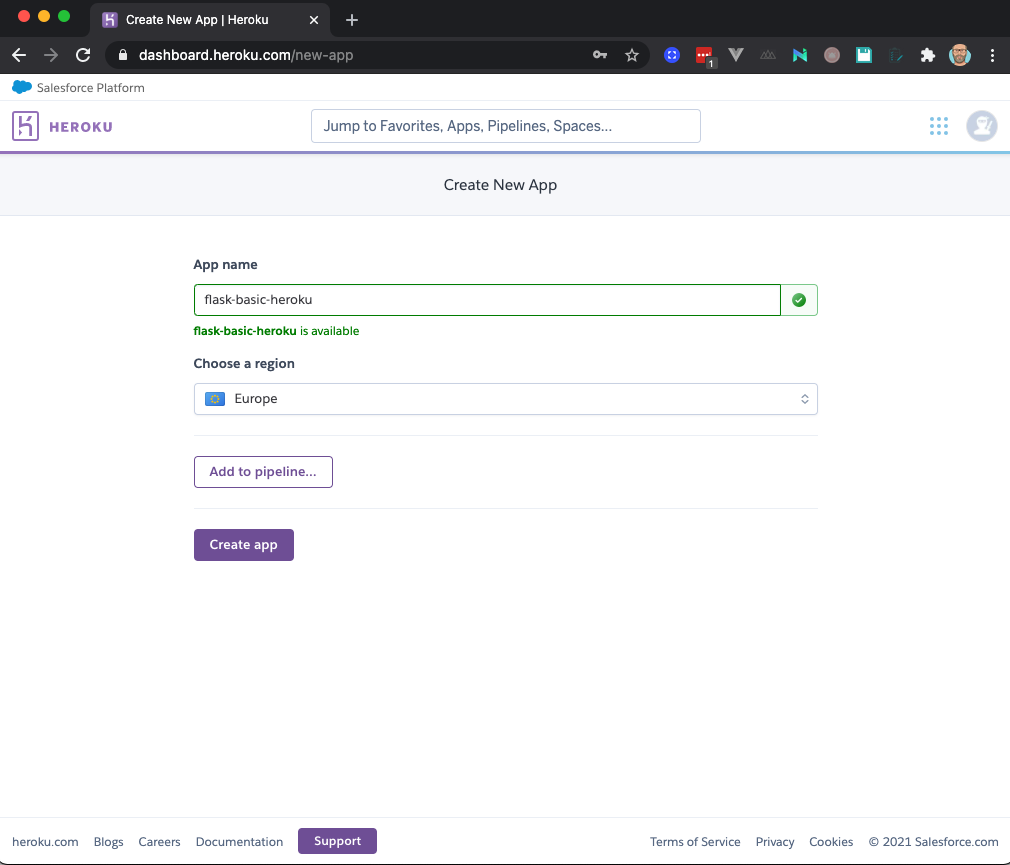
Once you have an account, you should create an new application. Click the Create new app button. We’ll call our app flask-basic-heroku.
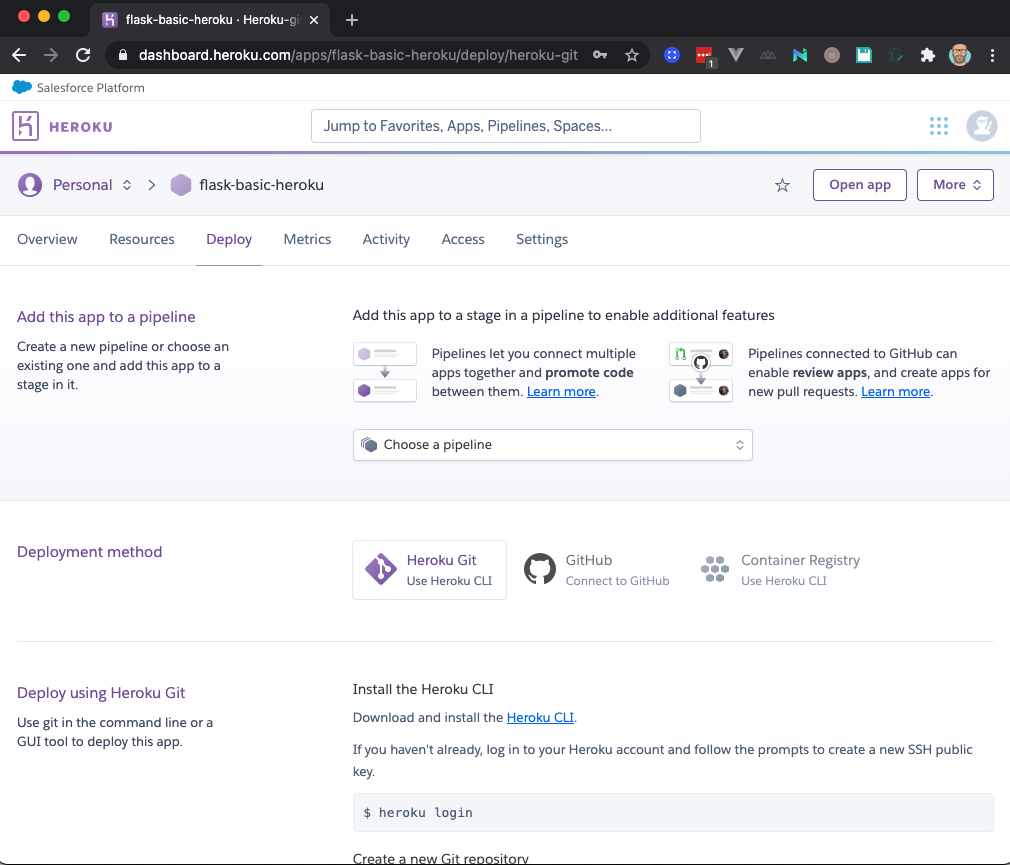
Once the app has been created successfully, you will get a detailed page that allows you to operate the application. It looks similar to below screenshot.
Flask application
Next, let’s have a look at our Flask application. I won’t repeat the application specific code here but you can use the code from our Flask Docker tutorial.
Ensure that your requirements.txt file is up to date and also has a gunicorm reference. If not, you can recreate the requirements file as follows. Do make sure you are within your virtual environment though.
~/Flask/Flask-Basic-Heroku main ❯ pip3 install flask
~/Flask/Flask-Basic-Heroku main ❯ pip3 install gunicorn
~/Flask/Flask-Basic-Heroku main ❯ pip3 freeze > requirements.txt
Note: as mentioned, I used the code from the Flask Docker post but I made a minor change. I have put the wsgi.py file under the root of my project (because of Heroku). This implies I also made a change to the from line to ensure my app can be found. It looks like the below:
from app.app import app

if __name__ == "__main__":
    app.run()
Create a Procfile
A Procfile is a mechanism for declaring what commands must be run by your application’s dynos on the Heroku platform. Dyno’s are small and lightweight containers that execute the code. So the procfile in fact tells Heroku what commands to execute. To that extend, create a Procfile under the root of your folder. Note this file is case-sensitive and should have a capital P.
The below command will just tell heroku to run the gunicorn command to execute the wsgi,py file with the app entrypoint.
web: gunicorn wsgi:appLogin to heroku
Next, we need to login to Heroku through the CLI. The easiest way is to use heroku login and you will be authenticating through your browser. Once authenticated via your browser, a message will appear in the CLI that you are successfully logged in.
~Flask/Flask-Basic-Heroku master ❯ heroku login
heroku: Press any key to open up the browser to login or q to exit:
Opening browser to https://cli-auth.heroku.com/auth/cli/browser/d06a957b-1050-48da-aacd-473e68404fbb?requestor=SFMyNTY.g2gDbQAAAA45NC4xMDQuMTE0LjEyMm4GAK4mjll3AWIAAVGA.Y99SRx68GHEp8zvLkMm-h3cp70GQkkvbtPwEM0oTtq0
Logging in... done
Logged in as w***@gmail.com
Upload code to Heroku
In order to upload code to Heroku, we are going to use git. In below screenshot, you can see that Heroku provides all the commands you need to use in order to upload your application to their infrastructure.
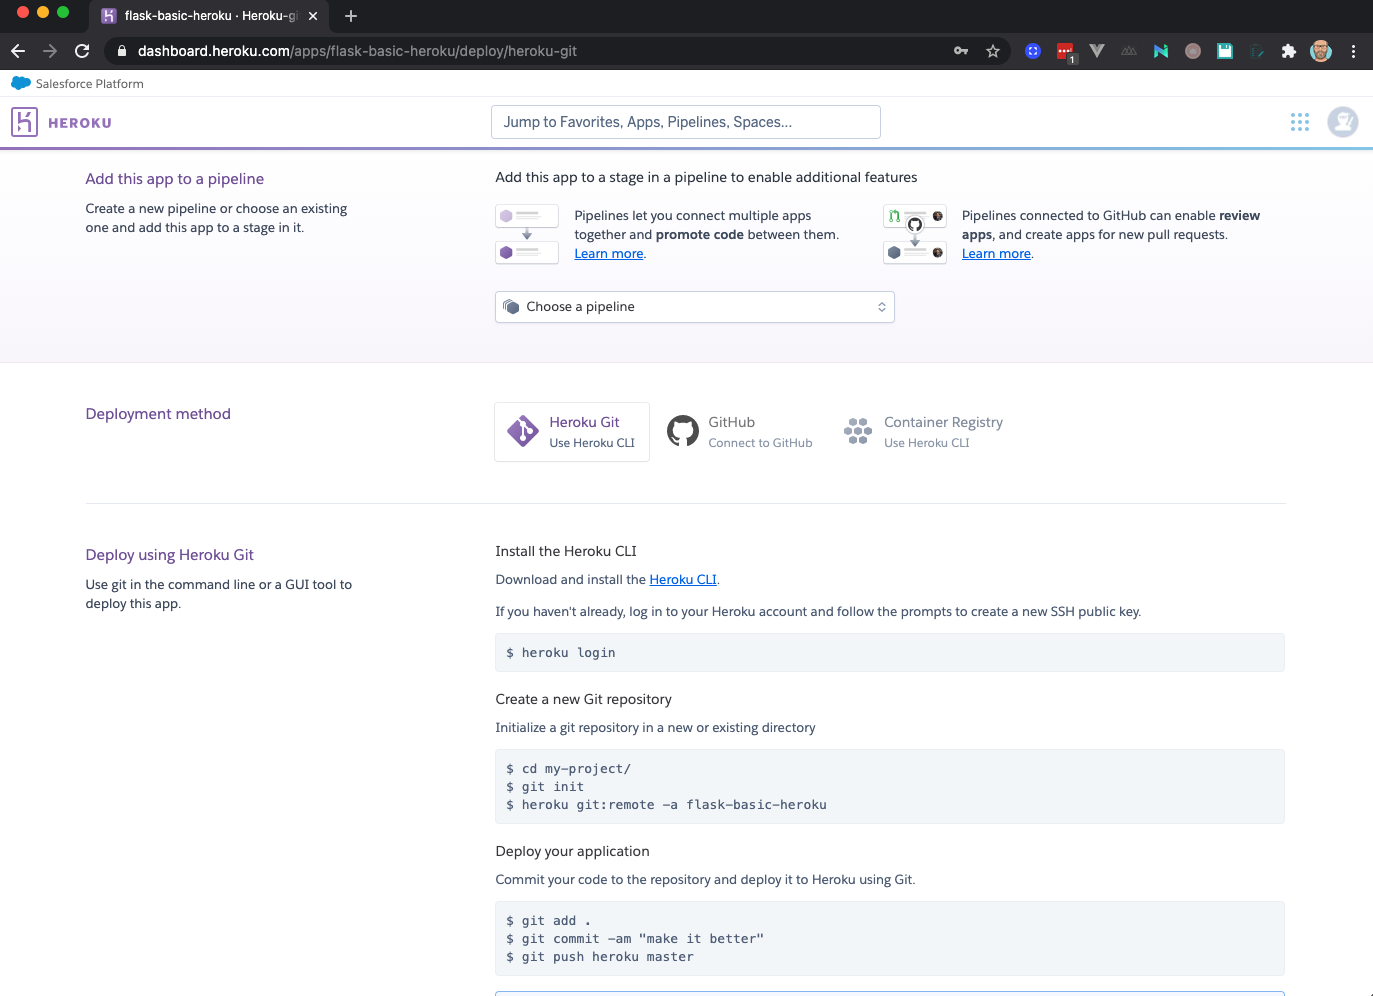
First we will initialize an empty Git repository and next we configure the git remote heroku to point to our Heroku application.
~/Flask/Flask-Basic-Heroku main ❯ git init
Initialized empty Git repository in /Users/wauterw/SynologyDrive/Programming/blog-hugo-netlify-code/Flask/Flask-Basic-Heroku/.git/
~/Flask/Flask-Basic-Heroku master +7 !1 ❯ heroku git:remote -a flask-basic-heroku
set git remote heroku to https://git.heroku.com/flask-basic-heroku.git
Deploy to Heroku
Deploying the code is as simple as using the usual git commands.
~/Flask/Flask-Basic-Heroku master ❯ git add .
~/Flask/Flask-Basic-Heroku master ❯ git commit -am "Initial commit"
[master (root-commit) 79f53f9] Initial commit
 7 files changed, 71 insertions(+)
 create mode 100644 .gitignore
 create mode 100644 Dockerfile
 create mode 100644 Procfile
 create mode 100644 app/app.py
 create mode 100644 app/templates/index.html
 create mode 100644 requirements.txt
 create mode 100644 wsgi.py
~/Flask/Flask-Basic-Heroku master ❯ git push heroku master
Enumerating objects: 11, done.
Counting objects: 100% (11/11), done.
<TRUNCATED>
remote:        https://flask-basic-heroku.herokuapp.com/ deployed to Heroku
remote:
remote: Verifying deploy... done.
To https://git.heroku.com/flask-basic-heroku.git
 * [new branch]      master -> master
Note: depending on when you follow this tutorial it might be that heroku switched from master to main branches. Hence, the line git push heroku master becomes git push heroku main.
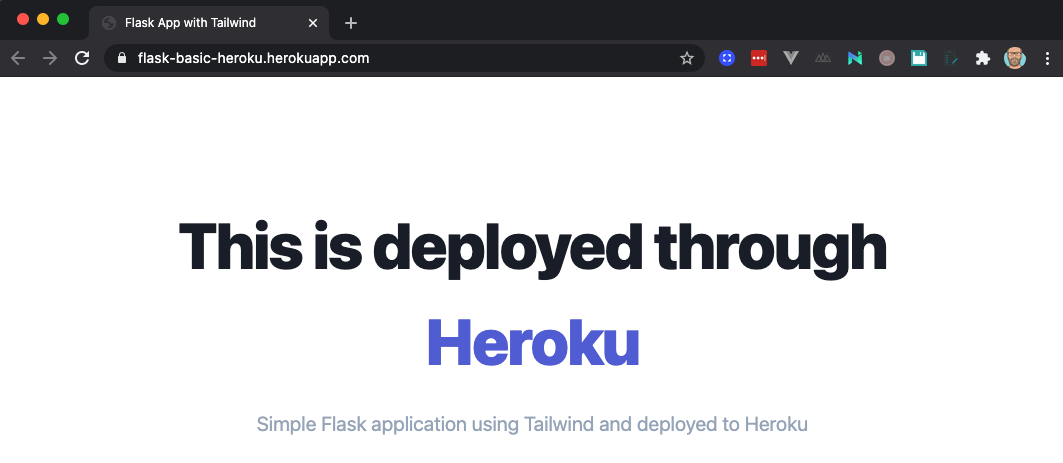
During deployment, Heroku will also build your application and provide your with a URL that points to your application. Use that URL in your browser and if all went well you should see your application.
Thanks for following along. As usual, code can be found on my Github repository.