Packer Introduction with DigitalOcean
Introduction
In this, we experimented a bit with Packer in combination with AWS. To get a general intro on Packer, go ahead and read that post first. Here will will focus on DigitalOcean instead of AWS.
Generate a DigitalOcean API token
In your DigitalOcean account, go to the API section and generate a new API key for Packer.
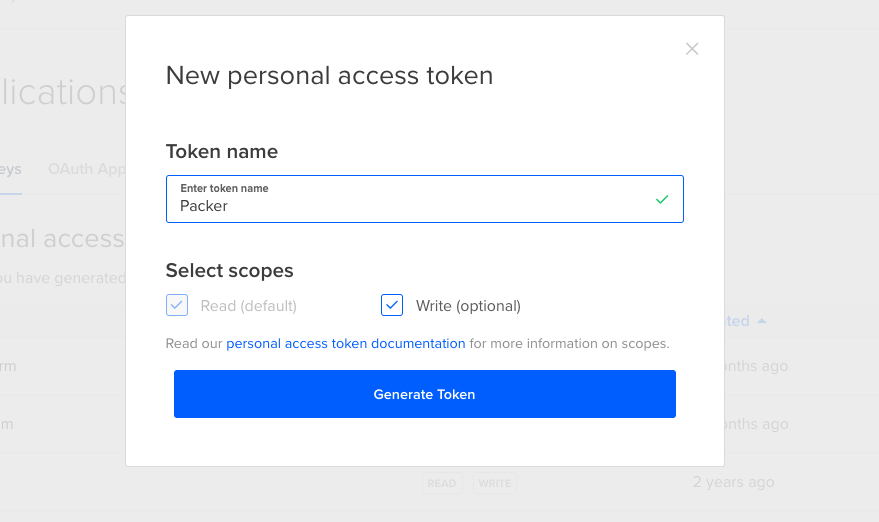
Copy the value and insert it as an environment variable. The example below is for Mac.
~/Programming/Packer/DigitalOcean ❯ export do_token=cec248******e500b4a4b5Packer Build file
Next, we are going to create the Packer Build file to create our template.
In the variables section, we read the value of the environment variable called do_token into a variable do_token.
    "variables": {
        "do_token": "{{env `do_token`}}"
    }
Next, in the builders section, we have the following. There are only very few required options. Check out this link to verify them.
    "builders": [
      {
        "type": "digitalocean",
        "api_token": "{{user `do_token`}}",
        "image": "ubuntu-16-04-x64",
        "ssh_username": "root",
        "region": "ams3",
        "size": "512mb"
      }
    ]
We essentially tell Packer to take the Ubuntu 16.04 image and use that as the basis for the template we are building. As I’m based in Europe, I’m also going to store the template in the AMS3 region.
Next, let’s have a look at the provisioners section. In Packer, provisioners allow you to execute commands (or shell scripts). This allows for customization of the template. In our case, we are going to execute a shell script that installs nginx.
    "provisioners": [
      {
        "type": "file",
        "source": "do.json",
        "destination": "/tmp"
      },
      {
        "type": "shell",
        "scripts": [
            "scripts/nginx.sh"
        ]
      }]
  }
The shell script is pretty easy. See below:
#!/bin/bash
apt-get update -y
apt-get upgrade -y

apt-get install -y nginx

systemctl enable nginx
systemctl start nginx
Run Packer
Let’s continue building the template:
~/S/P/blog-hugo-netlify-code/Packer_Introduction/DigitalOcean master ❯ packer build do.json 09:57:58
digitalocean: output will be in this color.
==> digitalocean: Creating temporary ssh key for droplet...
==> digitalocean: Creating droplet...
==> digitalocean: Waiting for droplet to become active...
==> digitalocean: Using ssh communicator to connect: 174.138.3.14
==> digitalocean: Waiting for SSH to become available...
==> digitalocean: Connected to SSH!
==> digitalocean: Uploading do.json => /tmp/do_bu.json
digitalocean: do.json 545 B / 545 B [==========================================================================================================] 100.00% 0s
==> digitalocean: Provisioning with shell script: scripts/nginx.sh
<truncated>
==> digitalocean: Synchronizing state of nginx.service with SysV init with /lib/systemd/systemd-sysv-install...
==> digitalocean: Executing /lib/systemd/systemd-sysv-install enable nginx
==> digitalocean: Gracefully shutting down droplet...
==> digitalocean: Creating snapshot: packer-1607332101
==> digitalocean: Waiting for snapshot to complete...
==> digitalocean: Destroying droplet...
==> digitalocean: Deleting temporary ssh key...
Build 'digitalocean' finished after 2 minutes 59 seconds.
==> Wait completed after 2 minutes 59 seconds
==> Builds finished. The artifacts of successful builds are:
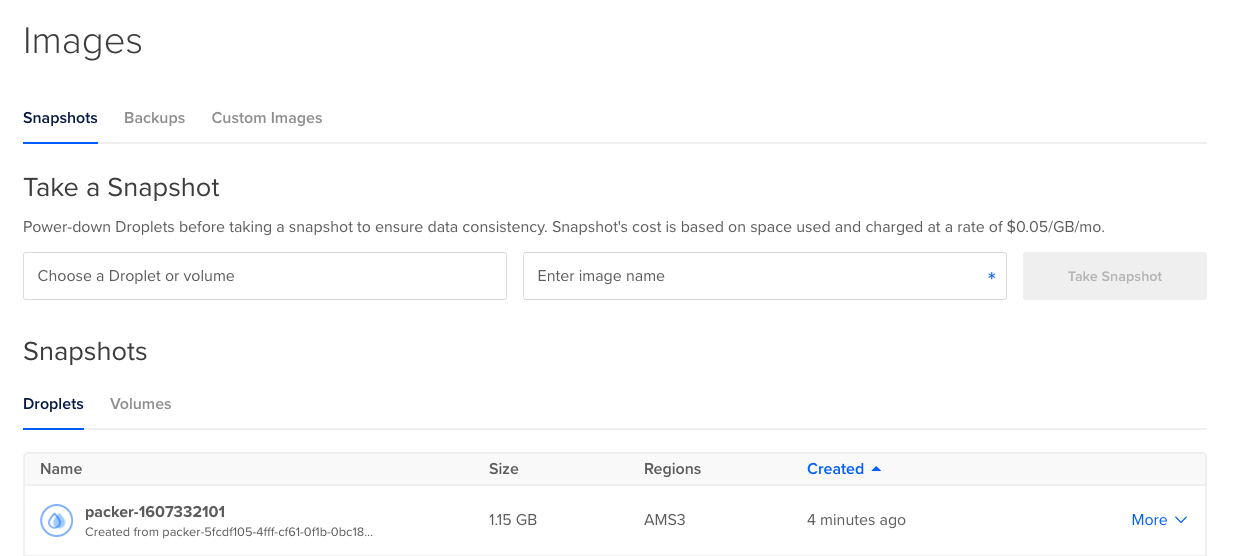
--> digitalocean: A snapshot was created: 'packer-1607332101' (ID: 74754256) in regions 'ams3'You will see a droplet being created while the command executes. See below screenshot:
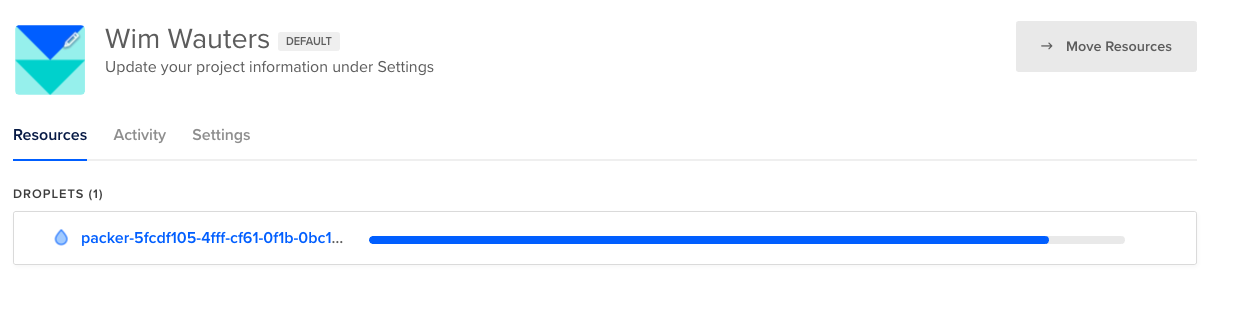
Once Packer has finished creating the template, it will destroy the droplet (it used for creating the template) but you will find a snapshot in DigitalOcean.
Create Droplet from Packer Template
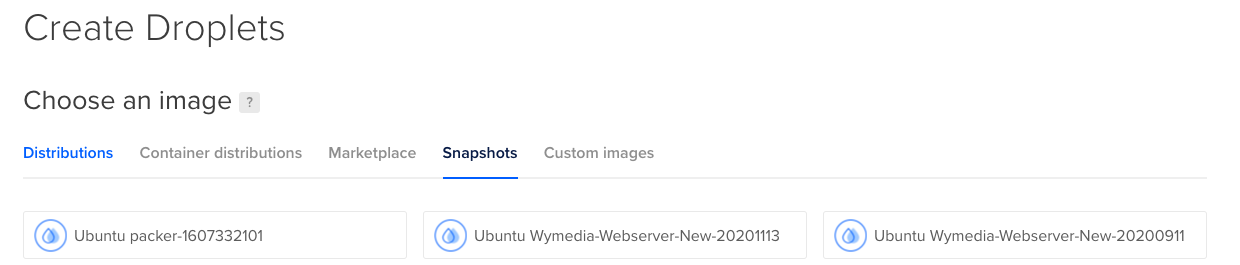
Next, let’s create a droplet from the freshly created Packer template. Note we could use Terraform for this but for demonstration purposes I will use the UI. In case you want to see an example how to use Terraform for this activity, check out this post.
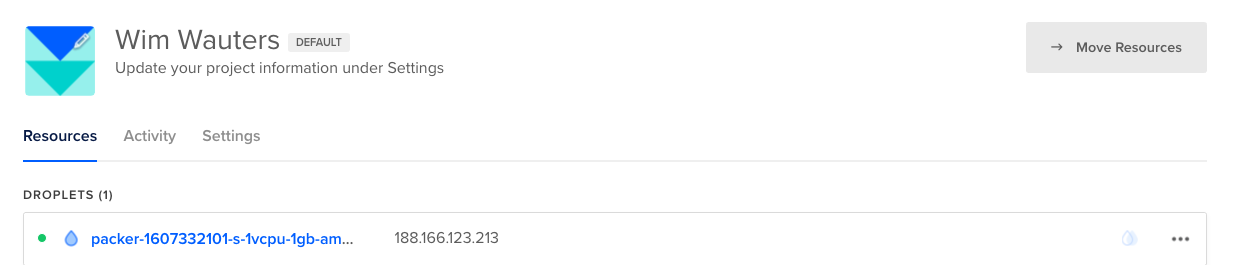
As said, in the UI, select the create a droplet option and select the Packer template.
You will see that a droplet has been created.
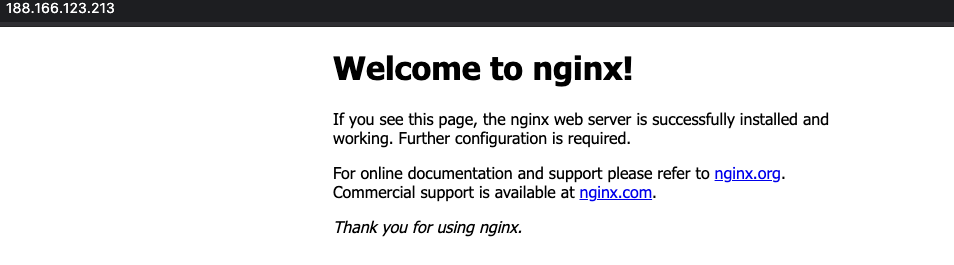
We expect this to be a webserver (e.g. the shell script that installed an nginx server) so let’s try that out. And obviously, as we expected, the nginx welcome page is shown when we browse to the IP address of the droplet.
Check out the code here.